If you’re creating a Microsoft Word document that would look better with a page border, you can easily add one. Word gives you flexible options, whether you want a simple black line for something like a brochure or a whimsical border for something like an invitation.
Next, we will show you how to add a page border in Word and customize it exactly how you want.
Add a page border in Word
Open Microsoft Word in your document, either on Windows or Mac. Go to the tab Design and click the button Page borders in the Page Background section of the ribbon.

When the Borders and Shading window opens, confirm that you are on the Page borders. You can then directly access your border customization options.
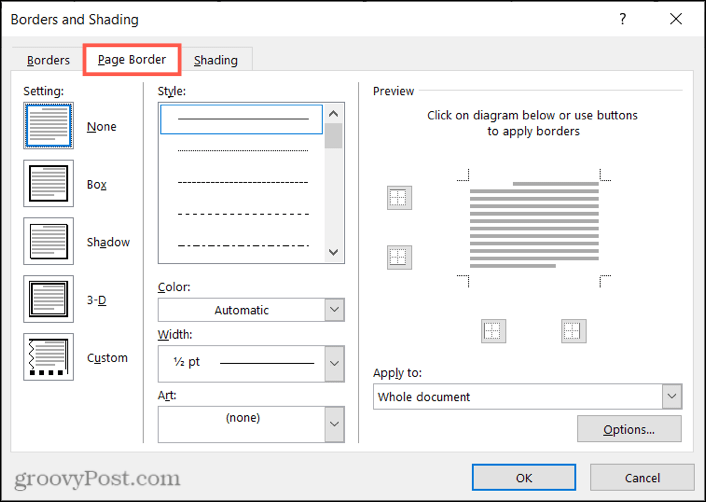
Customize a page border in Word
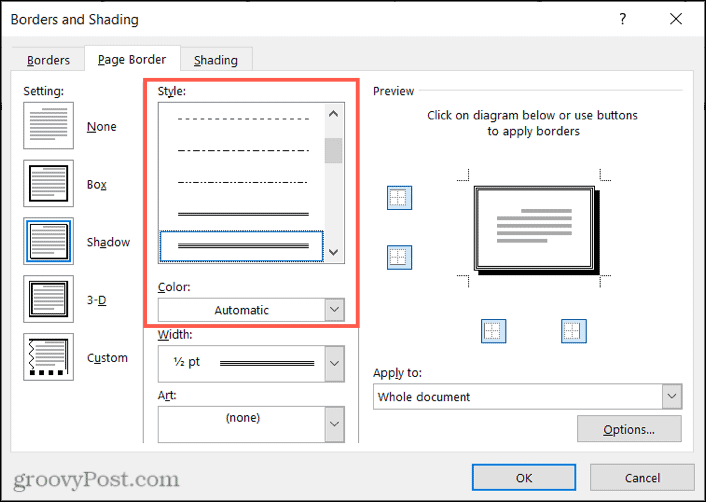
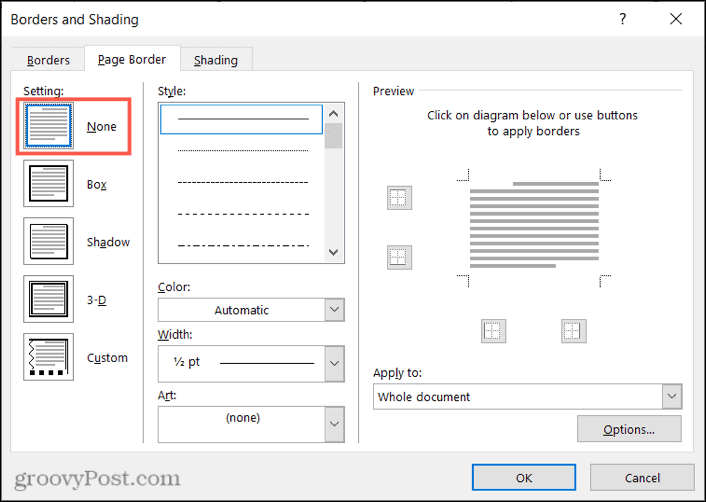
In the left part of the window, you can start by choosing a style in Value. This allows you to select something like a shadow or 3-D effect or go with a box style. On the right, choose the Style line you would like to use and the Colour just below.
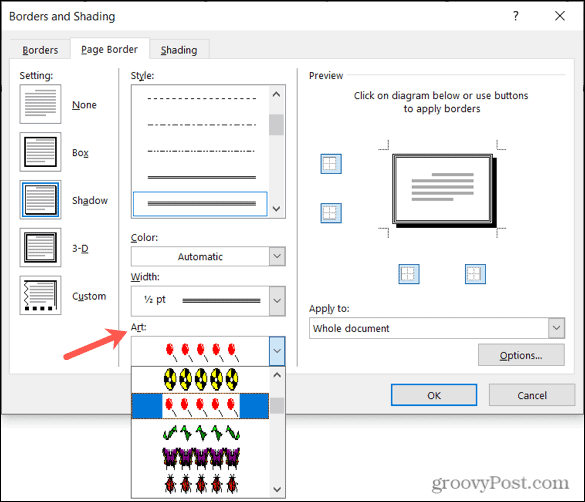
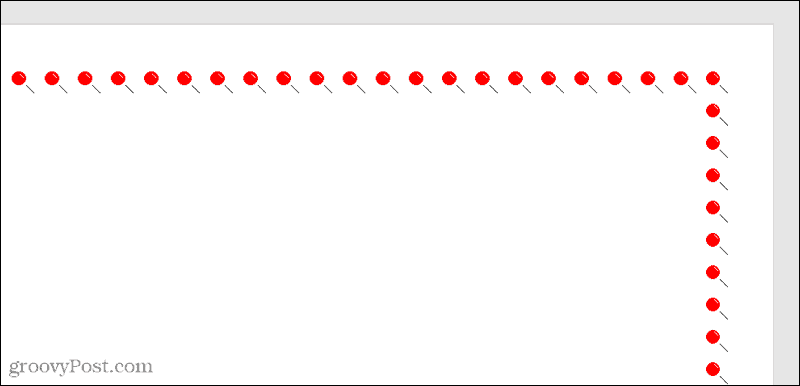
If you’d rather wear something fun and different, click the drop-down list for Art at the bottom to see a great selection of creative borders. You’ll find a good assortment of color options, like hearts, stars, ice cream cones, flowers, Christmas pictures, and much more.
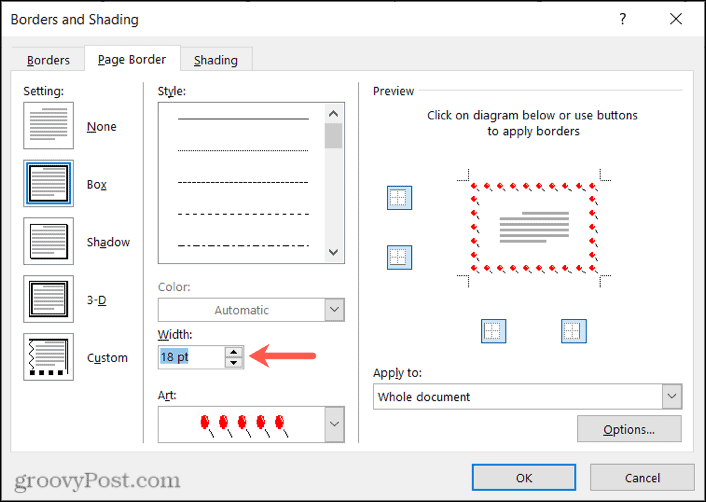
Whether you use a line style or an artistic border, you can adjust the Width from the edge. You will see that the preview on the right side updates for a good view as you do so.
In addition, in the section of Preview, you can use the small boxes to activate or deactivate the border of a specific part of the document. Then choose “Apply to”If you only want the border in a certain section or in the whole document.

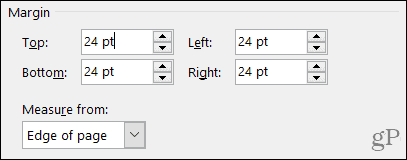
To adjust the margins when using a page border, click thebutton. Choices. You can then enter the number of font points to use for the top, bottom, left, or right margin. Then click Measure from to use those point numbers from the edge of the page or the text of your document.
In this window you have some additional options that you can adjust if you wish. Under Options, check or uncheck the boxes to always display in front, align the edges of the paragraphs with the edge of the page, and surround the headers or footers.

Note: Depending on your selections, some options may be grayed out.
Click on To accept when you finish changing the options. Then click To accept in the Borders and Shading window to apply the page border.
Delete a page border
If you later decide to remove the page border that you applied, you can easily do so.
- Go back to tab Design and click Page borders.
- In the tab Page Border, click on None in Value on the left.
- Click on To accept, and its edge must be removed.
Page borders in Microsoft Word
No matter what type of border you choose, whether you apply it to the entire document or just a section, Word gives you excellent options. You can add some pizzazz to your brochure or outline your document with a simple page border.


