
If Microsoft’s Office suite is one of our main allies when it comes to preparing documents and presentations, many times we can come to think that the latter only have a place in PowerPoint. Curiously, this is not the case, and if you want to give your documents a different touch to make them look more formal, you can also do it with your word processor, at add borders to a page in Word.
Of course, this is not the only alternative you have in this regard, since in the past we taught you another similar tutorial, one that you have probably already taken advantage of, and which consisted of putting borders to images in Word.
In any case, today we want to focus on the possibility of adding borders to a page in Word, taking advantage of the flexible solutions that this program gives us, such as to generate a brochure or invitation, circumstances in which adding a border can make the difference between a simple product or a complex one.
Add borders to a page in Word step by step
Indeed, you can add borders to a page in Word on both Windows and MacOS, and basically the steps you have to follow are the same, so check out this procedure:
- Open Word on your computer
- Go specifically to the Design tab
- In it, the Page Borders button, in the Page Background section of the ribbon
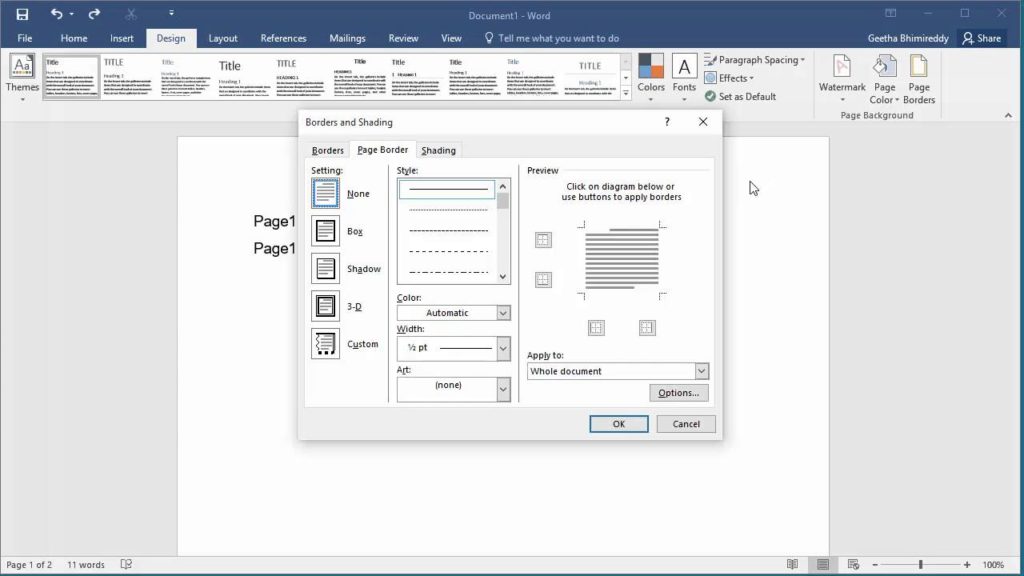
- Once in the Borders and shading window, confirm that you are in the Page Border tab
- At this point you can customize border details, adding shadows or 3D effects, as well as styles and colors.
The above are the basic steps, and you could end it here, or review other matters.
An alternative would be to bet on the Art list at the bottom, where you will find endless creative edges, more oriented to give an entertaining touch than formal to your documents, although these tend to be less used.
Whatever your case, you can adjust the width of the border in question, and a Preview system will allow you to know if the result until then is what you are looking for, or if it needs retouching.
If you are ready, from Apply to, you can set which part of the document should have the border, since in certain cases we will not want to skirt everything, but just a page or part of the text.
When you are absolutely sure, and satisfied with your border, you can click OK in the Borders and Shades window, and you will see how the bode appears in your document. This is a really simple tutorial.
And how to remove the border from the document?
If for some reason you have repented, always you can remove the border of the document. You do it this way:
- On the Design tab, go back to Page Borders
- There, click on None in Settings, on the left
- Finally, click on the OK button, and say goodbye to that edge
As you can see, a really interesting solution to give your documents another look.


