


The nice thing about a Windows 11 PC is that you can customize it for different users. For example, if you live in a multilingual household, you might want to know how to change languages in Windows 11.
You can set the system language during a clean install, or you can decide to change it later. If you need to change the language settings after installation, you can do so from the Settings menu. However, there are a few things to keep in mind before doing so.
If you want change system language in Windows 11, this is what you will have to do.
How to stop synchronizing language settings in Windows 11
If you have multiple systems, you may want to stop syncing your language settings before changing them. Otherwise, the language settings may change on all your Windows devices. If you have a local account, your settings will not sync as you are not signing in with a Microsoft account.
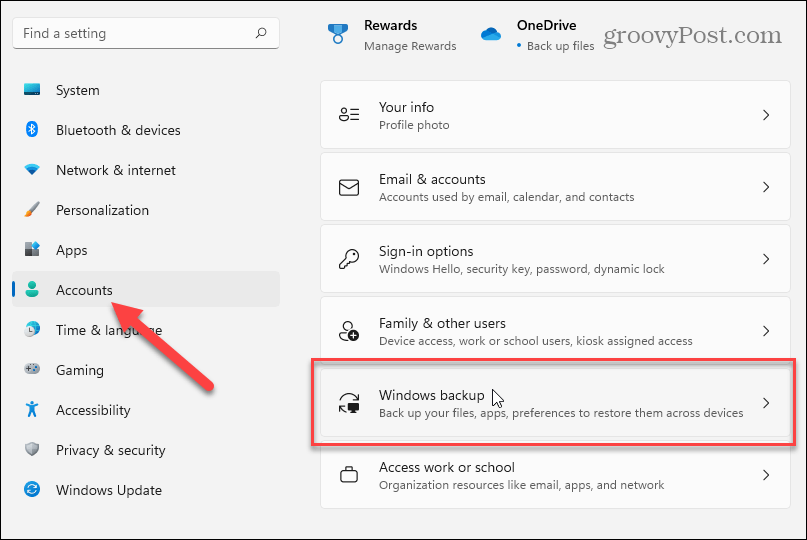
If you want the language settings to sync between your other devices, you can skip to the next section. To start, tap Home> Settings> Accounts , and then press Windows Backup on the right.

Click to expand the section “Remember my preferences”On the next screen, and then uncheck the option“Language preferences“.


When you’re done, close the Settings menu. Your Windows PC should now be prevented from syncing your custom language settings with other Windows devices using the same Microsoft account.
How to change language settings in Windows 11
If you are ready to start changing the language settings in Windows 11, you can do so from the menu Setting.
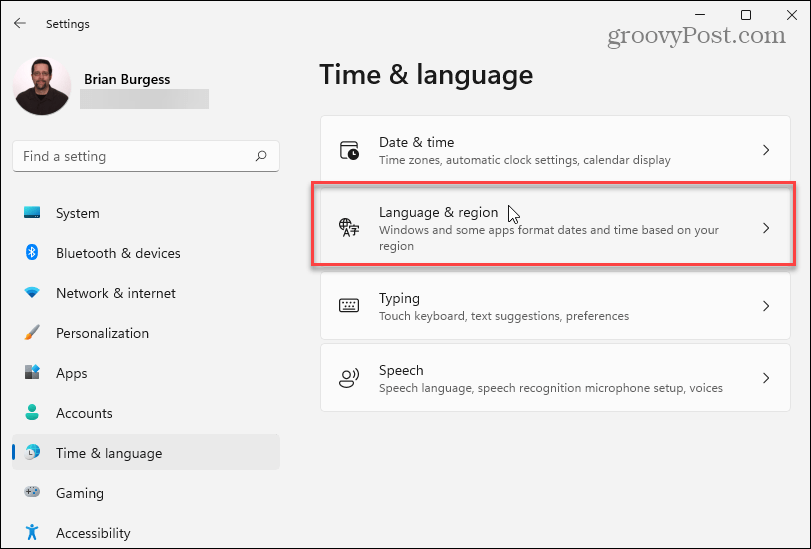
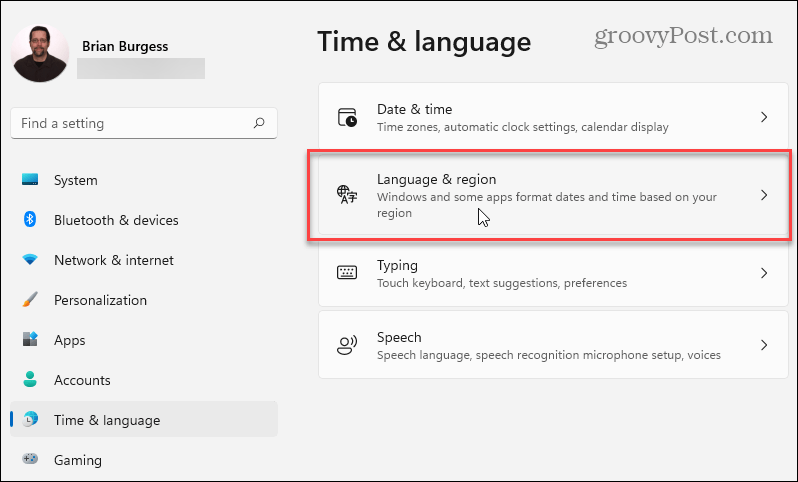
To access it, press Beginning and click Setting. On Setting, Choose Time and language in the list on the left. From there, click Language and region in the options on the right.

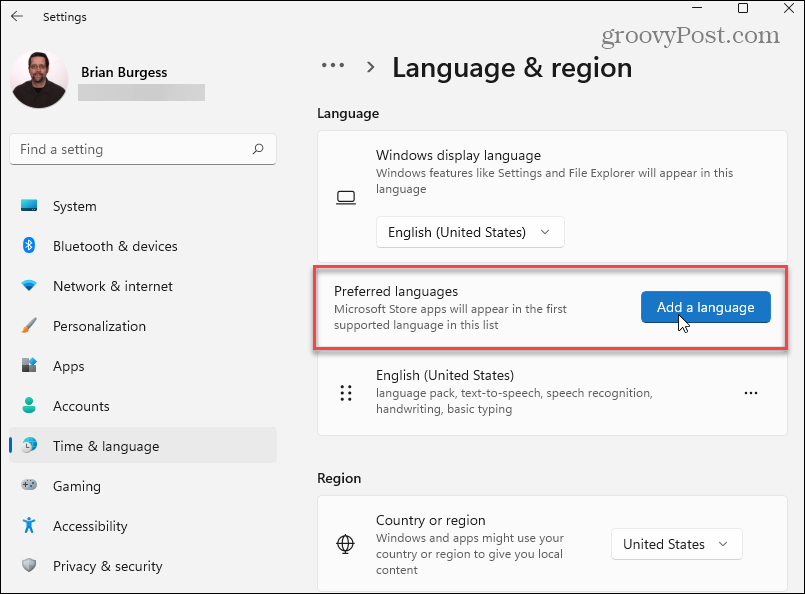
Then click the button Add a language next to “Preferred languages“.

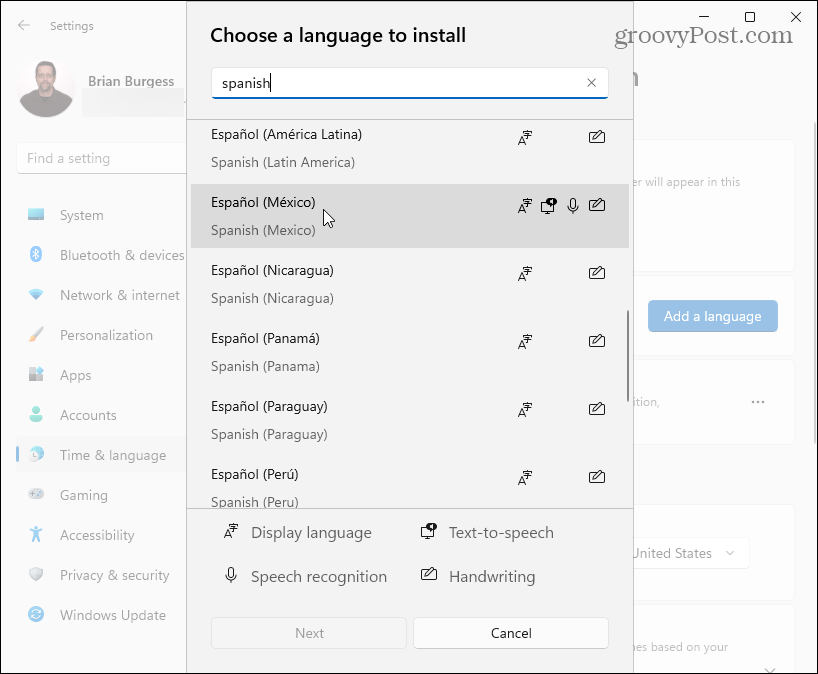
Now scroll and find the language you want. To find a specific language quickly, search for it using the search field at the top.
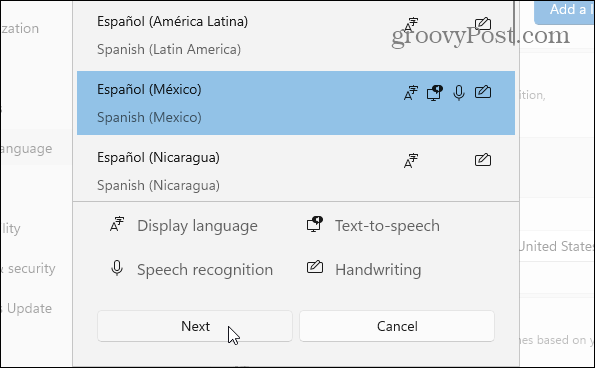
Note: Not all languages are supported by all input and display functions of Windows 11. For example, the Spanish – Mexico) supports display language, text-to-speech, speech recognition, and handwriting.
Other languages may support only one or two input options. Check the symbols next to each of them to see what features they support.

When you are ready to switch languages, click on the language you need and then the button Next.

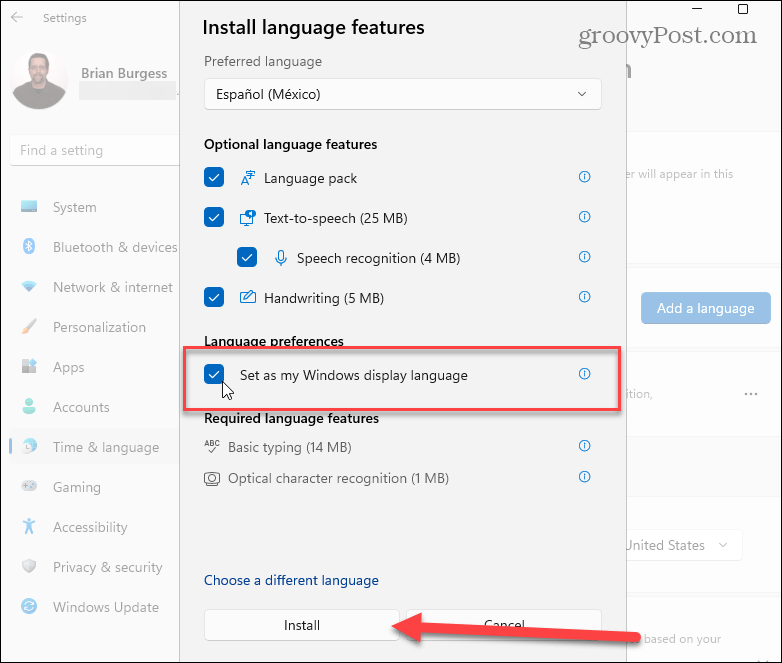
Before installing the new language pack, you will need to check or uncheck the available language options.
On “Language preferences“, Check the option”Set as my Windows display language“. Click the button Install to start the process.

A progress bar will be displayed while the language pack is installed, which may take several minutes to complete.
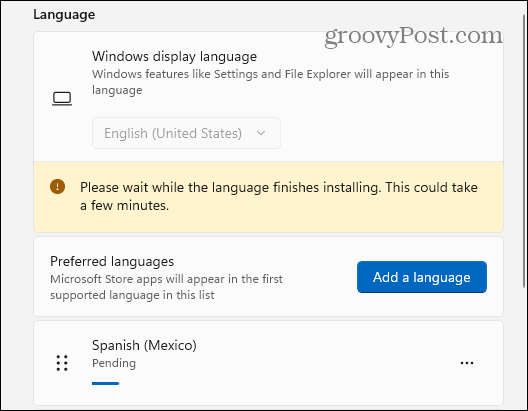

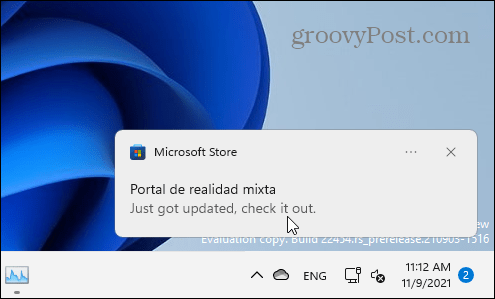
To complete the process, you will be asked to log out. After logging in again, you can start using the new language settings in Windows 11. The new language should be visible for most of the experience.
However, keep in mind that some labels will still be in English or a mixture of both languages.

Change regional settings in Windows 11
If you are in a different location, you can also configure regional settings (such as date formats) after changing the system language.
To do this, open Home> Settings> Time and language, and then click Language and region On the right side.

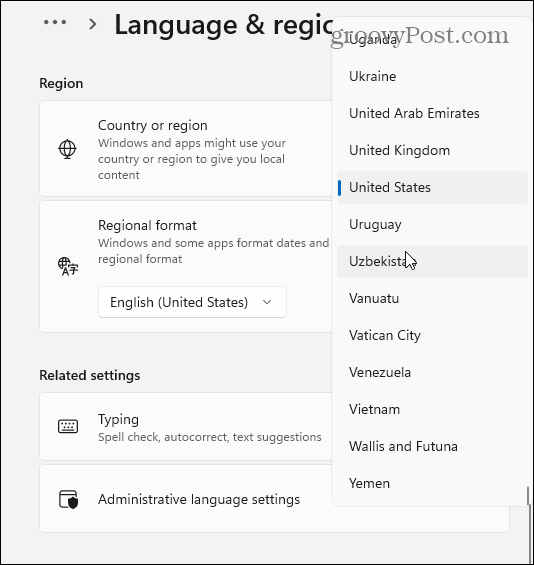
Next, in the section “RegionClick on the drop-down menu and choose your country.

Use the drop-down menu “Regional format”To set the date and time formats for the region.
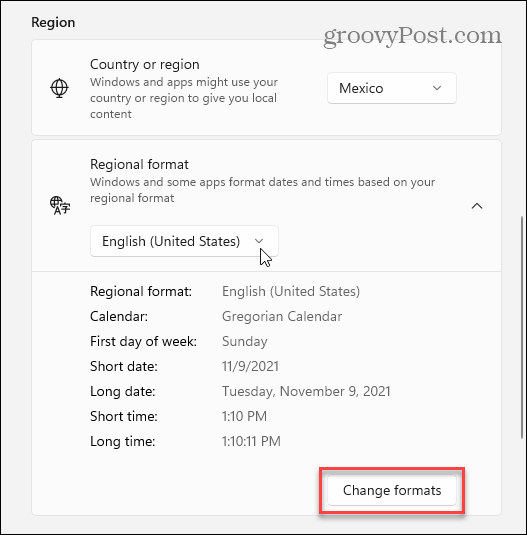

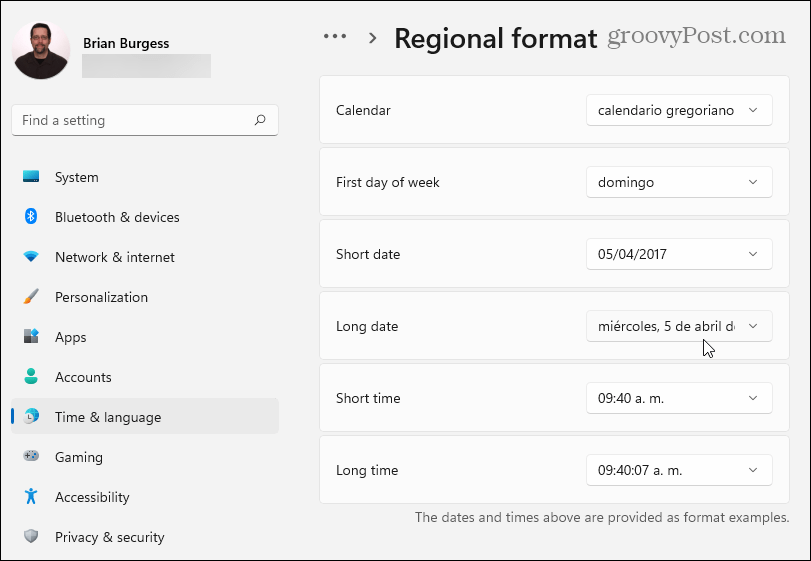
You can also click the button Change formats to manually change the default calendar format, as well as customize the short date, first day of the week, and time format settings.

Administrative language settings in Windows 11
If you change languages in Windows 11, you should see your new language in all applications that support it. If an app or system prompt doesn’t display your language (and you’re sure it supports it), you may need to change the cadministrative language setting.
This prevents certain text prompts from being displayed if those prompts are not compatible with Unicode text encoding, which is often the cause of this problem.
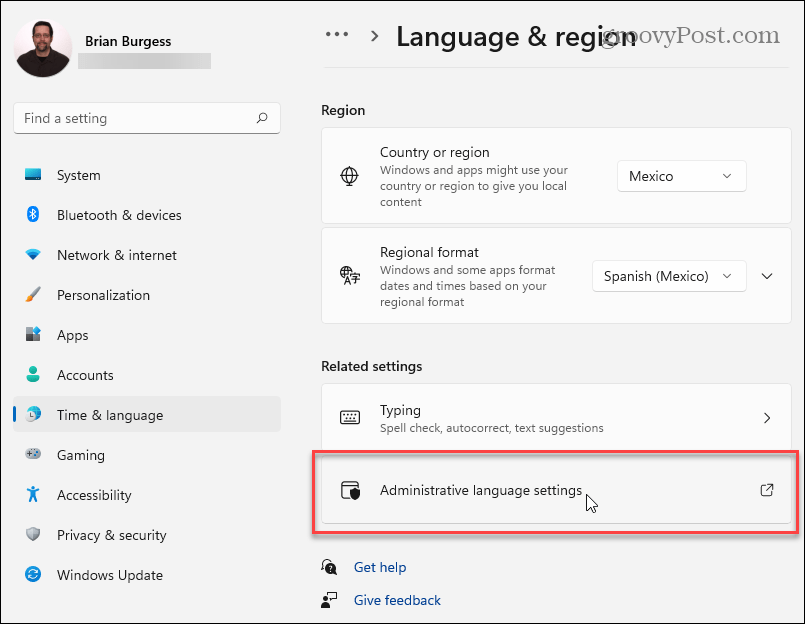
To change this setting, open the application Setting through Start. Press Language and region on the left, and then click Administrative language settings in the section Related settings.

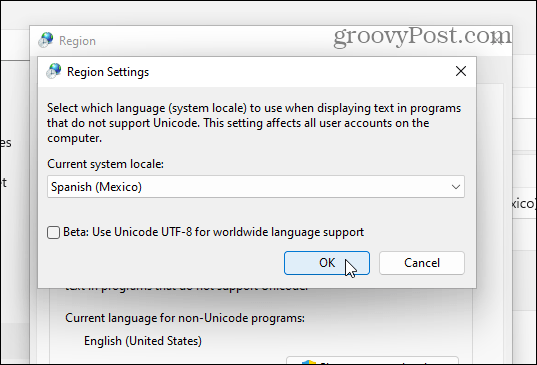
The window of the Region will open in the tab Administration. In the section “Language for non-Unicode programs“, Click the button Change system locale.


If the User Account Control message appears, click Yes to confirm.


Then select a system locale based on the new language you have configured and click To accept.

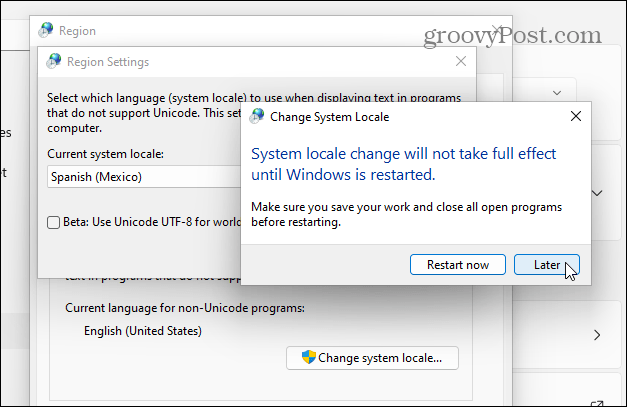
Windows will ask you to restart your PC for the changes to take effect. Push the button “Later“; you don’t want to reboot yet.

Then click the button Copy configuration. This is visible in the tab Administration in the window of the Region.
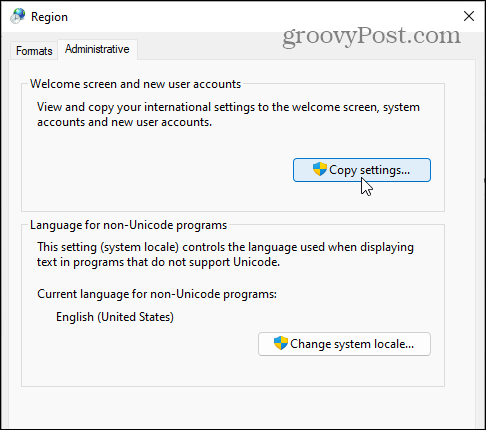

Click on Yes to the UAC message if it appears again. In the window of Welcome screen and configuration of new user accounts, be sure to select the check boxes for the Welcome screen and system accountswoe to the New user accounts.


Click on To accept to confirm, then close the window of the Region and restart your PC for the changes to take effect.
How to quickly switch languages in Windows 11
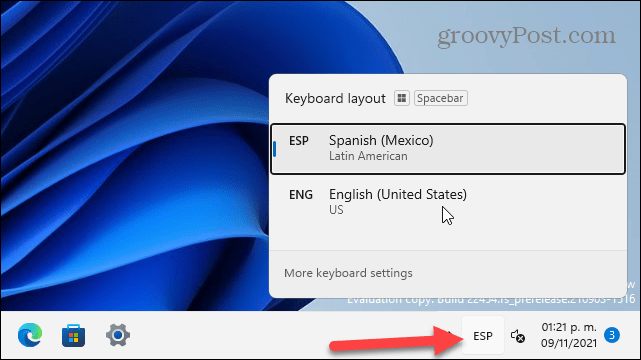
Once you’ve configured your language settings in Windows 11, you can switch between them on the fly. A new language icon will appear in the notification section of the taskbar.
To change languages quickly, click this icon and select the language you want to use. In the example below, you can switch between Spanish and English.

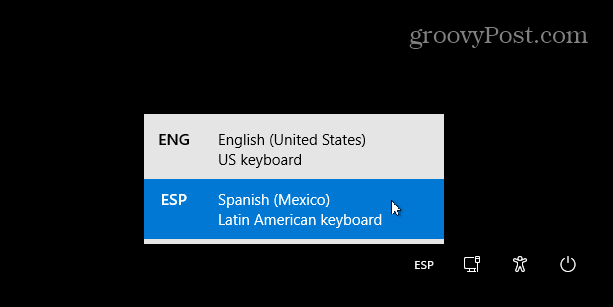
It should also be noted that you can change the language from the login screen by pressing the same icon at the bottom right.

Using different languages in Windows 11
The steps above should help you quickly switch languages in Windows 11, and there are many to choose from. Whether you need to change it for a member of your household or sync it across all your PCs, the process is pretty straightforward.