
Windows 11 offers several ways to backup, recover, and reset your system, but many of these tools rely on Windows being able to boot. If you can’t boot, one of the best ways to avoid disaster is to have a USB recovery drive handy.
A recovery USB drive allows you to bypass a failed Windows installation and use the standalone Windows Advanced Recovery Environment to repair and restore your PC. If things go wrong, you can quickly restore your PC using a number of built-in tools.
If you want create a Windows 11 recovery USB drive To troubleshoot your PC, this is what you will need to do.
How to create a Windows 11 recovery USB drive
If you have already created a Windows 10 recovery USB drive, the steps are similar for Windows 11. For best results, connect a USB drive between 16 and 32 GB (the size you need varies by system) and connect it to a free port on your PC.

Note: Please note that everything on the drive will be erased. Make sure to use a flash drive that doesn’t have any files you need on it or back up the data first.
To start creating a recovery USB drive in Windows 11, press the Start button (or press the Window keys on your keyboard). Scribe recovery drive in the search bar, and then select Execute as an administrator on the right.

If the User Account Control message appears, press Yes.

The assistant of the Recovery unit It will guide you through the process of creating the unit. Make sure to select the check box Backup system files on the recovery drive, and then click Next.

Allow some time for the Recovery Drive tool to scan your PC for available USB drives. You will see a progress bar while scanning.

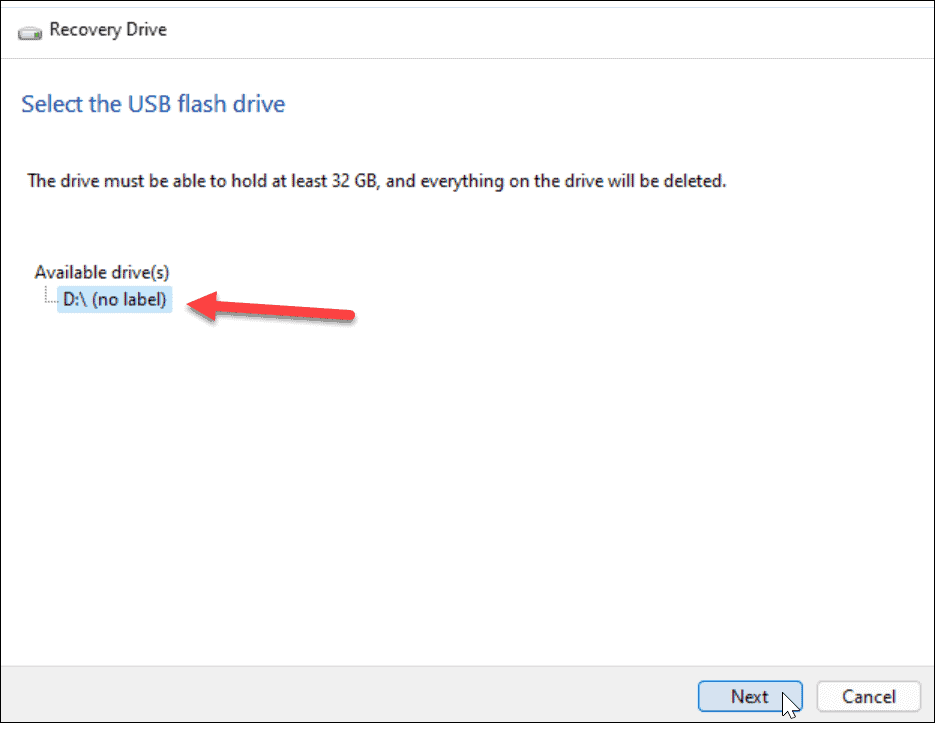
When the drive (s) are discovered, choose the USB drive you want to use and click Next.
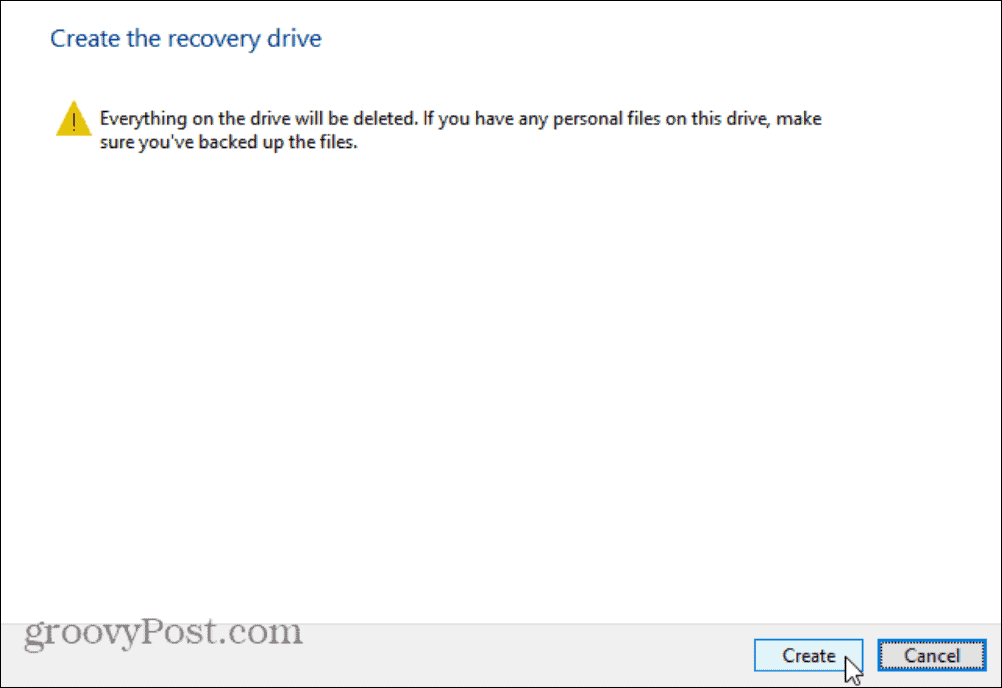
You will then see a message informing you that everything on the drive will be removed. If you have personal files on the drive, make sure to back them up first.
When you’re ready, press the button Create.
Creating the recovery USB drive
As Windows 11 creates the new recovery drive, you will see a progress bar.
Allow some time to complete; the time it takes to create the new drive varies by system.

When the process is complete, you will see a message that the recovery drive is ready. Click Finish when done and you can safely remove the drive.

You should keep your Windows 11 recovery USB drive in a safe place. If your PC is having trouble, you can connect it, boot your PC, and use the advanced recovery environment to fix, restore, or reinstall Windows 11.
If Windows can’t create the recovery drive the first time, check that your drive is working properly. You should also make sure that you have selected Run as administrator on the right when launching the application.

Using a Windows 11 recovery USB drive
If you cannot boot into Windows 11 for any reason, you can boot from the recovery USB drive in the advanced recovery environment.
Advanced options include tools like System Restore and System Image Recovery to restore your PC. You can also configure startup parameters, uninstall Windows 11 updates, and access the Command Prompt. You can also reset your PC to factory settings.

If you are going to restart your PC, make sure to first find your Windows 11 product key (if not linked to your account). You may also want to create a bootable USB drive.


