
If you want to take a snapshot of an application you are running, but want to crop the menu bar or dock, you will need to know how to crop a screenshot on a Mac. There are many methods for taking Mac screenshots, including built-in options, as well as paid and free alternatives.
Among these are methods that allow you to cut out unwanted outer areas, retouch the image with filters, or make more advanced changes. If you want to crop a screenshot on a Mac, this is what you have to do.
Essential keyboard shortcuts for taking screenshots on Mac
Before knowing how to crop a screenshot, you may need to know how to make a new screenshot.
There are different methods of taking a screenshot on Mac, but the fastest way is to use one of several keyboard shortcuts. If you’re running macOS Mojave and later, you can use a built-in screenshot cropping tool to crop screenshots as you take them.
If you are not sure how to take screenshots, use these shortcuts:
- Take a screenshot of the entire screen: Shift + Command + 3
- Capture part of the screen: Shift + Command + 4
- Capture a window or menu: Shift + Command + 4 + Space
How to crop a screenshot on a Mac
Once you’ve taken a screenshot, you can crop it using one of the following methods.
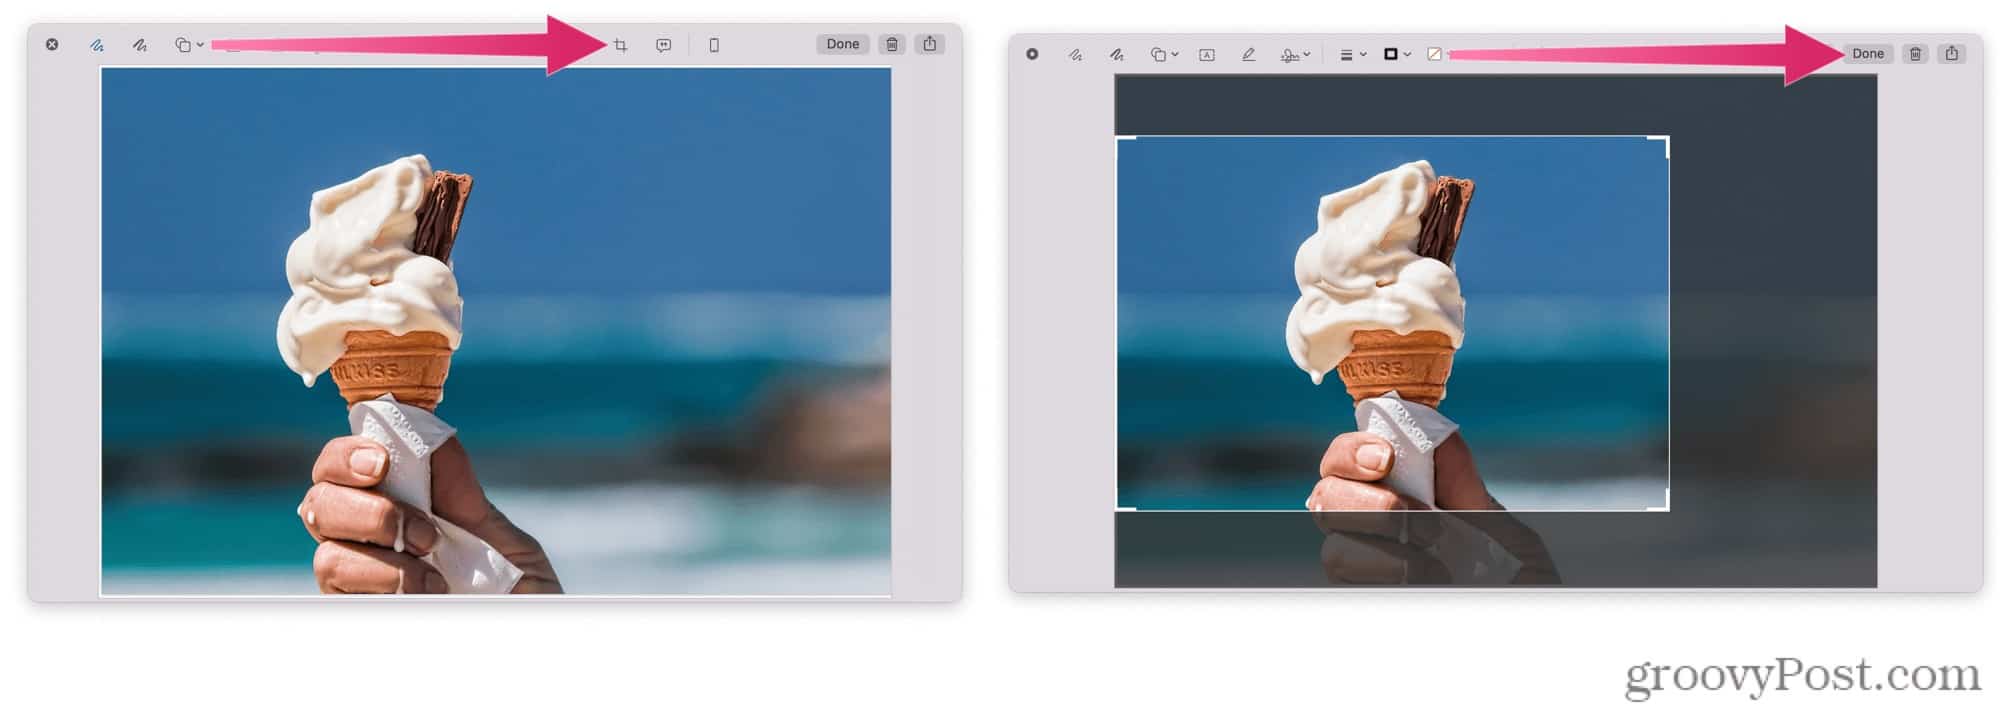
Using the built-in screenshot cropping tool
The new built-in screenshot cropping tool is perhaps the best method of cropping a screenshot on a Mac.
Immediately after taking a screenshot on macOS, you will see a floating thumbnail in the lower right corner of your screen. It is a thumbnail of your screenshot; When you click on it, the Snipping Tool appears. If you don’t click on the thumbnail within a few seconds, it will disappear and you won’t be able to use the tool. Unfortunately, the time that passes before it disappears cannot be extended.
To trim with this tool:
- Press the clipping icon (top right) after taking the screenshot.
- Select the area of your screenshot that you want to keep.
- When you’re done, tap “Done”.
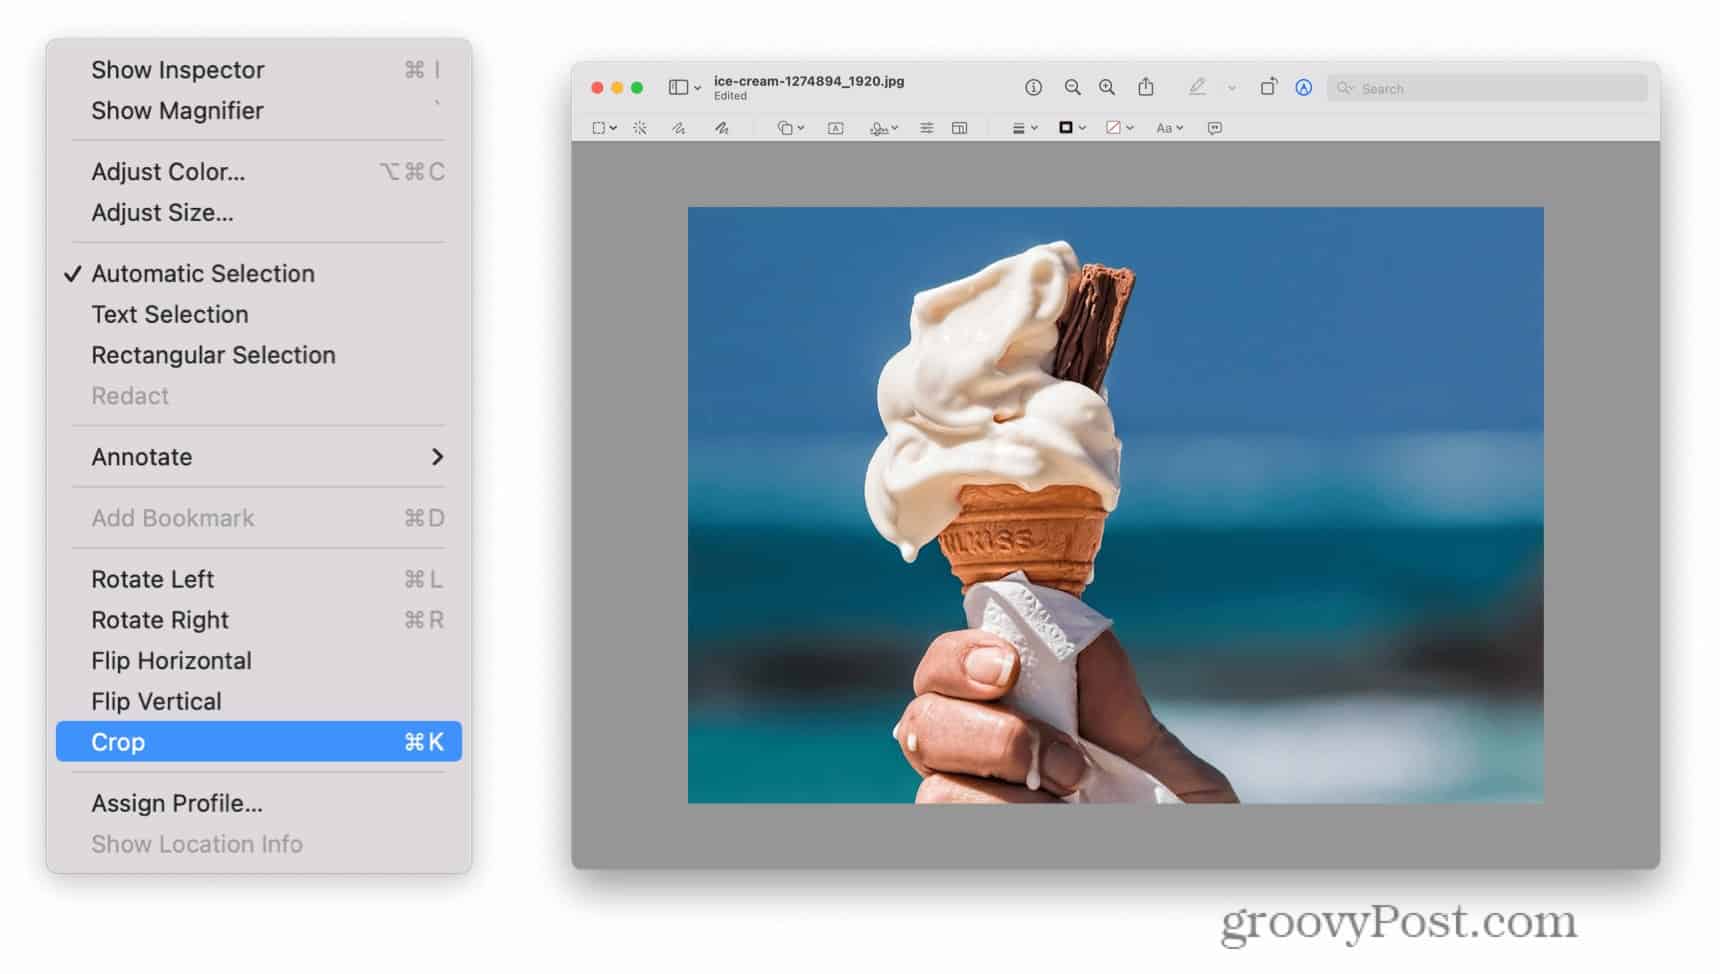
Using the preview
When you double-click an image in macOS, the Preview application opens by default. You can use this tool to quickly crop your screenshots.
To crop a screenshot using the preview:
- Double-click an image in the Finder to open the preview application.
- Select the icon of the Markup Toolbar (top right, shaped like a pencil).
- Use the function Click and drag to select the area you want to keep.

- In the menu bar, press Tools.
- From the drop-down menu, select Trim.
Using the Photos app
The Photos app is the built-in tool for managing your images on macOS. It can also be used as a basic photo editing tool, allowing you to quickly crop screenshots on a Mac.
However, you will have to save the screenshot to your Mac before doing so.
To use the Photos app to edit screenshots:
- Opens Photos and press File> Import.
- Select the screenshot you want to edit.
- Press to import.

- Double-click the image you imported and press Edit (up to the right).
- At the top, select the button Trim.

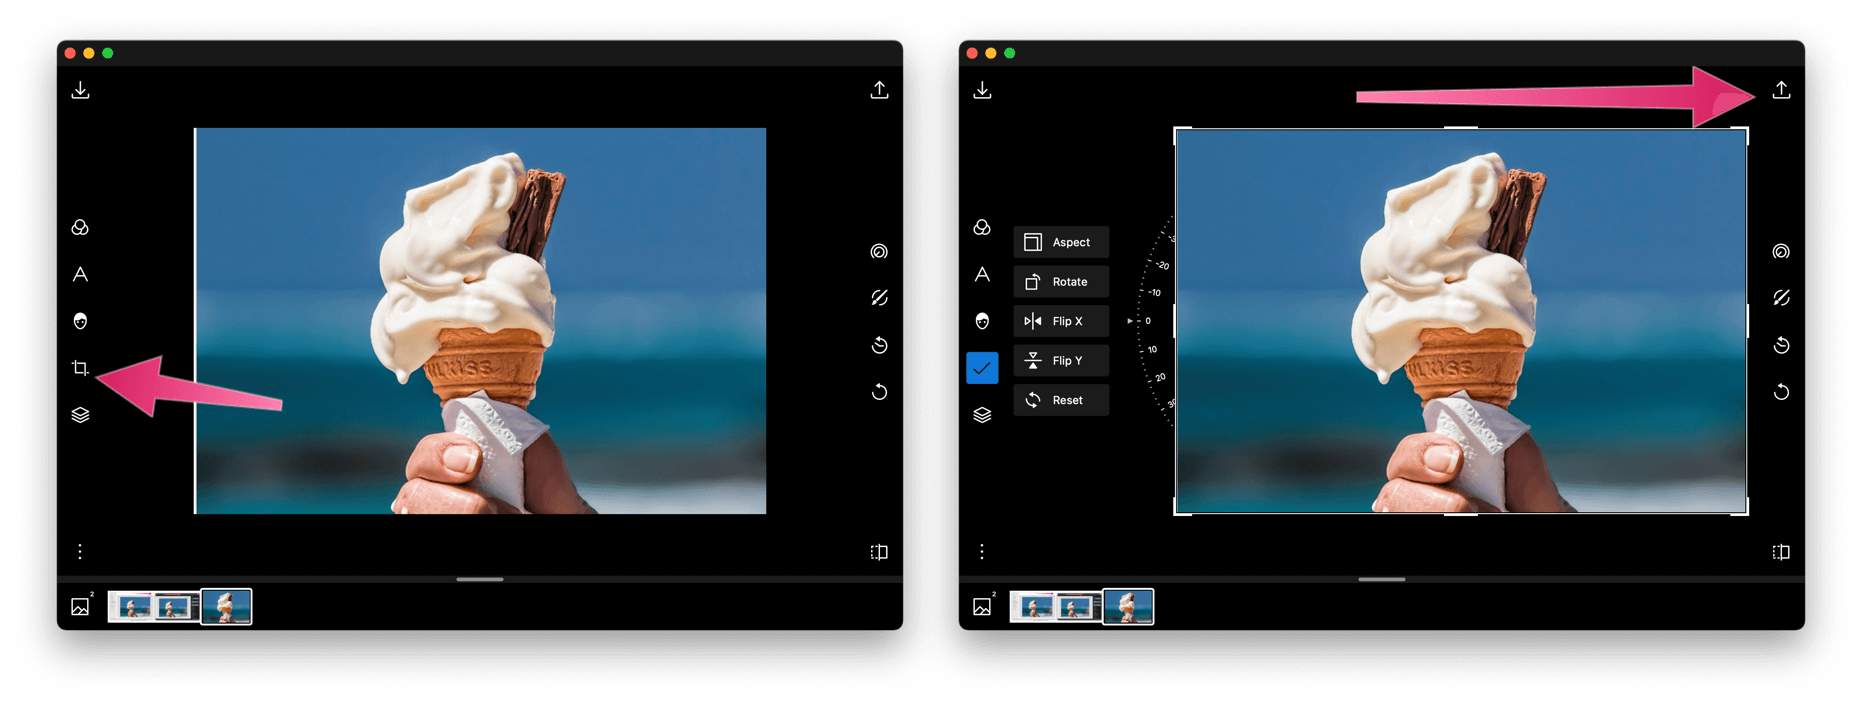
Third party solutions
There are a number of third-party applications that allow you to edit images; You can consult them by clicking on the section of Photo and video from the App Store.
Among them are favorites like Adobe Lightroom, Polarr Photo Editor, Pixelstyle Photo Image Editor and others. Similar applications are also available online. Each third-party photo editing solution acts slightly differently than the next when it comes to cropping.
As an example, let’s see how Polarr Photo Editor works with cropping. To edit screenshots with Polarr Photo Editor:
- Press File> Open.
- Select the photo you want to edit.
- On the left, press the clipping icon.
- Select the area you want to save.
- Press the icon Save photo to save the image.
Editing screenshots on a Mac
Whether you use a built-in tool or a third-party alternative, there are many ways to crop a screenshot on a Mac.


 a Screenshot on Mac")
