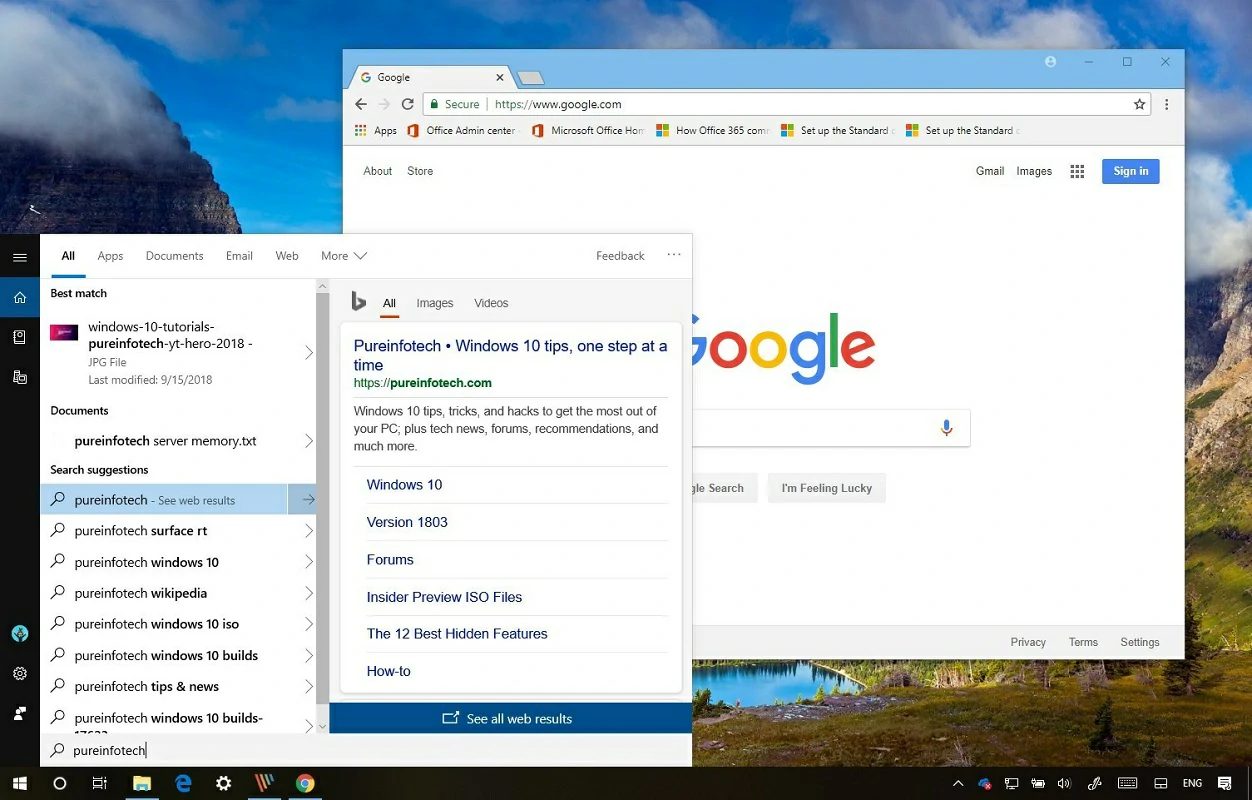
- Bing is the search engine that Microsoft has created to be able to compete with Google, forcing us to use it in Windows, even when we don’t want to, every time we execute a search from the Start, something that displeases a good percentage of Internet users
- Fortunately, Redmond gives us the leeway to get rid of not only Bing in the Start menu, but also the obvious Edge ads that appear when you search for Chrome.
Although there is no doubt that we are absolutely familiar with Google, that does not mean that there are no other interesting search engines. In Windows, for example, we find Bing. But if you’re tired of Microsoft’s search engine, We teach you the steps to follow to disable Bing in the Windows 10/11 Start menu and not bother you in the futurebeing able to carry out the searches later with the program you prefer for it.
As you probably know from experience, Windows 10 by default sends everything we’re trying to figure out from the start menu to Bing’s servers, in a way. forcing us to use this search engine, so that we become familiar with it and little by little we leave Google.
Unsurprisingly, though, most users don’t want to know anything by having to search Bing. Although we can blame Google for many things, most of the results we search for appear there, and we are so used to the way it organizes content that any other seems strange to us.
What to know before disabling Bing in the Start menu?
As we said, aside from this hiccup, we have a workaround that works since Windows 10 May 2020 Update and on Windows 11. In our tests, we’ve found that enabling this trick also disables Edge ads from appearing. when you search for Chrome in the Windows 10 Start menu.
In other words, the following is a tutorial for Microsoft to stop pestering us with its products. And it is limited, basically, to allowing us to install the ones from Google, which are the ones we use most of the Windows clients.
Disable Bing in Windows 10/11 Start Menu
As of this Windows 10 May 2020 Update, there is a new registry setting that specifically controls this option. You will have inferred, therefore, that we must configure the Windows Registry, whenever we want to disable web searches in the Start menu. So let’s see how to do it.
Before we begin, we have to warn you that Registry Editor is a powerful tool. Making the wrong changes can make your system unstable or even inoperable, so don’t skip the tutorial. It wouldn’t even hurt to back up your Registry before proceeding later.
- Open the Registry Editor, by clicking Start, and typing regedit in the Search bar
- Double-click on the Registry Editor shortcut, or press Enter, and Yes at the UAC prompt
- Navigate to the following address using the left panel, or copy and paste the following address into the bar:
ComputerHKEY_CURRENT_USERSOFTWAREPoliciesMicrosoftWindowsExplorer
- Once you are there, you have to create a new DWORD value by right clicking on the empty space of the panel, selecting New, DWORD (32-bit), naming it “DisableSearchBoxSuggestions” and with value “1”

You have automatically saved this change in the registry, you have to restart your computer for it to take effect. You can also try logging off and logging on, or restarting Windows Explorer, but if you want peace of mind, just restart your computer. Rebooted, Bing should no longer be on Start.


