
This post shows students and new users the steps to take when webcam or camera is not working and shows nothing when using Windows 11. When it comes to non-working devices in Windows, it can be a lot of things including missing drivers after a recent update, privacy settings that do not allow access to the camera for some applications or your security applications that prevent access to the camera.
Whether your camera is built into the laptop or connected via an external connector, the solutions should be almost identical, except when there is a hardware problem. For an external camera, make sure it is properly connected to the connection port and try using another USB port as well to see if that fixes the problem.
For all cameras, these troubleshooting steps should be followed to resolve common problems related to the webcam and computer cameras, including restarting the computer. Often times, the simple act of rebooting can get the camera working again.
The new Windows 11, when it is released in general for everyone, will come with many new features and improvements that will work very well for some and add some learning challenges for others. Some things and settings have changed so much that people will have to learn new ways of working and managing Windows 11.
But don’t be afraid, as we will continue to write easy-to-use tutorials for new users and students.
To get started troubleshooting the webcam in Windows 11, follow the steps below.
How to fix webcam problems in Windows 11
As we mentioned earlier, fixing webcam and camera issues in Windows 11 could come down to a few settings, and the steps below should get you started.
Check the camera’s on / off switch
Some laptops and camera devices have a physical switch that turns the camera on or off. When the webcam button is off, Windows will not recognize that a camera is installed. Re-enable it to allow Windows to see the camera again.
If your device does not have an on / off switch, continue with the next steps.
Restart your computer
Many problems are solved simply by restarting your computer. If your webcam does not work, shut down and restart your computer.
You can read this post to learn how to shut down your computer. Then turn it back on to see if it fixes the problems.
Check for Windows updates
If you restarted your computer and the problems are not resolved, go ahead and update Windows. Windows updates can also install drivers from devices, and running older device drivers can cause device problems.
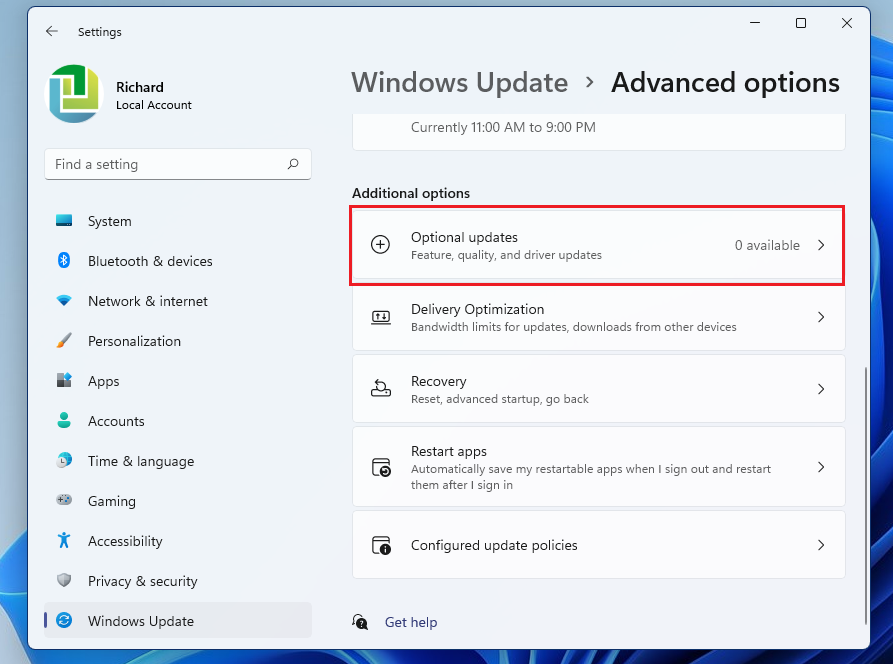
To check for updates and install optional drivers, click the Start button, then select Settings > windows update > Search for updates.
If updates are available, download and install them. If no updates are available, click Advanced Options, And below Additional options, Select Optional updates to see if updates are available for your camera. Allow available updates to install, then restart your device when ready.
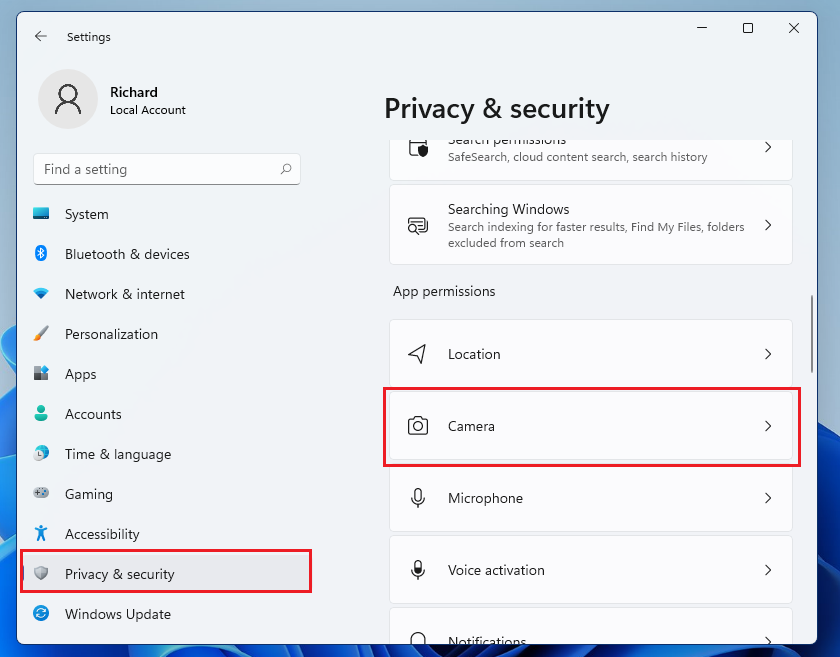
Windows 11 has built-in privacy settings that prevent some applications from accessing your computer’s camera, and you may need to give applications permission to use the camera. Some applications do not have default access to the camera.
To allow your device to access the camera, click the Start button , then select Settings > Privacy & Security > Camera.
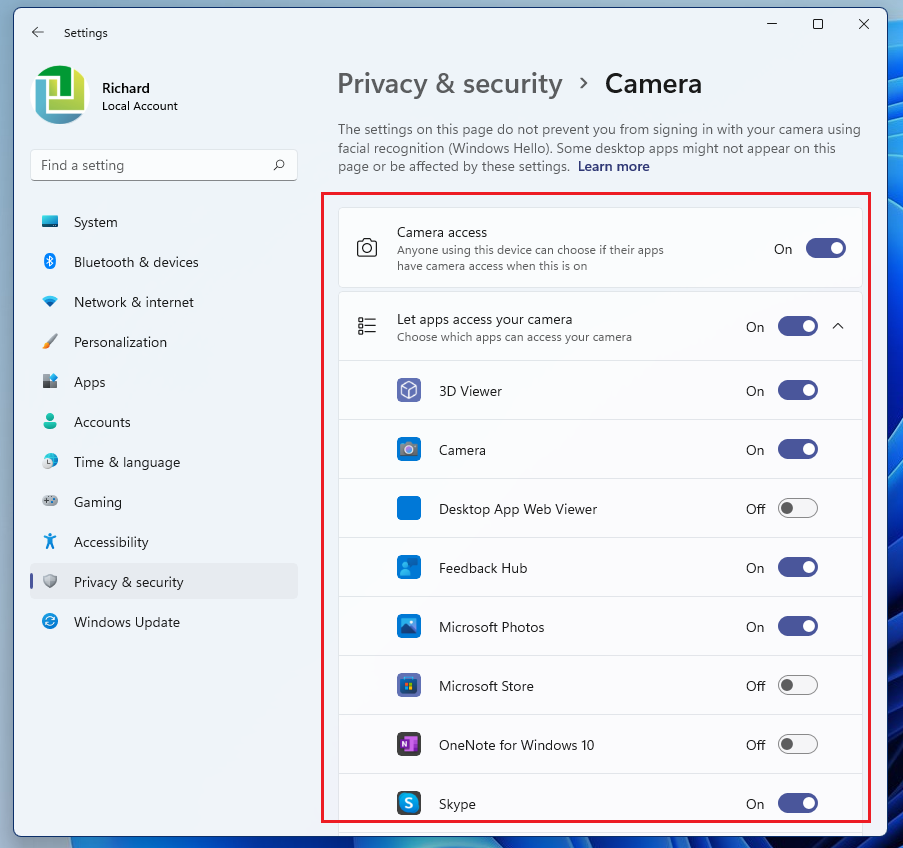
Make sure camera access is enabled. Then also confirm that the apps you want to use also have access to use the camera. Move the button next to the app to the On position to allow access to the camera.
After that, test the camera to see if that fixes the problems. If not, continue below.
Check the camera drivers
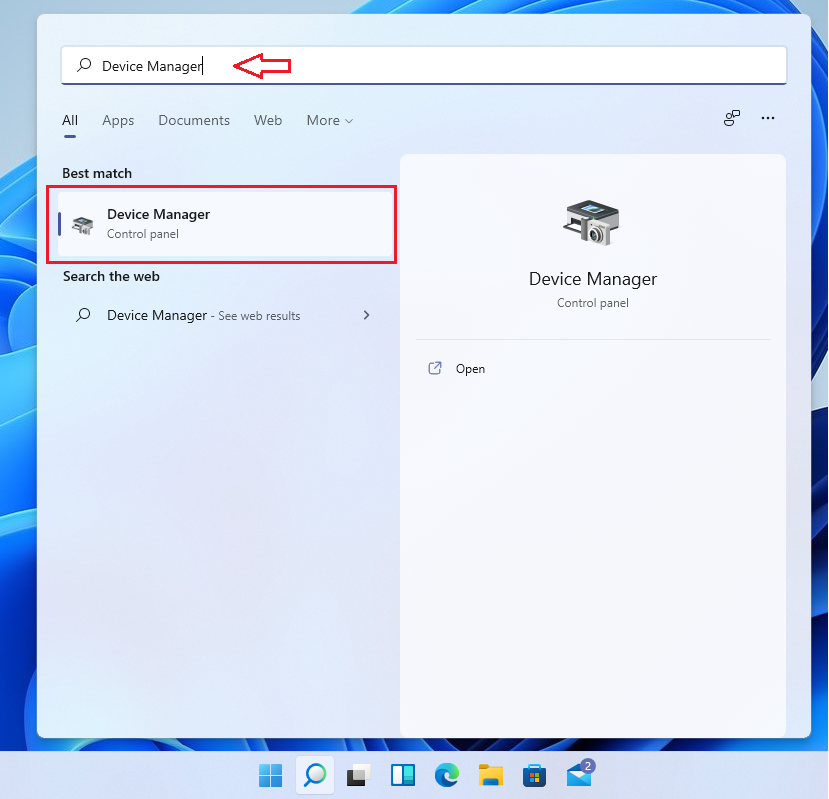
Next, make sure you select the correct drivers for your camera. To do that, click the Start button, then search Device administrator. Select to open the Device Manager application.
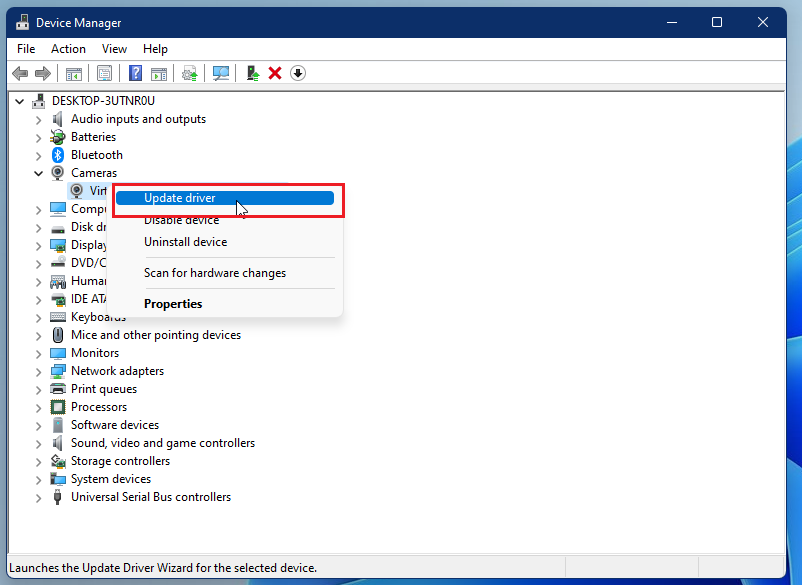
In Device Manager, expand Camera, then right-click the camera device and select Update driver as highlighted below.
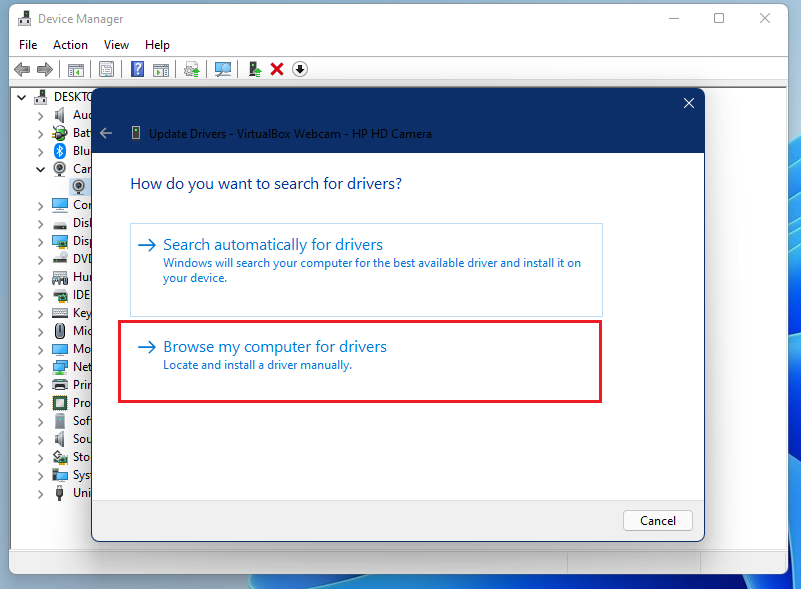
Then select Search for drivers on my computer.
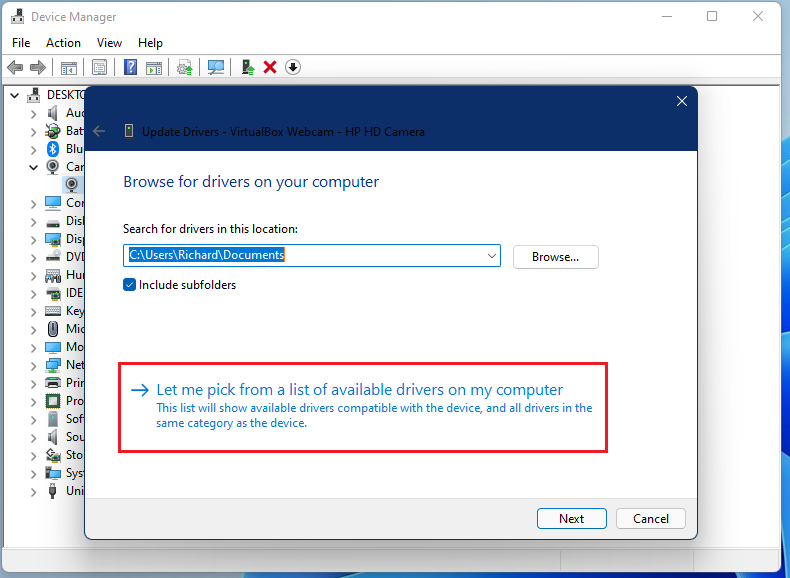
Then click on “Let me choose from a list of drivers available on my computer”
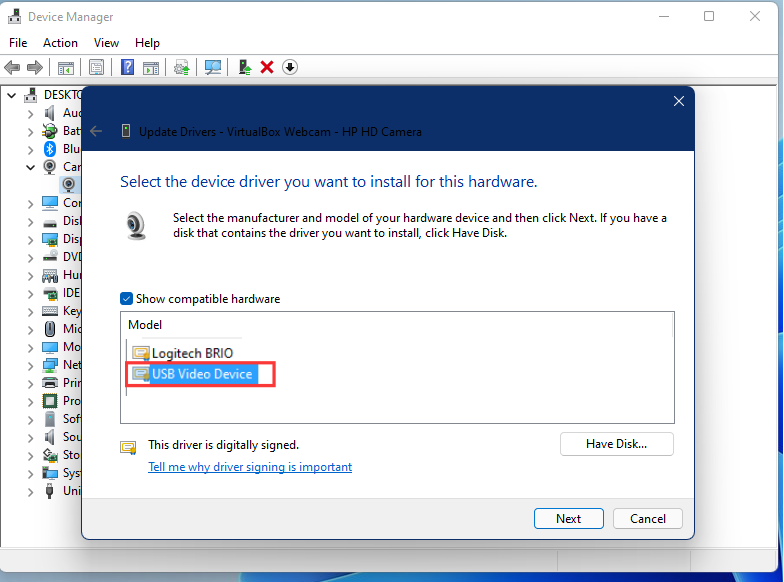
Then choose another device driver from the list. In some cases, there may be multiple drivers for a particular device. Switch between them to see which one works.
Click Next to install the selected driver. Restart your computer and test it.
Manually download the new driver
If all of the above steps don’t work, you may need to download a new driver from the manufacturer’s website. Get the device name in Device Manager, then Google and download the supported drivers for your device.
Then reopen Device Manager as described above, right-click the device, select Update driver, choose Search for drivers on my computerand select Then click “Let me choose from a list of drivers available on my computer”Then click on the Has a disk.
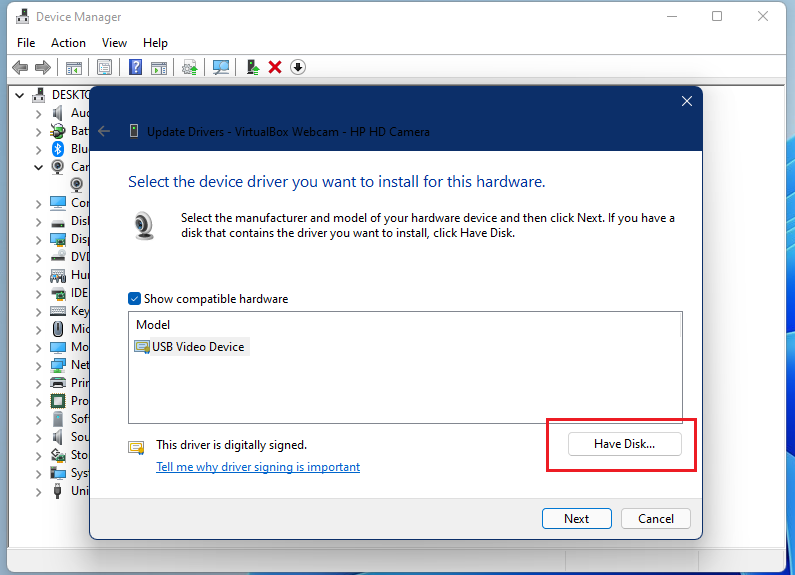
Find and select the downloaded driver and install it. Restart your computer and test it.
If you tried all of the above and the issues were not resolved, there may be a problem with the device itself and not the software. A hardware problem means that the device is broken and may need to be replaced.
That is all.
Conclusion:
In this tutorial we have seen how to solve common camera problems when using Windows 11. If you find any errors above or have something to add, use our comment form below.


