- Getting the attention of the audience is key, and the quality of your slides will be essential.
- Making an image transparent in PowerPoint is useful to better integrate it into its context
- How to convert an image, or photograph, to partially or completely transparent?
If you want your presentations to shine more, something essential to attract the attention of the audience, you should learn how to make an image transparent in PowerPoint step by step and better integrate it into its context. Thanks to this simple trick, the appearance of your slides will improve and they will look like they were made by a professional.
Advertising

In fact, making a photo transparent is one of the most interesting actions that we can perform within PowerPoint and many people don’t even know that they have this possibility and that it takes a few seconds. By reading the following lines, you will discover how to achieve that effect to make you seem like someone more important.
And, of course, whenever you are not completely sure that the modification is positive, you can undo it in just a few seconds to recover the previous aesthetic of that image or photograph.
How to make an image transparent in PowerPoint?
To get an image to become transparent in PowerPoint, you have to work on its opacity. Also keep in mind that you can apply this effect to the entire image or just a part of it.
- Open PowerPoint in Windows 10 or Windows 11
- Create a new presentation or open an old one
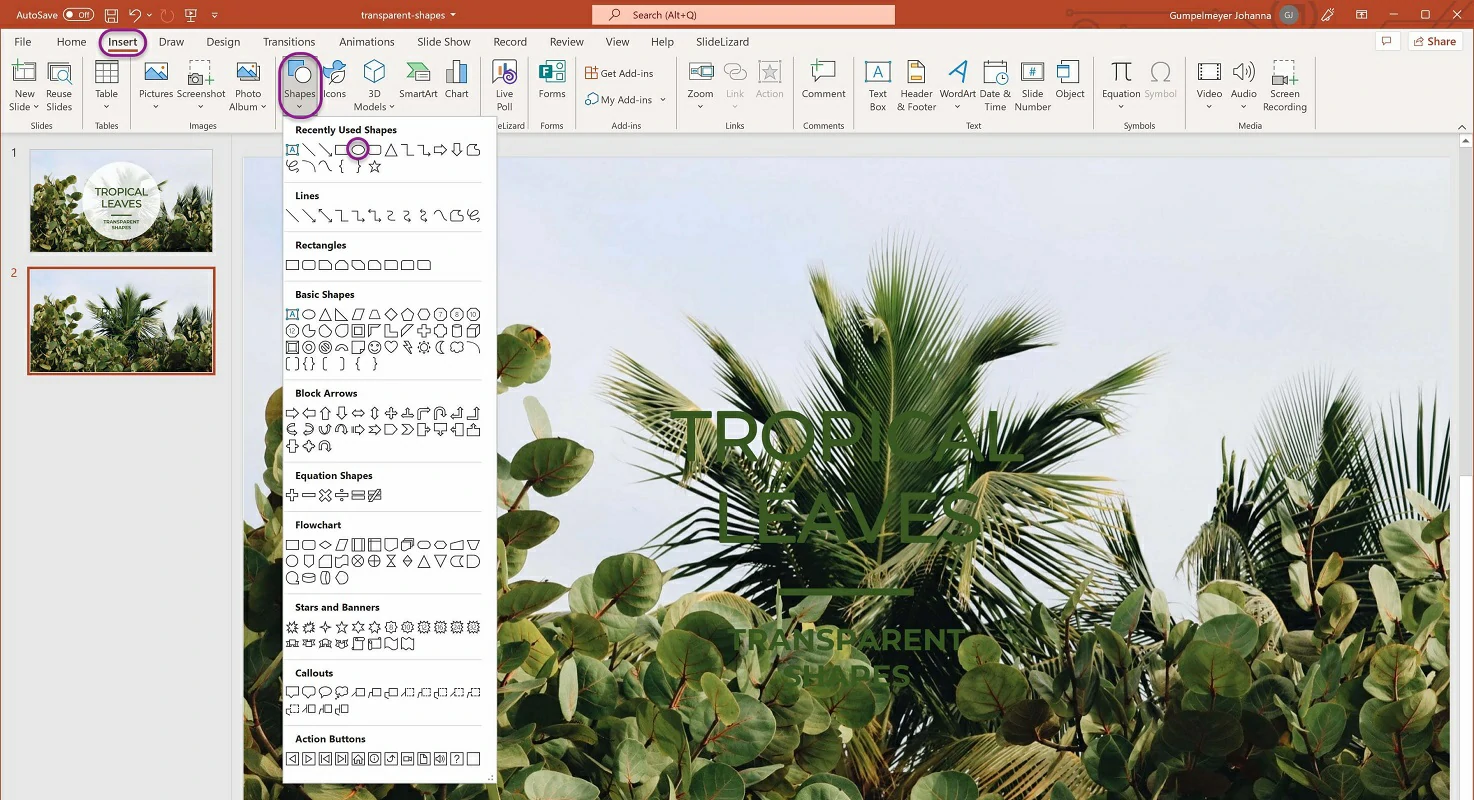
- Go to the Insert tab and then select the image
- Choose from where you want to insert the images from the menu

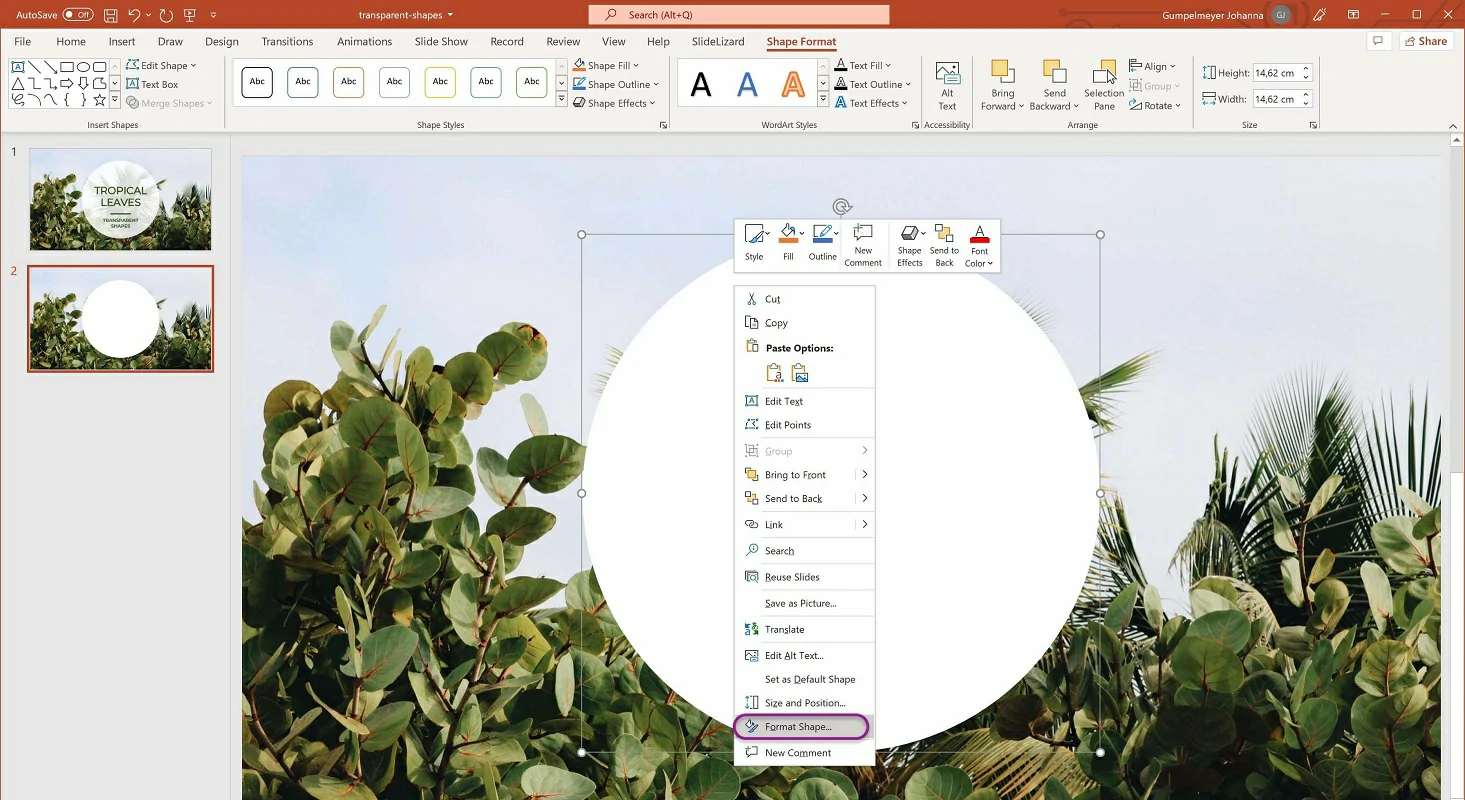
- Once the images are added, right click on any of them and go to Format
- To the right of the presentation, you will have the Image Format panel where you must click on Transparency
- Change the transparency scale with the arrow until you are satisfied with the result obtained
- Once you’re satisfied with the Preview, save the change and return to the slide

How to alter only part of the image?
If you want to alter or change the opacity of a specific part of an image in PowerPoint, you can.
Advertising

- Open PowerPoint in Windows 10 or Windows 11
- Create a new presentation or open an old one
- Go to the Insert tab and then select the image
- Choose from where you want to insert the images from the menu
- Once the images are added, right click on any of them and go to Format
- Through the Adjust group select Color and click on Set transparent color, near the bottom
- Press on the areas of the image and watch as those areas gradually become transparent
Of course, if you print the presentation it is likely that the transparent section will turn white on the printed copy.
Other frequently asked questions
Can I make the PowerPoint background transparent?
To make the PowerPoint background transparent, you have to insert the image into your presentation and, once this file is inserted, click on it to reveal the Image Format tab. There you will find the option to make it transparent. Click on Transparency and then pay attention to the Preview to analyze its development.
Why aren’t PNG images transparent in PowerPoint?
The explanation is that most printers do not accept transparent color formats in such a case. So when printed, the transparent part doesn’t look translucent but instead becomes white. You should consider it if you are using the PNG image format over others because it is better not to use it.
Did you like these tricks? We teach you other tricks for slides that not everyone knows.

