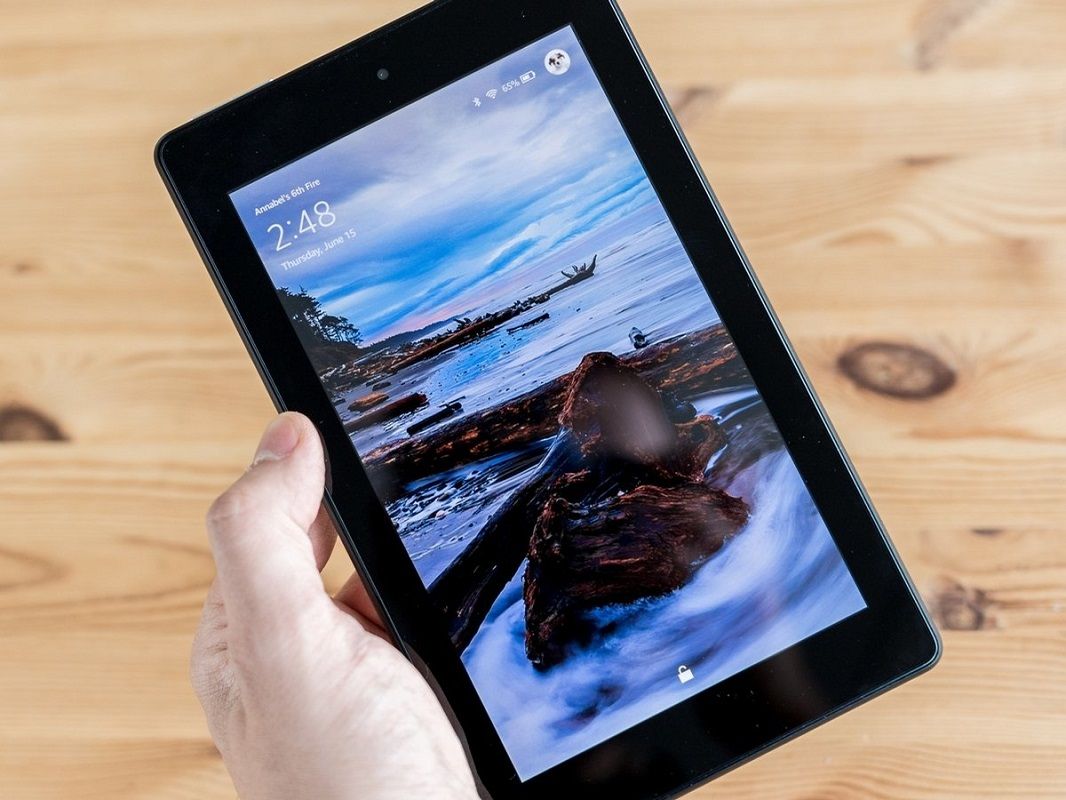
- Amazon Fires are a reliable alternative for tablet users
- When running Android operating system, taking screenshots in them is not difficult at all
- What’s the easiest trick for those screenshots, and what happens to the files next?
While it is true that Amazon will probably sound like the distribution giant that it is, we cannot lose sight of the fact that the North American firm has some of the best equipment on the market. Among them, tablets. Indeed, their tablets are known in much of the world, and a good number of Spaniards have one. So if you don’t know how to take a screenshot or screenshot on your Amazon Fire tablet, you must pay attention, because in this article we review all the steps you must follow to do it in seconds.
As we said, Amazon makes some of the best Android tablets on the market today, tablets with the operating system of the people of Google, and that are generally designed for the casual consumption of content, in its most basic lines, but also, if we go to the more advanced models, for productivity.
Beyond that, and regardless of which Amazon Fire model you have at home, it is highly likely that, at some point, you will find yourself in need of taking screenshots or screenshots.
Screenshot on your Amazon Fire tablet step by step
Fortunately, the fact that these tablets run Google’s Android operating system is a great advantage. Above all, because that means that we can take screenshots on Android here as on mobile phones.
Generally speaking, it is an extremely simple process, which you can complete by following these steps:
- Go to the exact screen you want to capture
- Press and hold the power and volume buttons at the same time
- After a few seconds, you will see an animation on the screen and you will hear a sound that confirms the screenshot
- At the top of the screen, there will be a notification with options like Share, Edit or Delete the screenshot

What happens after the screenshot is taken?
After taking the screenshots, you can enter the Photos app on your Amazon Fire tablet. Here you will see all the screenshots taken in the past. From there you can also share them, edit them or, why not, delete them, depending on how you want to do it, always in the same way as you do with any other file.
If you prefer this to be the case, the Photos application, which automatically backs up some of your photos to the cloud, You can include the Screenshots folder in your backups, so as not to lose them.
Beyond this, it is a fact that screenshots are useful in many waysFrom capturing an image at some point on the screen if you need help from a friend, to showing another that you have made a money transfer, or saving it to be able to see some important information in image format.
Be that as it may, you already know that the next time you need to take a screenshot on your Amazon Fire tablet, you can do it directly: pressing these buttons, without delay, and storing them on your device.
Have you been able to take a screenshot on your Amazon Fire tablet with this step by step?


