
Wireless technology is great for connecting mice, keyboards, controllers, headphones, speakers, and more without cables. This enormous comfort helps us not to depend on annoying cables and we all know that when we are assembling our computer it is normal for us to ask ourselves, Where do I put all these cables so that they do not disturb or show each other? The ideal is, even if it is, save some and if we learn how Activate or enable Bluetooth on Windows 11 we can avoid so much cablerío.
In this way, we could have the speakers, the controller, keyboard and mouse without cables. Basically it is about having a little more comfort, even surely on some occasion with wired headphones you were listening to music, suddenly you want to get up, perhaps to make yourself a coffee and it turns out that you end up breaking the cables of the headphones. who has not happened to him?
Luckily, there are two ways to activate Bluetooth in Windows 11; We can do it from the quick settings menu or from the Windows Settings application. So let’s see how we can enable bluetooth and then we will teach you how to connect any device.
Activate Bluetooth from the quick settings menu

Obviously the fastest way to activate Bluetooth in Windows 11 is from the quick settings menu. In order to access it, we must click on the icons that are just to the left of the date and time on the taskbar.
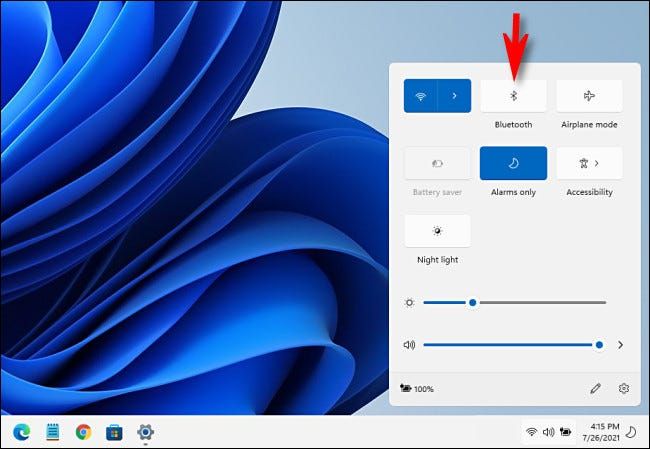
Next, the quick settings menu will appear, we will simply have to click on the Bluetooth icon to activate it. In case we do not see the Bluetooth icon in the quick settings, we will simply click on the pencil-shaped icon at the bottom to be able to add it to the list of shortcuts.
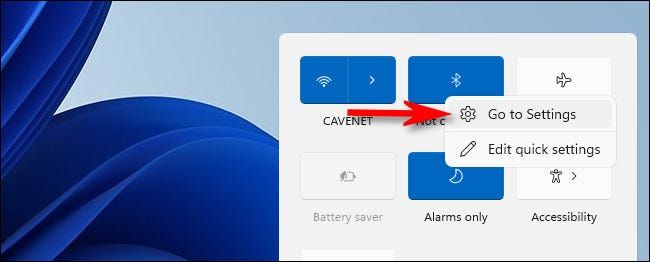
After doing this, the color of the button will change and it will turn blue, which means that Bluetooth is activated and ready to make a connection with a device. We will have to right click on Bluetooth and then we will select “Go to settings”.
Once we did this, we will simply have to go to the section of add a Bluetooth device to Windows 11 that you can see a little further down in this article.
Enable Bluetooth from Windows Settings
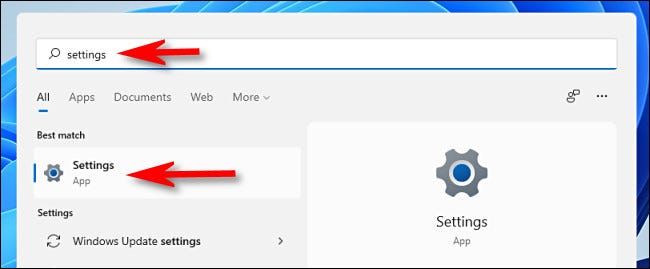
The other way to activate Bluetooth is from Windows settings. For this we can press Windows + i and it will open. We can also use the built-in search engine of the operating system and write “Configuration”.
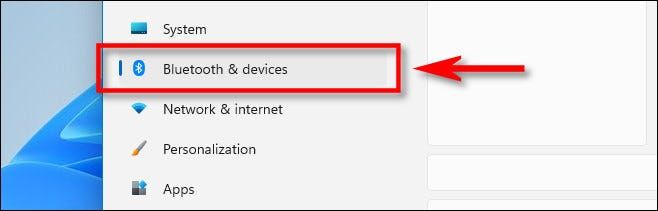
Once we are in configuration, we will have to click on “Bluetooth and devices” in the left sidebar of the screen.

Then, we will have to press on the switch next to Bluetooth so that it is activated.
After this we will be ready to connect any device that is suitable for making a wireless connection.
How to add a Bluetooth device to Windows 11
Obviously we are going to have to go to Settings> Bluetooth and devices, in either of the two ways that we showed you previously. Now is the time to connect our first device via Bluetooth.
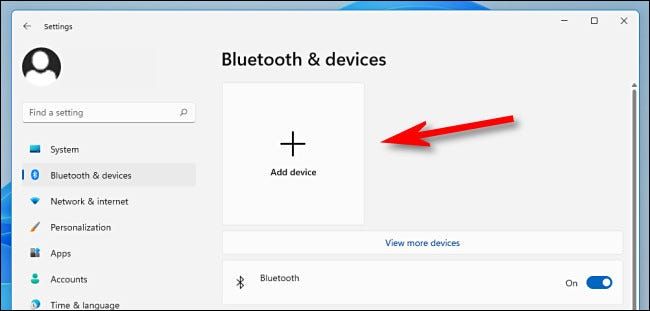
For this we will have to be in the “Bluetooth and devices” section and we will click on the big button that has a plus sign “+” and that says “Add device” at the top of the configuration window.

Once we click on this section, a new window called “Add a device” will appear, we will have to select the first option “Bluetooth”.
Bluetooth device pairing mode
The next thing is that the device we are trying to connect must not only be turned on, it must also be in pairing mode. In case you don’t know how to put it in pairing mode, we recommend that you read the instruction manual of the same device.
Although generally it is by pressing a physical button on the device or a combination of two buttons. It will depend on the device in question.
For example, if we want to pair a PS4 controller, we will have to press and hold the PlayStation and Share buttons at the same time for a few seconds until it appears on the screen.
A small detail is that, on keyboards, on many occasions it asks us to enter a code. It is not too complicated, we simply put the number that appears on the screen from our wireless keyboard and then we give it Enter.

When it appears on the screen, we simply click it and it will start pairing. This process does not take too long so in a matter of seconds you will have your device paired via Bluetooth to your computer, ready to use without the need for cables.
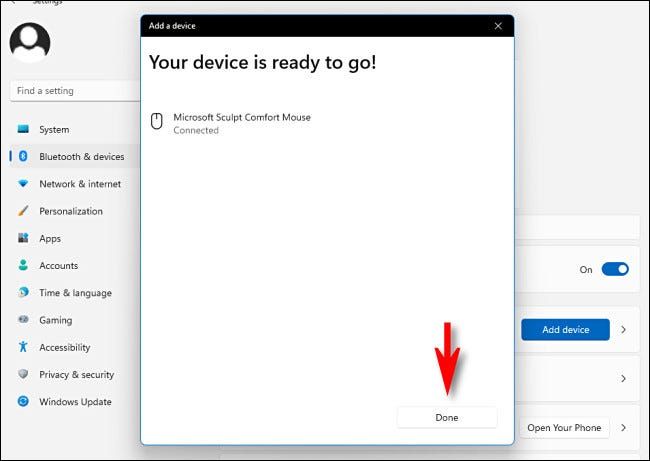
After “Your device is ready to work” appears, the only thing left to do is simply click on “Done” at the bottom and we will have the device connected.
The devices that we link to our computer will remain linked until we unlink them or link them with another device. For example, the PS4 controller will always be linked to the computer, until we link it back to the console. This means that this process, we will have to do it only once, unless we decide to link these devices on other computers or consoles.
Troubleshooting Bluetooth devices
In case you have problems connecting a Bluetooth device, the first thing to make sure is that Windows 11 is completely up to date and that the device drivers are installed. Bluetooth devices generally don’t need drivers, but like everything in life, there are exceptions.
Also, we must bear in mind that desktop computers do not come with Bluetooth, we must add it separately. For this we can use an internal plate or simply use a Dodge or a Bluetooth adapter, which would be like small USBs that we connect to the computer to serve as a receiver.
On the other hand, laptops already have integrated Bluetooth, so you shouldn’t have any kind of problem.
Another thing to keep in mind is that Bluetooth devices can interfere with the strength of the Wi-Fi signal. We can try to change the bands of our Wi-Fi 2.4 or simply connect directly to the 5 Ghz connection.


