 on Mac")
For a company that prides itself on great design and usability, multitasking on the Mac has always been a bit of a letdown.
Until recently, if you used more than one window on a Mac, you basically had three options. You could keep them all open on one screen, you could minimize unused windows to the Dock, or you could use Mission Control to create different desktops and switch between them.
Neither of these options is ideal and neither is really, well, Apple. The introduction of split screen improved multitasking a bit, but it was still not the best solution if you were using multiple windows.
visual organizer (Stage Manager in English), which is also available in iPadOS 15, represents a new attempt to make working with multiple windows more intuitive, and it seems like a big step forward. If you want to know how to use Stage Manager on Mac, follow these steps.
What is Visual Organizer (Stage Manager)?
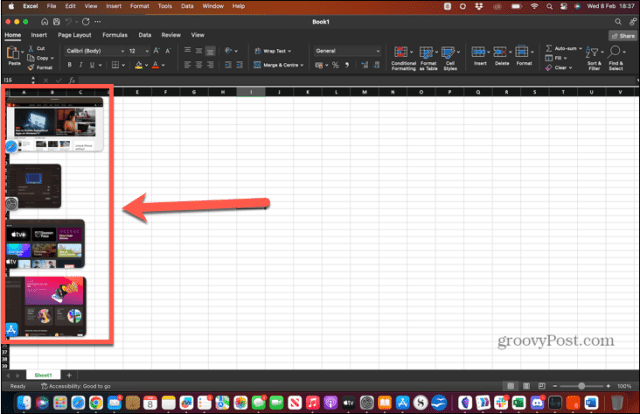
Stage Manager is a multitasking feature for Mac and iPad that places thumbnails of open windows to one side of the screen while keeping one or more windows in the center of the screen.
Thumbnails update so you can keep track of any changes to those windows without having to open them. Clicking on one of the thumbnail windows or opening a new application moves it to the center of the screen, while the current window becomes a thumbnail. You can also create groups of multiple windows that can be opened with a single click.
How to enable and disable Visual Organizer (Stage Manager)
Before you start using Stage Manager, you’ll need to learn how to turn it on and off. This is because the feature is not enabled by default.
You can enable or disable Stage Manager in System Settings or through Control Center.
To enable and disable Stage Manager in System Settings on Mac:
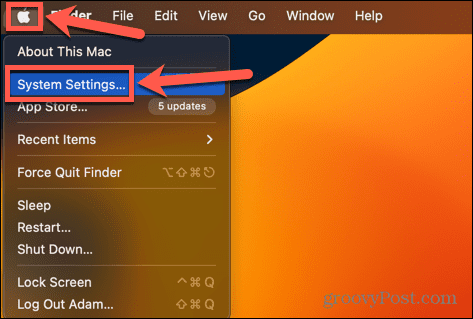
- Click on the icon Manzana and select System configuration.
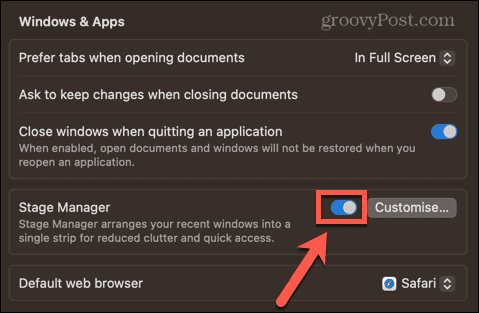
- In the menu on the left, scroll down and click Desktop and Dock.

- In Windows and applicationsactive Stage manager.
To turn Stage Manager on and off in Control Center:
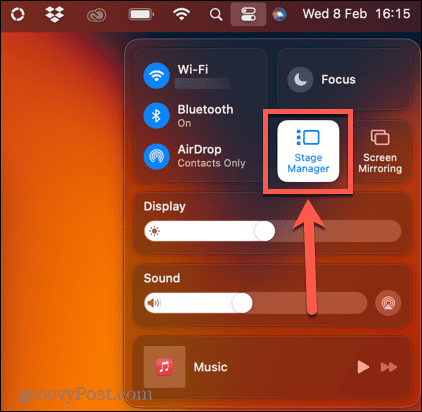
- Click on the icon Control center from the menu bar.

- Locate the icon of the Stage manager. If it is white, Stage Manager is active. If it is gray, Stage Manager is not active.
- Click the icon to toggle between states.
How to use Stage Manager on Mac
Once Stage Manager is activated, you can start using it. You may already see some miniature windows on the side of the screen. Stage Manager allows you to switch between individual application windows, but you can also use it with multiple windows of the same application or create groups of applications that open and close together.
How to use Stage Manager with individual applications
If you want to use only one app at a time in Stage Manager, it’s easy to switch between the current app and those stored in Stage Manager.
To work with individual applications in Stage Manager on Mac:
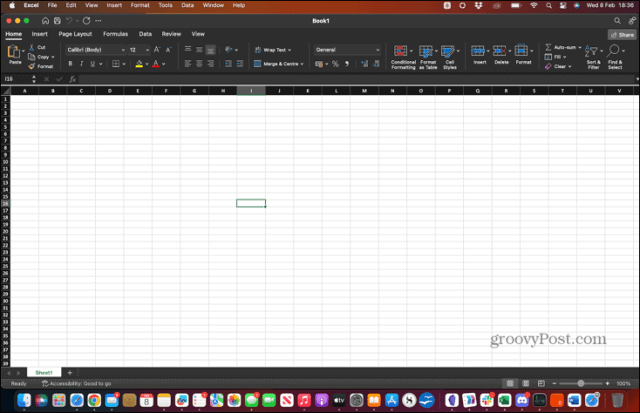
- Open any app. Make sure it is not in full screen mode, as full screen windows will not appear in Stage Manager.
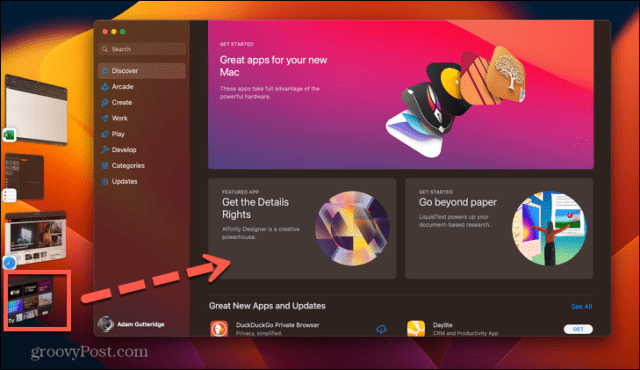
- Open another app. This application will now appear in the center of the screen. The first app will appear as a thumbnail on the left of the screen.

- To go back to the original app, click on the thumbnail and the two apps will switch places.

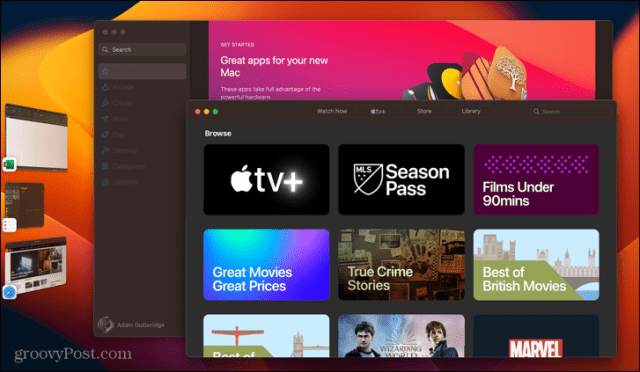
- Opening more apps will add more thumbnails to Stage Manager. You can have up to six, depending on the size of your screen.
- If you open more than the maximum for your computer, the older thumbnails will reappear as you close the newer ones.
- You can also move an app to the side by minimizing it – it will appear in the Stage Manager instead of the dock.
- If you want your app to fill the entire screen, instead of pressing the green button, drag the edges of your app window to resize it until it fills the entire screen.
- To see the other Stage Manager apps, move your pointer to the left of the screen. The thumbnails will appear and you can use the Stage Manager as usual.
- When you click on a thumbnail that you previously resized to fit the entire screen, it will reappear at this same size.
How to use Stage Manager with various applications and groups
You can also use Stage Manager to manage multiple windows of the same application or to group applications so that they open at the same time.
To use Stage Manager with multiple applications:
- If you open several windows of the same application (such as several Word documents, for example), they will appear in the same thumbnail.

- By default, clicking on this thumbnail will open each window one at a time, leaving the others in the Scenery Manager. It is possible to change this behavior so that clicking the thumbnail will open all windows for that application at once, as explained in the next section.
- If you want to use more than one application at the same time, you can create a group of windows that will act as a single thumbnail in a similar way to a group of windows for the same application.
- To do this, open the first app you want in your group, and then open the second one. The first app will be moved to Stage Manager.
- Touch and hold this thumbnail and drag it to the main window next to your second app. You can also hold down the Shift key while clicking on the thumbnail.
- Both apps will now appear at center stage. You can rearrange or resize them, but don’t put them in split screen mode, as this will remove them from the Stage Manager.
- When you open another app or group from Stage Manager, your new group will appear as a single thumbnail.

- Clicking on this thumbnail will open both apps in the same positions as before.
- To remove an application from a group, drag it to the left in the Scenario Manager, or hold down Shift and click the window of the application you want to remove.
- If you want to drag files or folders from one center stage application to another in the Scenery Manager sidebar, drag them over the corresponding thumbnail until the thumbnail moves to center stage. You can then drop the files as usual.
- If there are apps you don’t want to appear in Stage Manager, tap Cmd+H when that app takes center stage. The app window will be hidden and will not be visible in Stage Manager. To reopen the app, click its icon in the Dock.
How to change Stage Manager settings on Mac
Stage Manager only has a few settings to choose from on your Mac, but these settings have quite significant effects.
To change the stage manager settings:
- Click on the icon Manzana and select System configuration.
- In the menu on the left, scroll down and click Desktop & Dock.
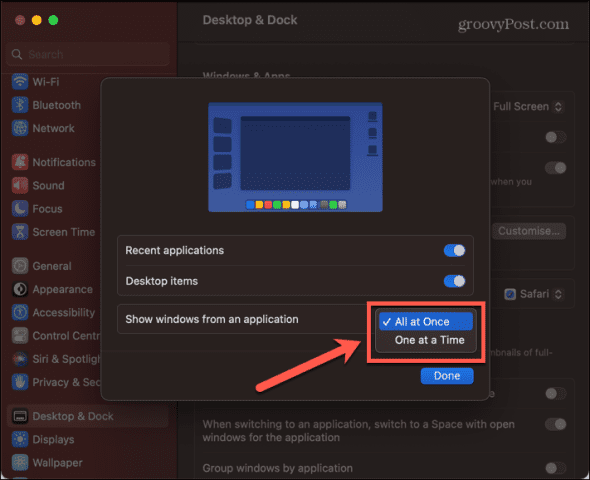
- In Windows and applicationsClick the button Personalize located next to the Stage Manager switch.

- recent apps puts the most recently used apps to one side of the screen. If you turn this option off, they won’t appear until you move the pointer to the left of the screen.
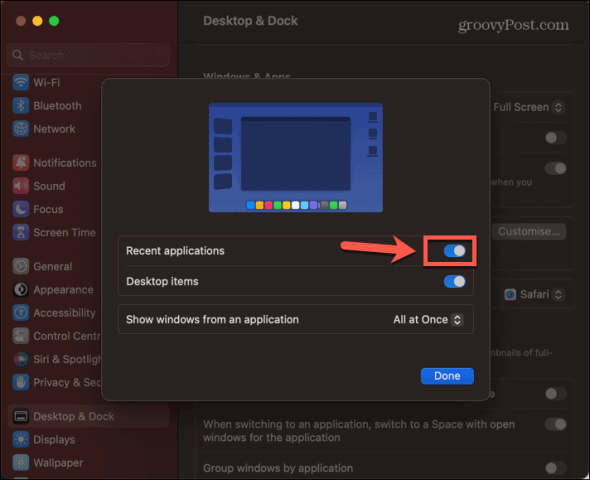
- desktop items determines whether files and folders on the desktop are visible when Stage Manager is activated.

- Show application windows changes the behavior when dealing with multiple windows for the same application.
- Everything at once open all windows at once when you click on that app’s thumbnail.
- One by one opens a window each time the thumbnail is clicked.
More must-have multitasking features on Mac
Learning to use Stage Manager on Mac can help you spend more time using your apps and less time trying to find where they’ve gone. It’s a step up in Mac usability, and it works great on the iPad, too.

