
Using tables in Microsoft Word is really simple and on many occasions it can help to illustrate some important text, especially if we have to make a presentation or send it through Outlook. But the tables that are added by default do not always meet our needs. So we will show you how Modify the properties of a table on Word to adapt them to your document.
Modify properties of a table in Word
In the properties window of the table we have several configurations available such as: Table, Row, Column and Cell, they are used to apply all the configurations to their respective sections. In the case of Alternative Text, it allows us to add alternative text especially for those people who do not have good vision or cognitive deficiencies and who cannot see or understand the object; basically it would be to improve the accessibility of the content.
Properties of a table

We start Microsoft Office and select Word. Now we create a table or we will use one that we already have in a document, it is the same. We will right click on said table and select “Properties” in the context menu. We can see that a new window appears called “Table Properties”.
Here we will find different options, in “Preferred width” we can mark the option to configure the size of the table. In “Measure in” we can measure the width of the table, it can be done in inches or percentages.

In “Alignment”, it is possible to change the position of the table left, right or in the center.
If we want, for example, to position it on the left side, we can set an indent distance in the Indent box. As for “Text wrapping” we basically decide how close we want the text to be, it is best to choose “Around”.
In case we want the text wrapping to be more detailed, then we will have to choose “positioning” and then we will select the options we want from the Table Positioning dialog box.
Other options are: change the border style, line color, line width, etc. It is very simple, we will only have to click on “Border and shading”. Other properties that we can change are: top and bottom cell margins, cell spacing, and automatic resizing of cell content, all this from the “Options” button.
Row properties
Another tab that we will find will be the Row tab in Table Properties. Here we can also modify many options.
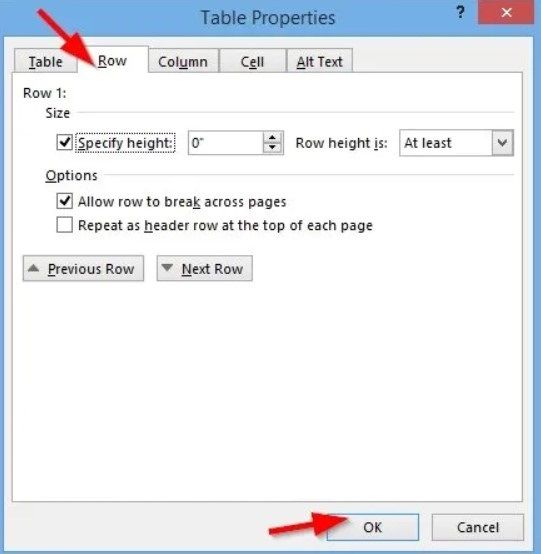
In “Size” we can mark the checkbox “Specify height” to change the height of the row table. In “Options” we can mark the checkbox to “Allow the row to be divided between pages or repeat as a header row at the top of each page.
Column properties
In this section we can modify the size, we will mark the “Preferred width” check box and we will have to choose a frame size. In the option “Measurement”, we can choose the size specifying it in inches or percentage.
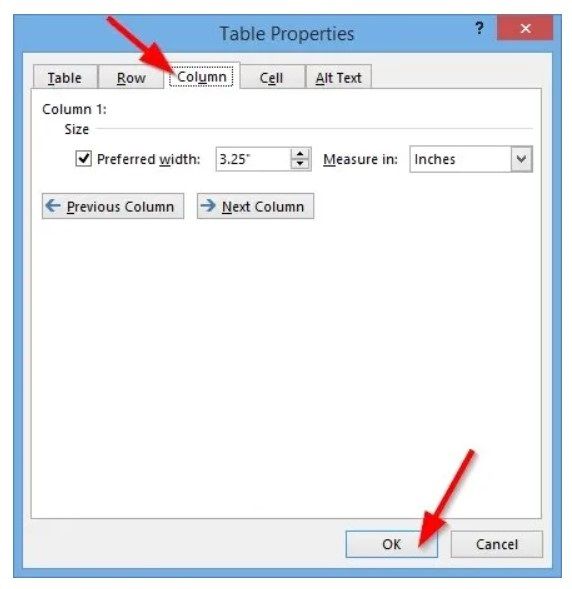
We can navigate between the columns without having to leave this dialog box, the only thing we will have to do is click on “Previous column” and “Next column”.
Cell properties
We mark the checkbox “Preferred width” in case we want to change the size of the box. From “Measurement” we can also choose if we want to configure the size in “Inches” or “Percentage”.
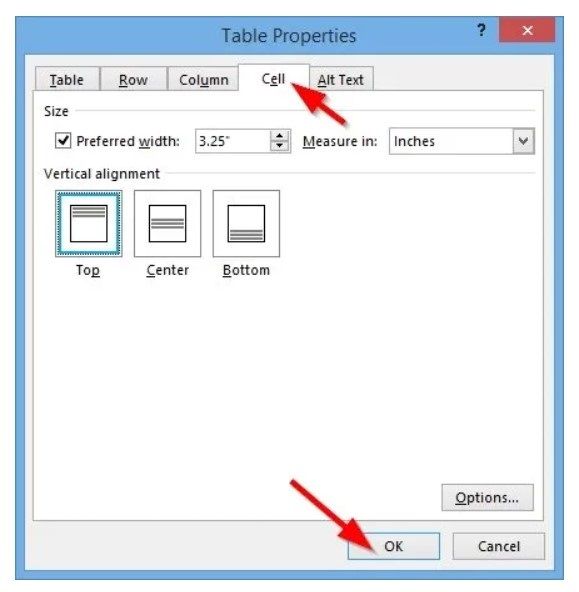
If we go to “Vertical alignment”, we can choose if we want the content of the cell to be at the top (by default) center and bottom. We can change more options like: top and bottom cell margins, text wrapping, etc. Everything from the “Options” button.
Alternative text
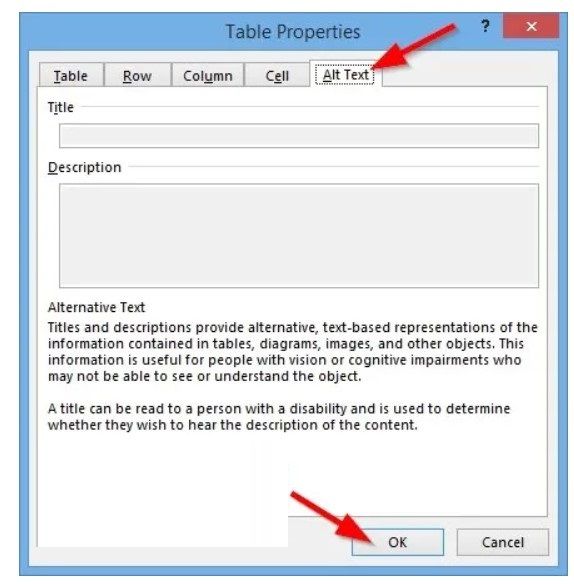
Basically we can add a “Title” and “Description” to help people better understand the table or for those who have trouble differentiating objects.


