
The File Browser of windows is one of the tools that we use the most every day in Windows, so when we find that it takes in opening, is something that can end up frustrating too much. Luckily, there are several methods to try to solve this problem in a few steps.
File explorer takes too long to open in Windows 10 and 11
Restart File Explorer how long does it take to open

The first thing we will have to try is the simplest, which would be to restart File Explorer. But be careful, we are not talking about restarting the PC, only the browser. For this we will do the following:
- We right click on the Start icon and open the Task Manager.
- We look for Windows Explorer and we right click on it.
- Finally we choose Restart.
After it reboots, we will reopen it and check if the issue still occurs. In case it does, we will try the next method.
Disable quick access
The Quick Access Toolbar has a variety of shortcuts for different commonly used functions in File Explorer. In case our system is overloaded, having quick access enabled, what it will do is overload the File Explorer more. So we have to disable it to lighten the load.
- We open the File Explorer.
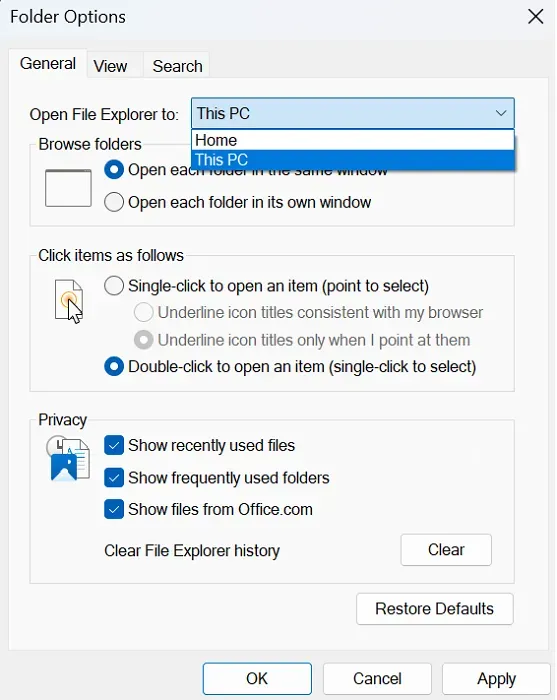
- We click on the ellipsis at the top and choose Options.
- We will uncheck the Show recently used files and Show frequently used folders in quick access checkboxes.
- We click on Delete> Apply> Accept so that the changes are applied.
Disable preview pane
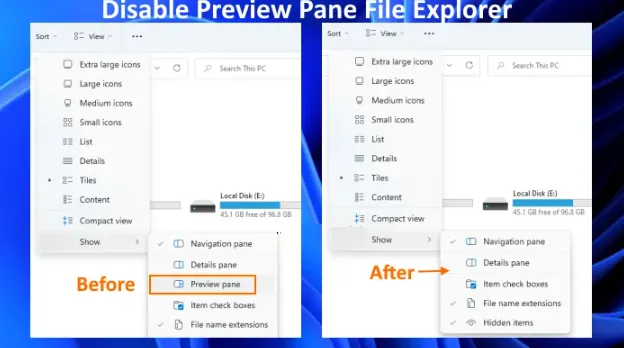
Another option that we have to solve this problem is by disabling the preview panel from the File Explorer context menu. Preview helps us see the selected file type and turning it off can help File Explorer work faster.
The process to achieve this implies that we make a small modification in the Registry Editor, we always recommend creating a backup before proceeding to make changes in the Windows Registry Editor.
We start by pressing Windows + R, type regedit and press Enter. We will have to navigate through the left sidebar to the following address:
HKEY_CURRENT_USERSoftwareMicrosoftWindowsCurrentVersionPoliciesExplorer
Next, we are going to right click on a blank area, choose New and create a DWORD (32-bit) value key to which we will put “NoReadingPane”. After creating it we are going to right click and choose Properties. We will change its value to 1.
In order to see the changes applied, we will have to restart the computer. Once we do that, the Preview Pane option will no longer be available. In case we want to enable it later, we will need to remove the DWORD (32-bit) value for NoReadingPane.

