
add subtitles still video is an excellent way to convey compelling messages and with CapCut the whole process is easier. This app is used for video editing on iPhone or Android and is widely used for social networks like TikTok. It has a large number of very interesting features, among which we find the possibility of adding subtitles.
Add subtitles in CapCut automatically
A function that is considerably useful and that will help us considerably to save time; is the ability to add subtitles automatically. Best of all, we can edit them manually later in case the automatic subtitles have an error.

The first thing we will have to do is start the CapCut application, which we can get from this linkand create a new project.

Next, we are going to import the video that we want to edit.
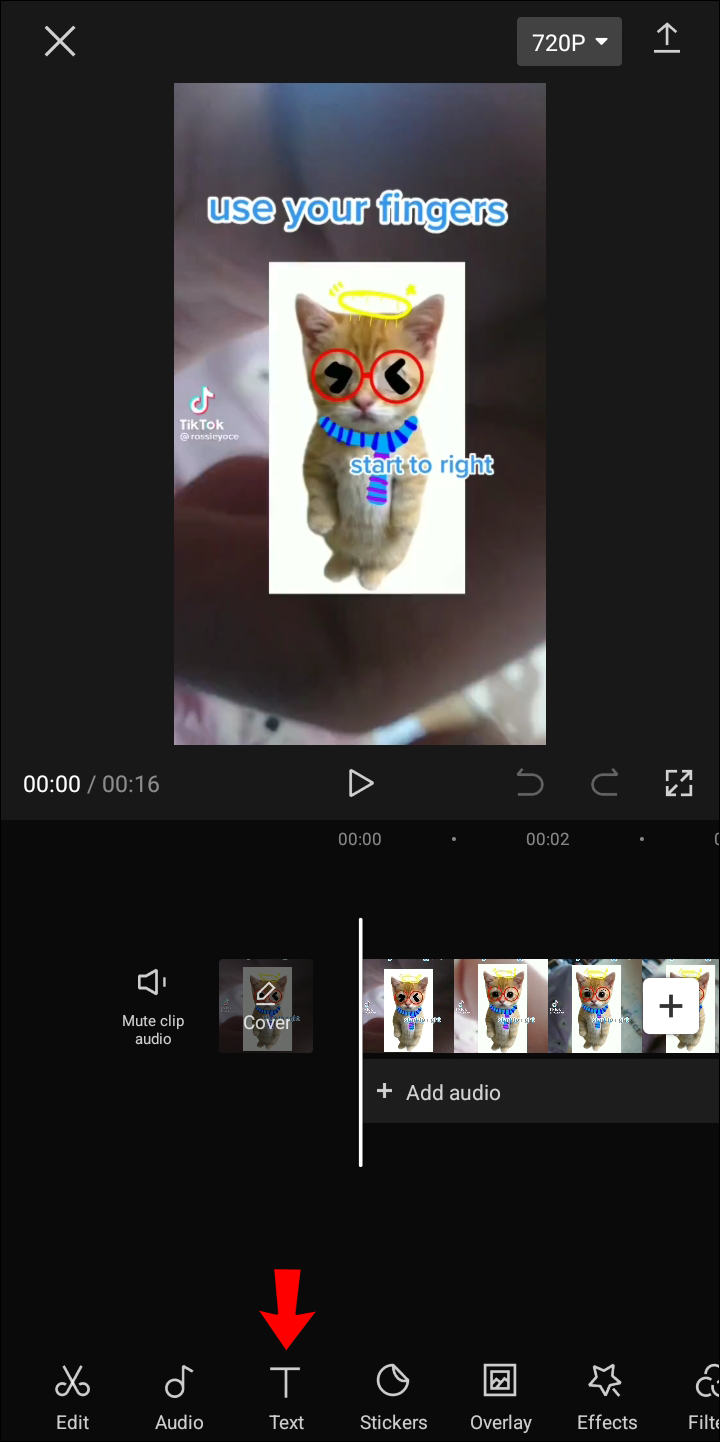
In the menu bar at the bottom, we will have to look for the option that says Text.

Right here we can find Automatic subtitles.

We can choose sound options in the popup dialog. We will have three options available:
- Original sound: ideal if the narrator of the video is in it.
- Voice-over: when the video includes a pre-recorded voice-over that accompanies what we see in the video.
- Both – Basically, you combine the two options above.
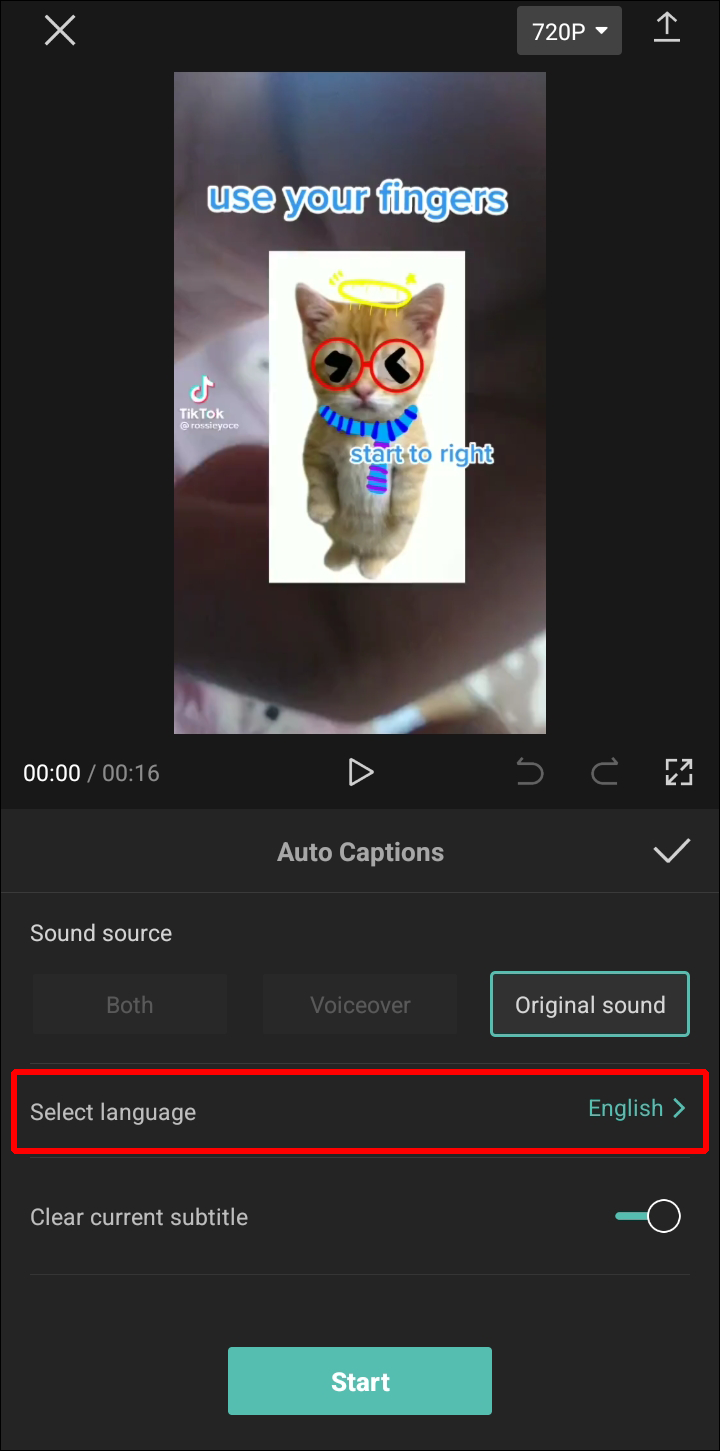
Next, we will have to select the language of the video.

When we have everything ready, we are going to press Start and we will have to wait for the application to process all the subtitles.
Obviously, the processing time will largely depend on the length of the video. However, once the process is finished, we can manually edit the text in case the app made some mistakes. This option can be found in the Batch Edition menu.
But as if the above were not enough, we also have the option to edit the style of the subtitles from the Style menu. Thanks to this feature, we can customize the way subtitles are displayed.
Add subtitles manually
Obviously, manual video editing will end up being much more complex than processing much of the subtitles automatically. When we automate it, we may find errors, but these can be corrected quickly and in most cases these errors will not exist. So we will save a lot of time.
On the other hand, if we want to create manual subtitles, we will have to do it from scratch, without help of any kind.
We start as in the previous section, we create a new project, we choose the video that we want to edit and press Add.

We proceed to adjust the white line that determines the part of the video where the subtitle will appear. We can drag it to the left or to the right to go backwards or forwards in the video respectively.
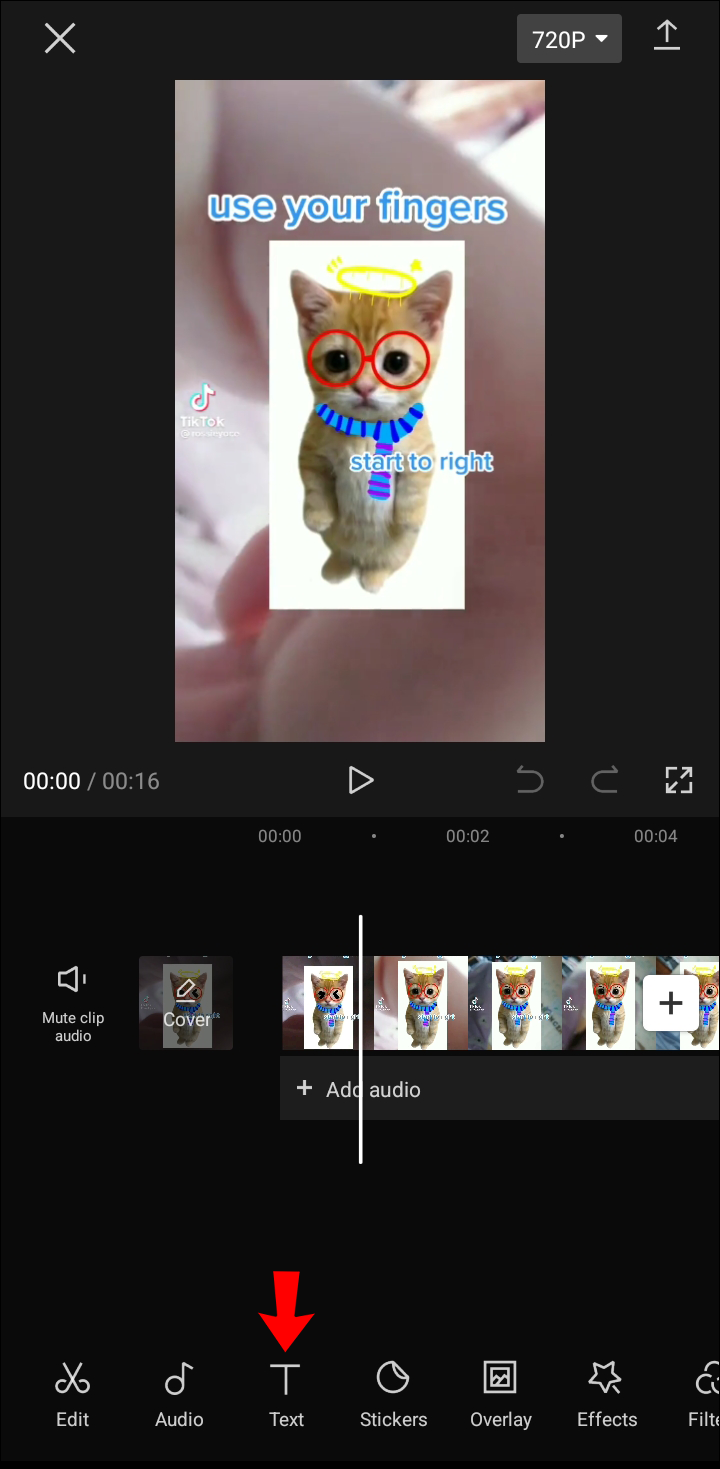
Once we are at the time where we want to add the subtitle, we will click on the Text option found in the lower menu. Here we will see a wide variety of options.

The option that interests us is the one that says Add text because it is the most customizable way to add subtitles. We will also find other options such as Text template that will offer us predesigned text.
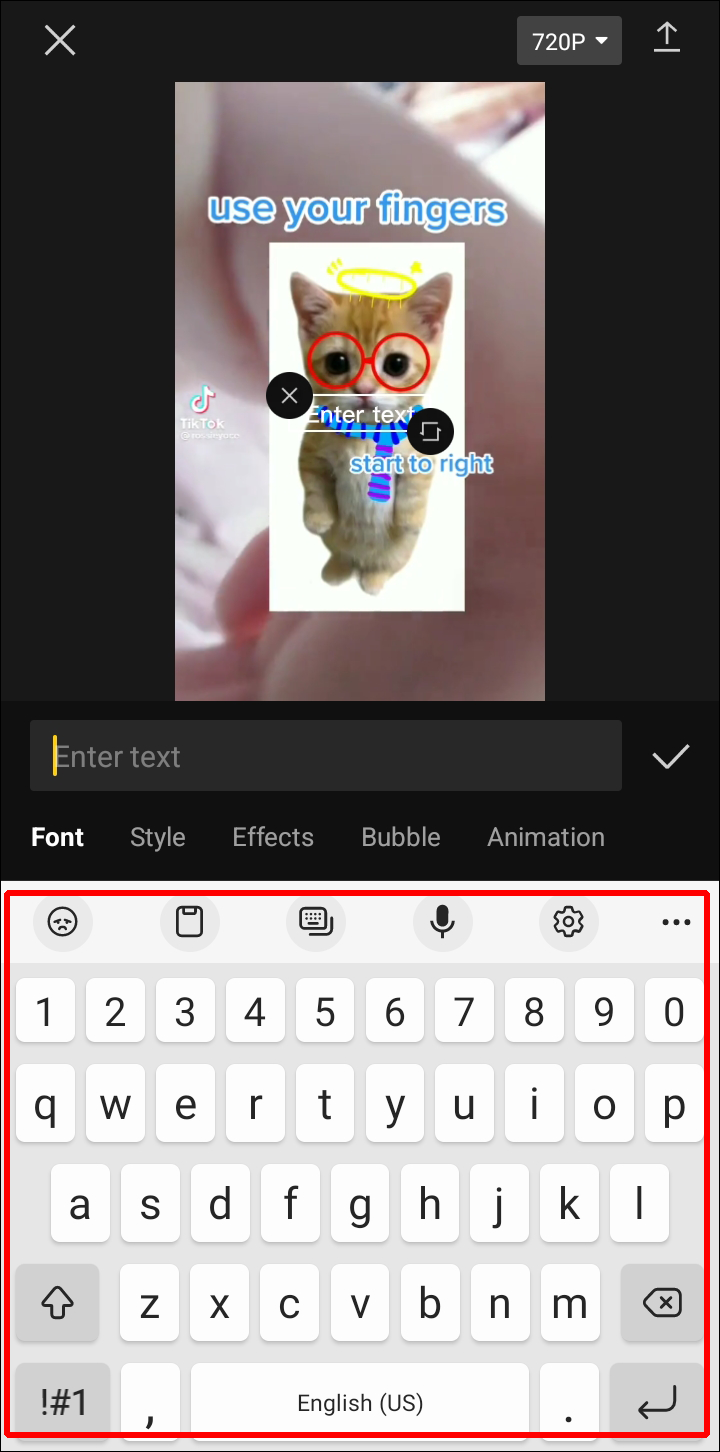
Once we select Add Text, we are going to have to use the Keyboard tab to enter the text in question.
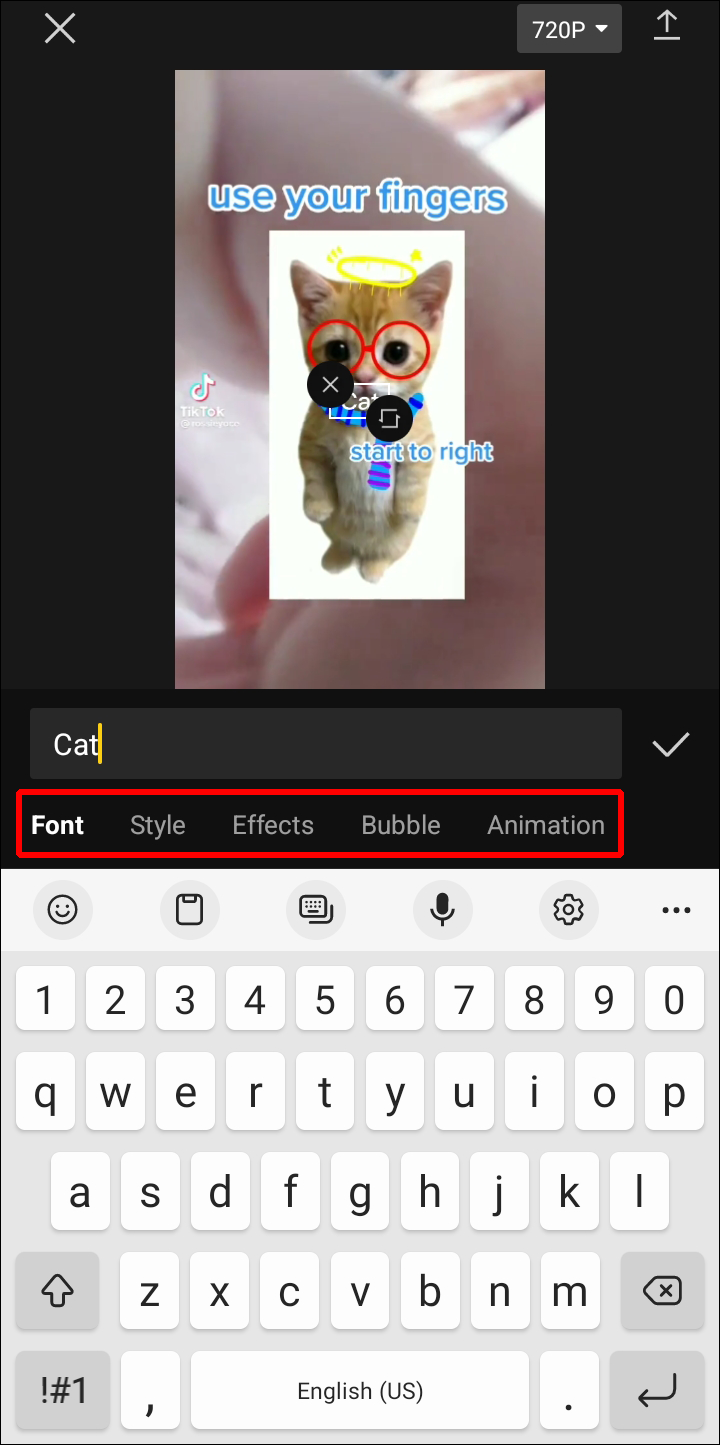
We can adjust the style, effects, add a circle to the text, bubble or animate it if we wish.

To finish, we will have to press on the verification icon that is in the lower right part of the screen.
After you finish adding subtitles, it’s time to add it to the video. After this we will place it on the screen and sync with the voice. We can do this by clicking on the orange box and adjusting the white borders to sync the text with the video.

