
Generally, PowerPoint is a program that is used to create presentations, although we can also use it to edit images and text to make them look very attractive. That is exactly what we will do in this simple guide, where we will teach you how to create a split letter layout in microsoft powerpoint.
Create a split letter layout in PowerPoint
The first thing we’ll do is launch Microsoft PowerPoint and change the slide to a blank layout.
Next, we are going to have to draw a text box and enter any letter, in the example that accompanies this article, we are going to use a W. Now we are going to have to choose a different font and font size.

We align the letter to the center and we are going to put a division in the middle of the text.

From the Home tab, we’ll need to click on the Rectangle in the Shape gallery and draw in the middle of the text. What we will do next is change the color and remove the outline of the rectangle.
On the Format Shape tab, we’re going to click the White button in the Shape Styles gallery or we can click Shape Fill and choose White. Next, we move on to selecting Shape Outline and then No Outline from the menu.
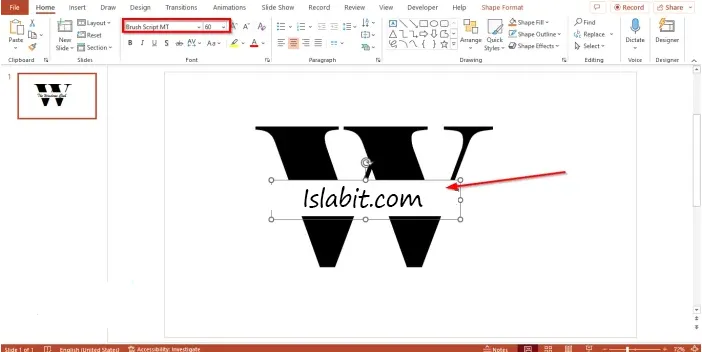
At this point we will need to enter some text into the box. Let’s change the font and size of this. In this guide, we are going to use the Brush Script MT font and the size will be 60.

Now we are going to add some horizontal bars on the split letter. For this we will have to go to the Home tab, we will choose a rectangle shape from the gallery and proceed to draw it between the division of the letter.

We continue by clicking Format Shape, then Shape Outline and choose No Outline. Click on Shape Fill and change the color of the rectangle to black.

Now we are going to press Ctrl + D on our keyboard so we can copy the rectangle and put it between the division below. So, we will have a split letter design.
In case we want to save the layout as an image, we will insert a new blank slide and click outside the split letter.

From the Home tab, we are going to click on Select and we will choose the Select all option. We are going to select all the text boxes of the split image.
After this we will right click and choose Copy from the context menu.

Now it will be as simple as going to the blank slide, right clicking and choosing Paste Image. This way the split text will be converted into an image. We can change the way we want the split letter to look by clicking on any of the options in the Designer panel.
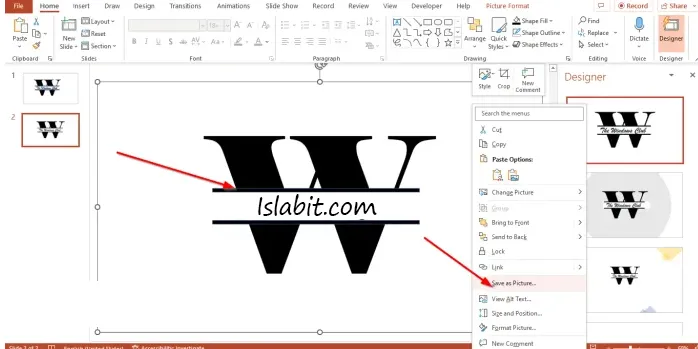
Then, we are going to right click on the image and choose Save Image As, assign a name as we normally would and that’s it.

