Do you have Windows 11 build 22H2 or newer? An exciting new feature has just appeared for you to try: the desktop stickers.
This fun and experimental feature allows you to add stickers to your existing desktop background image. It is disabled by default, but you can enable the feature with a quick Registry change.
Along with the 22H2 build, you’ll need to make sure you’re on the Dev channel or Windows Insider Program Beta For this to work. If you want to try desktop stickers on Windows 11, you can enable them by following the steps below.
Enable desktop stickers in Windows 11
This process requires you to modify the Windows Registry. Entering or deleting a value here may cause your PC to become unstable or stop working altogether. Before proceeding, we recommend that you first make a full backup of your PC.
If something goes wrong, you can recover your system.
To use desktop stickers in Windows 11:
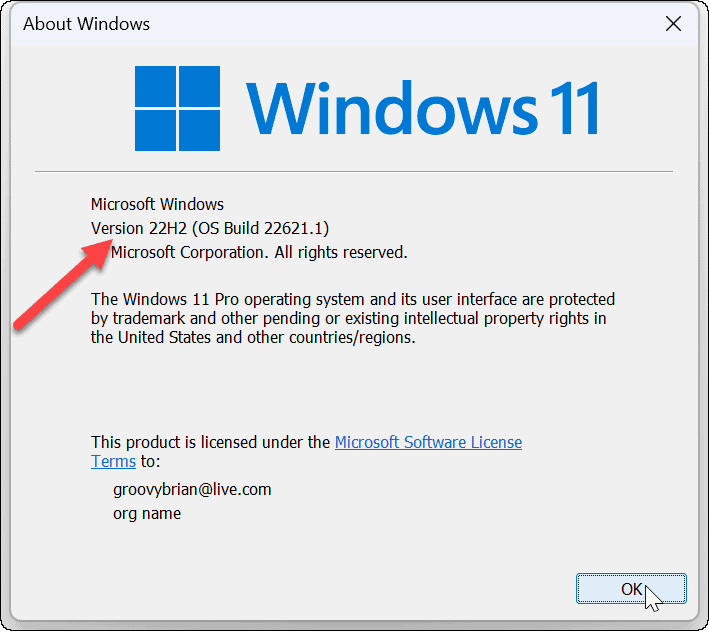
- Check that you are running Windows 11 build 22H2 by typing winver in the Start menu and selecting it.

- A screen will display the version of Windows you are running. If your version is 22H2, you can continue.
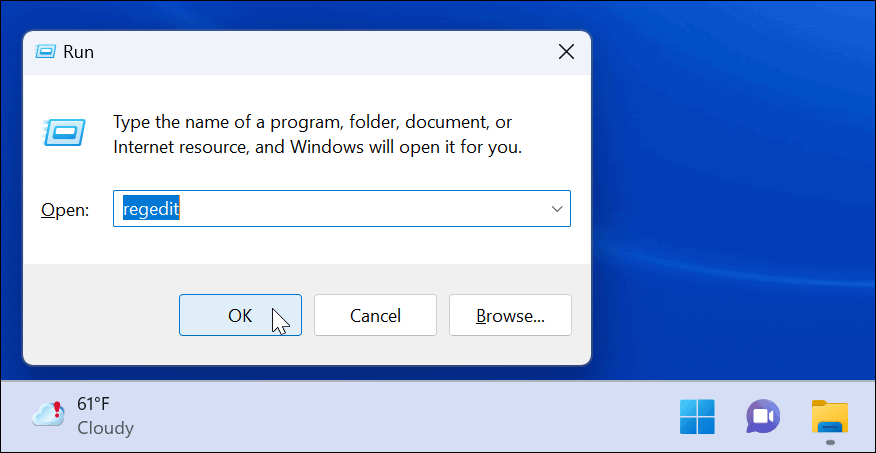
- Then use the keyboard shortcut Windows key + R to bring up the dialog Run.
- Write regedit and click okay.
- When the open Registry Editornavigate to the following path:
HKEY_LOCAL_MACHINESOFTWAREMicrosoftPolicyManagercurrentdevice
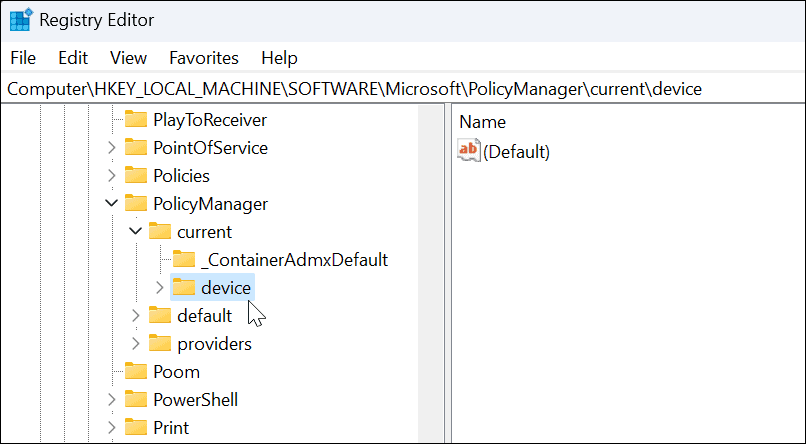
- Right-click on the device key and select New > Key.
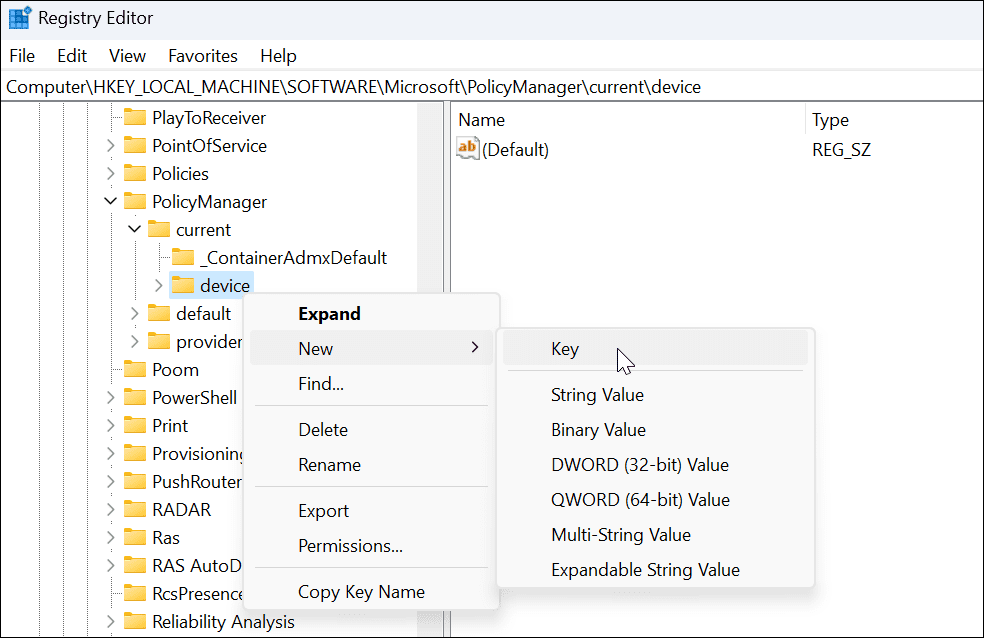
- Name the new key as stickers and press Enter.

- Right click on the key stickers that you just created and select New > DWORD (32-bit) Value.
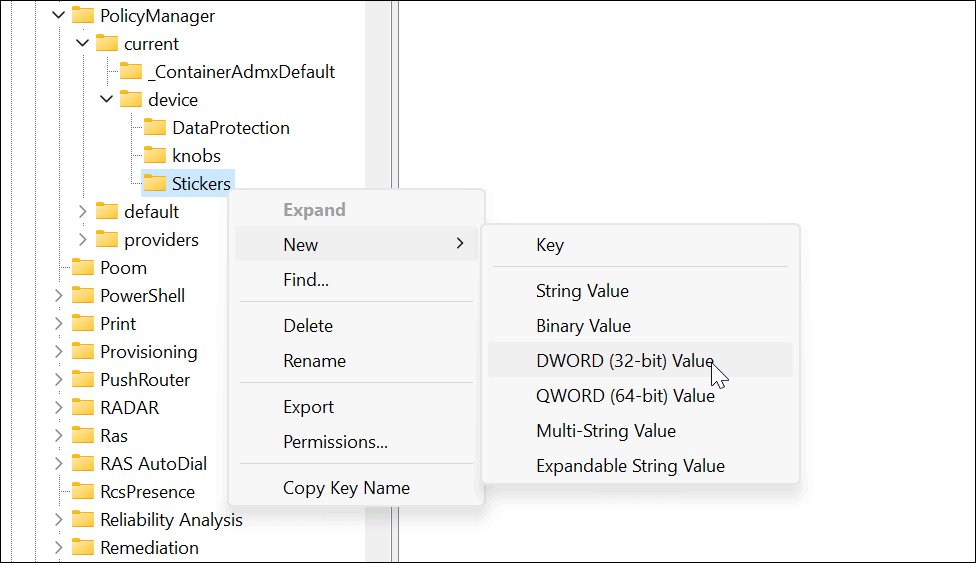
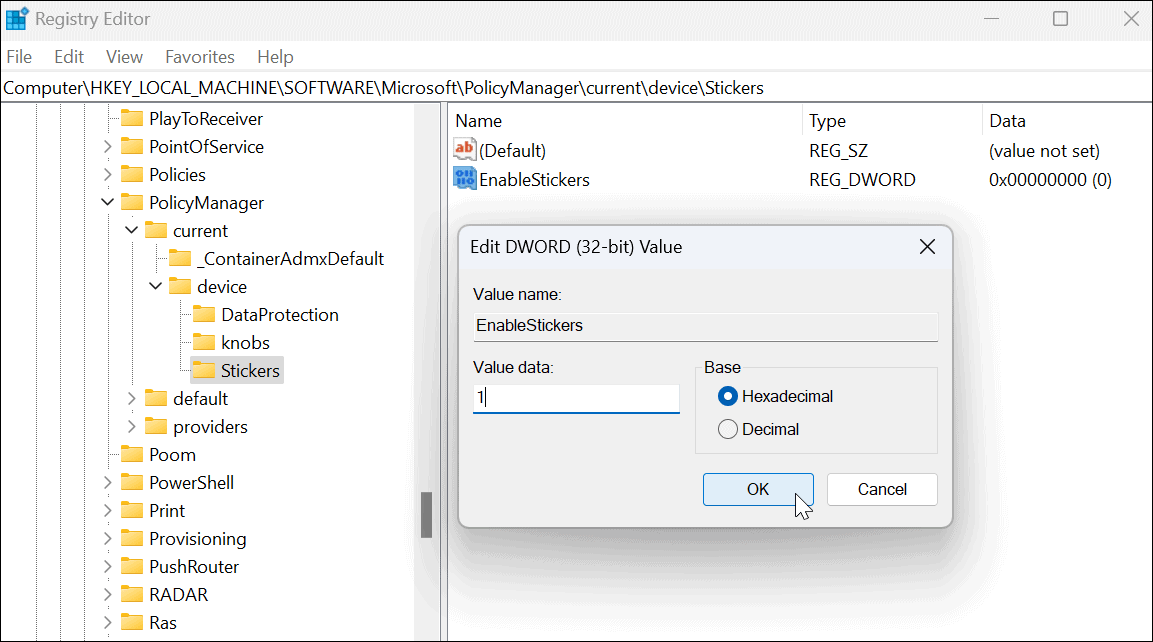
- Name the new DWORD (32-bit) value as EnableStickers and change its value from 0 a 1.
- Click on To accept to save.
- When you’re done, close Registry Editor and restart windows 11.
How to use desktop stickers in Windows 11
Once you come back from the reboot, you can start using the desktop sticker features.
To use desktop stickers in Windows 11:
- Right-click on an empty area of the desktop and select Add or edit stickers.

- The option brings up the user interface of the sticker picker. You can select from several different stickers to add to the desktop. You can scroll through other options or search for specific types of stickers.

- Once you select a sticker, it adds it to the desktop, where you can resize it and move it to different places. To remove the sticker, click the trash can icon.

- After adding stickers, they will be displayed behind your desktop icons as if they were part of the wallpaper.
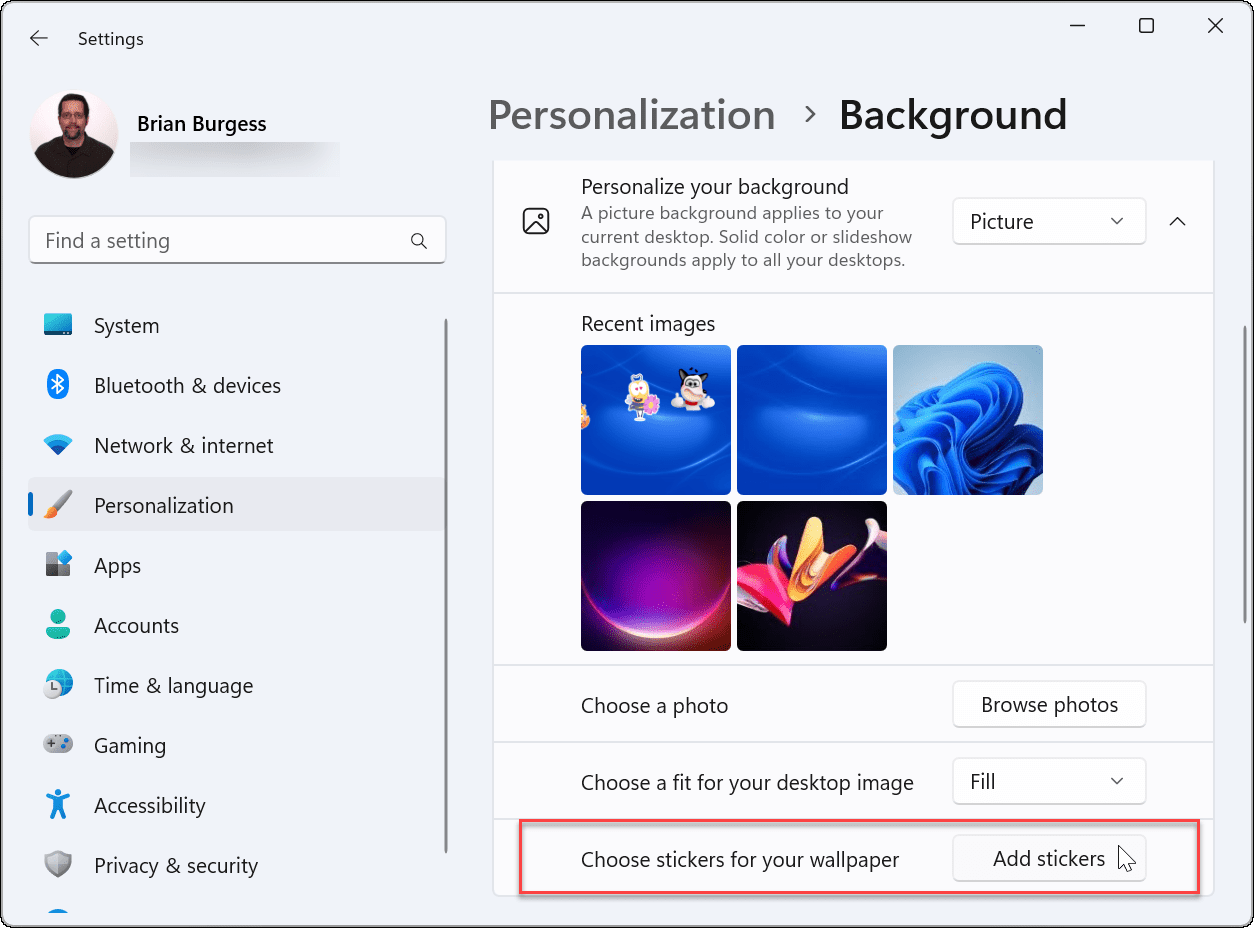
- You can also go to Home > Settings > Personalization > Background to add stickers when you use the option Image.
Using stickers or desktop stickers in Windows 11
It’s important to note that desktop stickers in Windows 11 are still an experimental feature. As such, the feature doesn’t always work as advertised. So, for example, we’ve had trouble getting them to show up on the desktop.
When you add stickers, desktop and taskbar icons are not displayed when you choose stickers. If you have any issues, quickly restart your PC, it should be resolved (unless it’s a bug).

