
Export CSV in PowerShell on Windows 11 and Windows 10 it is something quite simple and convenient. The Export-CSV function takes care of converting Windows PowerShell objects to strings and then saving them to CSV files.
Advertising

For its part, Windows PowerShell is a cross-platform tool that is capable of doing various automation tasks. We can see some examples, such as the possibility of extracting data from services such as Microsoft 365 or Active Directory. Therefore, if we need to process data in Excel or some other spreadsheet software, such as LibreOffice; we will have to use the CSV export function with the PowerShell utility.
In the case of CSV it is an abbreviation for comma separated values. This file format gives users the ability to import or export data from one platform to another. Luckily, these processes are quite simple to control, although we need to have even a brief knowledge about it.
Export CSV in PowerShell on Windows
To export CSV in PowerShell we recommend using Windows PowerShell ISE, because it allows us to control how we will handle the process and the CSV files. It is much more flexible with CSV files on your computer. In order to export CSV in PowerShell, we’ll need to open it as administrator and understand the general Export-CSV syntax, which we’ll cover below:
get-variable-name [variable name] | Export-CSV [path-to-file].csv
But before looking at a real example, it wouldn’t be a bad idea to understand exactly what the parameters we use in Export-CSV are for:
- Path. This is the destination location where we want to save the output file. For example, we can specify different locations as local storage or an external one. In case we don’t specify a path, Export-CSV will save the file in the PowerShell directory.
- append. In this case, the parameter is responsible for specifying whether we want to add data to a newly created file or one that already exists. In case of omitting Append, Export-CSV will create a new file and all data will be saved in it. If we specify it, the data will be saved where we want it.
- delimiter. In this case, the parameter displays the end of a substring. It may be a comma, but we can change it if we want.
Using Export-CSV
In this example we will see how to export a user’s data from the Azure directory. We are going to have to follow these steps to be able to do it correctly:
We start by pressing the Windows key and type PowerShell ISE, then we are going to click on Run as administrator in the panel on the right.
An Account User Control pop-up will appear and we will have to press Yes to continue.
Advertising

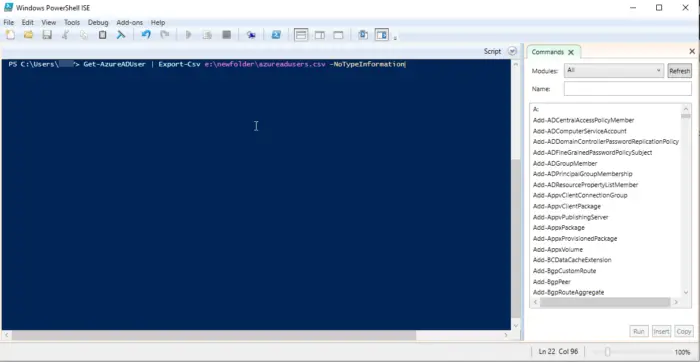
Once we do that, we’re going to have to enter the following command line and then press Enter.
Get-AzureADUser | Export-Csv e:\newfolder\azureadusers.csv -NoTypeInformation
In case we want to export more specific data, we can add another Delimiter parameter. In this case, we use a comma as the delimiter character. But in the following example we can see that we can go a bit further by modifying it like this:
Get-AzureADUser | select username, email, department | Export-CSV e:\newfolder\azureaduser.csv -NoTypeInformation
So, Export-CSV is going to output the same amount of information, just in different columns for each of the parameters we’ve specified in the command.
Are there alternatives to Export-CSV in PowerShell?
The answer is yes, there is an alternative to Export-CSV which is ConvertTo-CSV, which can be used to convert objects to CSV. Also return output as a standard output stream instead of a file.
Additionally, it is feasible to use ConvertTo-CSV to recreate objects based on CSV strings. The converted objects are string values of the initial objects that have property values.
Although the big difference between the two is that Export-CSV is responsible for saving CSV strings from a file. Leaving this aside, the two are the same.
What script uses PowerShell to export CSV?
The cmdlet is the script that PowerShell uses to be able to export the processes to a CSV. The script is responsible for generating a CSV of the objects that we want to generate. The object in a specific row is going to have a character-separated list of property values. Users will be able to use Export-CSV to create spreadsheets or share different data using applications that support CSV files.

