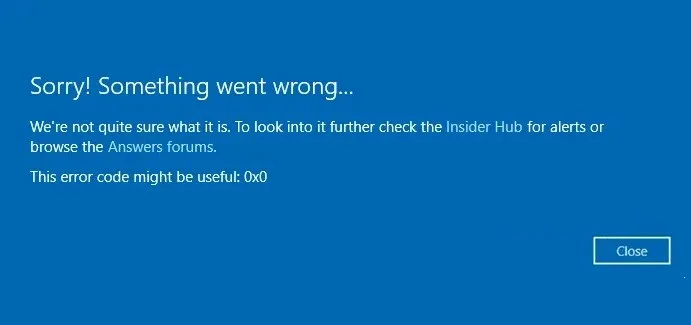
There is always the possibility that our computer will run into errors that Microsoft cannot yet recognize. In these situations we find the error code 0x0 in windowsalthough we can try different methods to try repair This and that is something that we are going to see in this article.
Fix error code 0x0 in Windows
Error code 0x0 usually happens on Windows Insider Builds. The main reason behind it is other bugs or system inconsistencies. The first thing that we are going to recommend is to check the RAM memory and the status of the drivers to try to solve the problem without having to investigate too much about it and avoiding wasting time. However, it is also possible to try the following solutions.
Driver updater from Windows Update

Windows Update is something essential that helps us update the operating system and drivers that are part of it. The easiest way to get the latest drivers for everything we have installed on our system is through Windows Update. We will do it as follows:
- We press the Windows + i key combination to access the Settings menu.
- After this, we will have to go to the Windows Updates tab in the left sidebar.
- Once we are here, we go to the panel on the right side and click on Check for updates.
- After this we go to Advanced Options in the right panel.
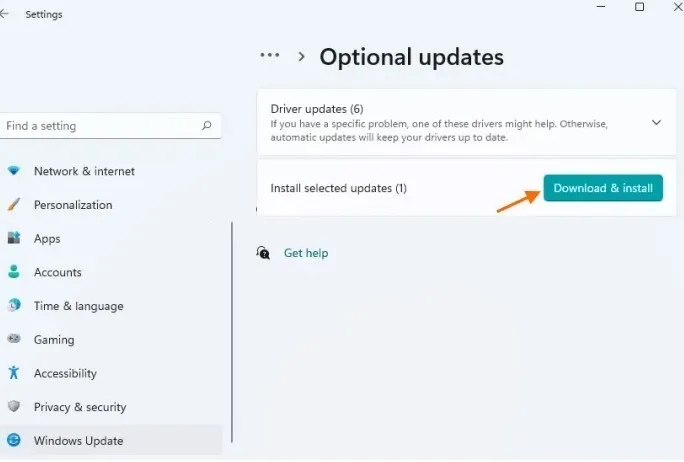
- We scroll down and click on Optional Updates.
- If we have updates available, we will have to expand the list of updates.
- It is important to check all the updates that are available.
- When we find the one that interests us, we click on Download and install.
After finishing the process, it is recommended to restart the computer. Considering that outdated drivers are the main cause of a huge number of errors, it is essential to keep them up to date. We even recommend installing optional Windows driver updates.
Using the driver check tool

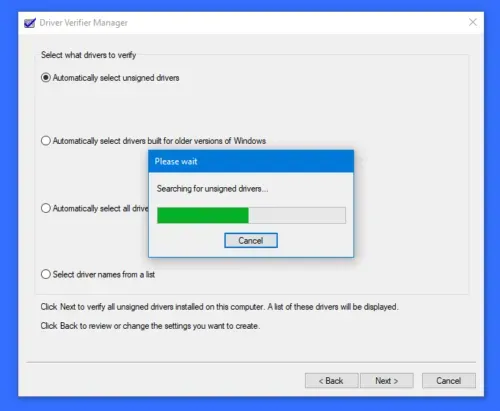
We also have the Driver Verifier Manager tool that comes in handy to verify if the system drivers are signed or not. In case one or more drivers are not signed, the tool will indicate this. Using this tool is something extremely simple that we can do as follows:
- We are going to have to search for Verifier in the Windows search bar.
- Then we are going to click on the Verifier Run tool to execute it.
- If the UAC prompt appears, we will click Yes.
- We will mark Create standard configuration and click Next.
- We are also going to check the option Automatically select unsigned drivers and again we will click Next.
The tool is responsible for showing if we have drivers that are not signed. If this happens, we recommend using Intel Driver And Support Assistant either AMD AutoDetect to solve the problem.
Test RAM

As we discussed earlier, one of the things that causes this problem is faulty RAM memory. Luckily, we can check if our RAM has some kind of problem thanks to two very interesting tools. The first of these is the Windows Memory Diagnostic Tool.
- Press Windows + R to open the Run window.
- In this window we will have to write the MDSCHED command and press Enter to open the Windows memory diagnostic tool.
- We proceed to click on Restart now and it will start the process to find if there are problems.
The second option is a third-party application called Memtest86+ which we can download from your official Web. It is a downloadable tool that allows you to do the same as the one that comes integrated into Windows; although it does so in more detail and providing more relevant information.
reset the computer
In case all else fails, the only alternative left to us is exactly what we always try to avoid: formatting the computer or factory resetting the PC. Likewise, we don’t have to worry about our personal data because Windows 10 and Windows 11 have the option to format the computer and keep all our personal files.
What we will have to do is press the Windows key, write “Reset”, press Enter and follow the instructions. Although always, just in case, we recommend making a backup copy of the most important data that we have on our computer.


