
Insert a checkbox in Word can be extremely useful. Either to mark tasks that we have already done or in other more useful situations, such as data collection through surveys; even a shopping list. Whatever the reason, we will see how to achieve it below.
Insert a checkbox in Microsoft Word
Adding a checkbox to our Word document is a fairly simple process. However, before we begin we are going to have to enable the Developer toolbar. Let’s see how to achieve it below.
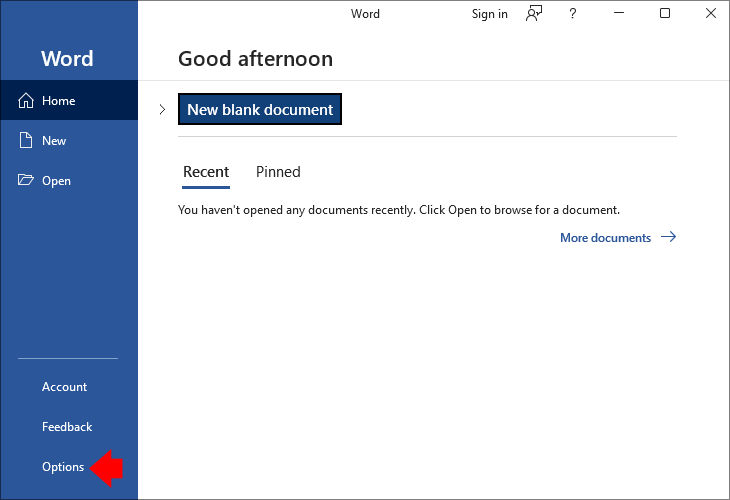
Once we have Word open we will have to go to Options at the bottom of the left sidebar.

A new Word Options window will open, here we are going to head over to Customize Ribbon again on the left sidebar.

In the customize ribbon menu, we will have to choose Main Tabs.
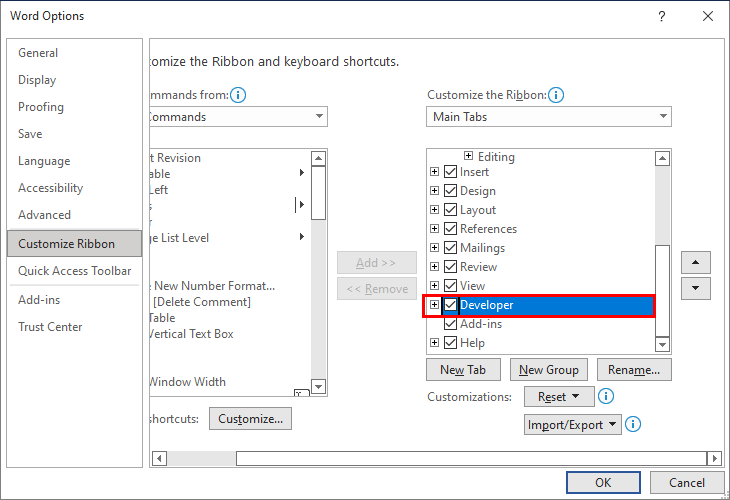
We scroll down and make sure that the Developer option is checked. To finish, we click on accept.
Once we have the Developer option enabled, we are going to need to create the checklist. So we will open a new document.
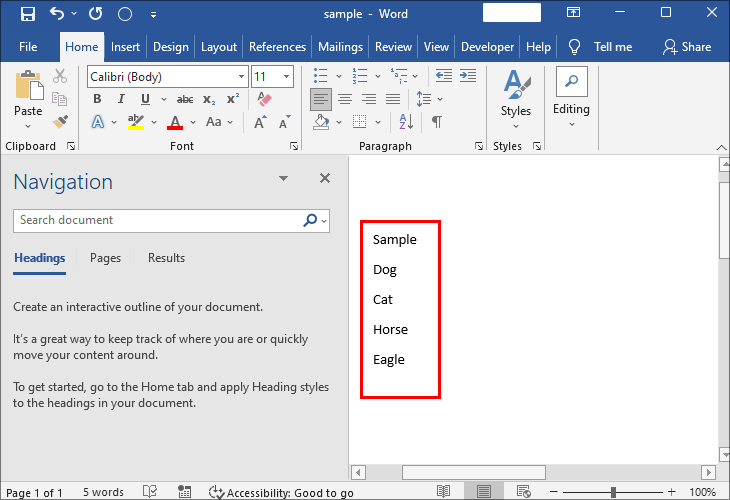
We will write the list of elements that we would like to have a checkbox.
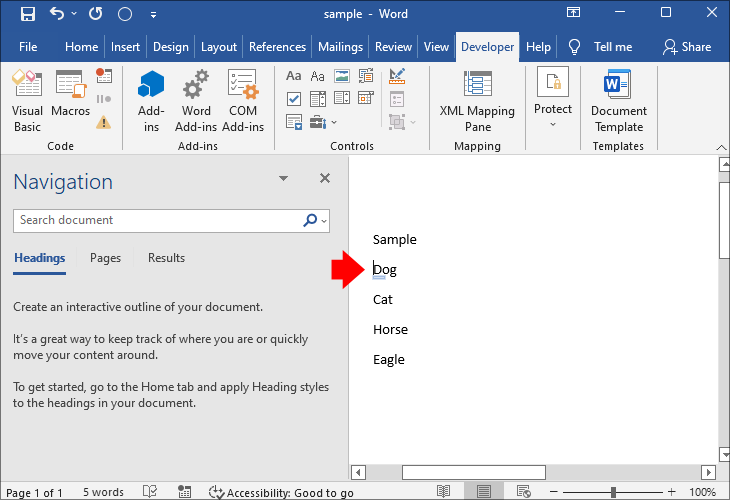
We go to the Developer tab in the navigation bar. We position the cursor under the first element of the list.
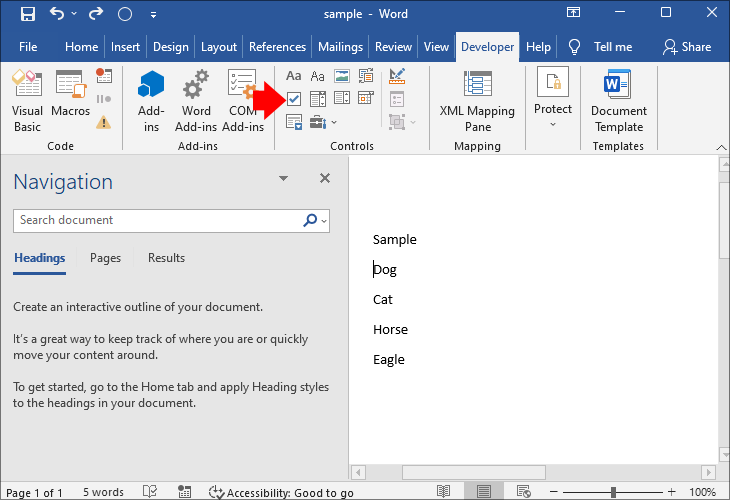
In the ribbon menu, we will have to click on the Checkbox Content Control icon.

If we want to customize the checkbox icon, we will have to select it and click Properties.

Next, we are going to click Change in the Marked Symbol section.

Here we will select the Webdings font and we are going to choose the verification market icon. As we can see, we have a wide variety.
Now what we will do is copy the custom symbol or icon and paste it just before each item in the list.
Create Checkable Checklist
The above method is ideal for electronic documents because the checkbox can be easily toggled. However, when we want to create a checkbox that we can check when we print the document. We won’t have to use Content Control, instead we would create a list and customize the bullet symbol.

We create or open a Word document with the list of items we would like to mark.
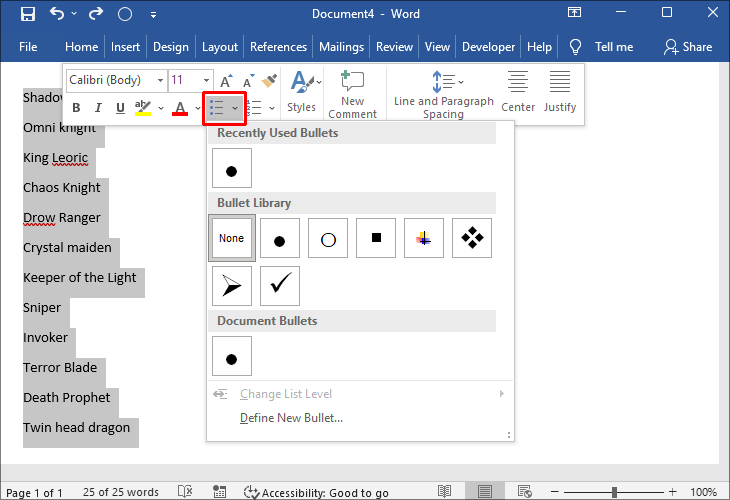
Now we are going to select the entire list and right click. Then we will open the bullet menu.

Here we will have to go to where it says “Define new bullet” at the top and select Symbol.
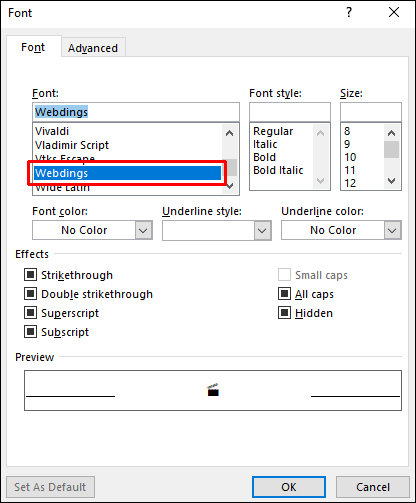
In the sources menu we are going to choose Webdigns.
Of the icons listed, we’re going to have to select the checkbox symbol and then click OK.
Then we click OK again and the checkbox-style bullet can be used in other documents. We can even change it for other symbols from the bullets menu.

