
Microsoft OneNote is certainly a handy note-taking app, but its features allow you to do much more than just annotate text. Whether you use it for business or pleasure, or a little of both, you can add media like photos and videos and include files. This allows you to keep everything related to your note in one place.
As you may already know, each version of OneNote may be a bit different from the others when it comes to features like this one. Therefore, we will show you How to Insert Pictures, Files, and Videos in OneNote for Windows 10, the desktop version on Mac, and OneNote for the web.
Insert files and media into OneNote for Windows 10
Open the desktop version of Windows 10 and navigate to the notebook, and note where you want to insert your item. Then open the tab Insert to see your options.
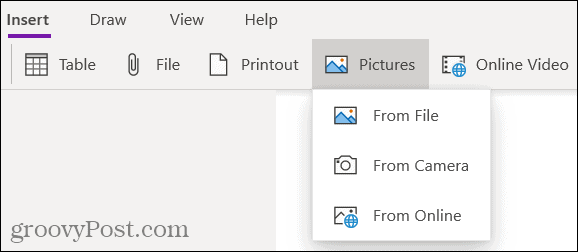
Files or Hard Copy: Browse and select your file, then click To open.
Images: Choose from a saved file, your camera, or online images. Then follow the prompts to insert the image based on the option you select.
Online video: Enter the URL of the video you want to add and click To accept. You can also embed a video in your note by pasting the URL. You will then see the title of the video and an option to play it.

Insert files and media into OneNote on desktop
If you use OneNote with an Office 365 subscription, open the desktop app to your notebook and note. Next, head over to the Insert tab to add your element.
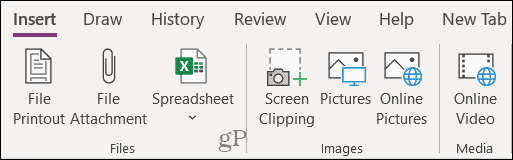
Printed file or attachment: Browse and select your file, then click Insert.
Spreadsheet– Search for an existing Excel spreadsheet or create a new one.
Screen clipping: Capture a screen using the crosses that appear, and you will include it in your note.
Images: Find and select your image, and click To open.
Online Images: Use the search box or browse categories to find an image on Bing. Select one or more images and click Insert.
Online video: Enter the URL of the video you want to add and click To accept. Like OneNote for Windows 10, you can also enter the URL in the note to embed the video.

Insert files and media into OneNote on Mac
With OneNote on Mac, you can insert or embed media and files just as easily. Open the app to your notebook and note, and then go to the tab Insert. You can also click Insert on the menu bar and choose an item.
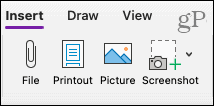
File: Browse and select your file, then click To open.
Print or image: Browse and select your file or image, then click Insert.
Screenshot: Insert a screenshot that appears for a currently active application or capture a screenshot.
To insert a video, paste or enter the URL in your note. Press Return and the video will display as it does on Windows with the title and an option to play it.

Insert files and media into OneNote for the web
Although the options seem less abundant for inserting media and files into OneNote for the web, no need to worry! Open your notebook and note, and then choose the tab Insert.
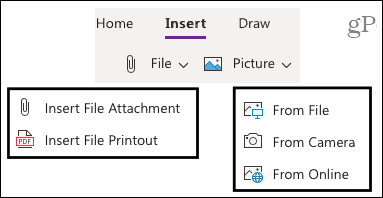
File: Choose to insert an attachment or a print file (PDF). In the pop-up window, click Choose file to browse and select the file. Then click Insert.
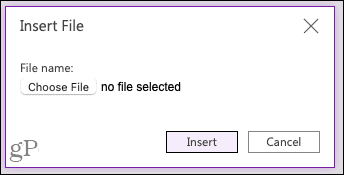
Image: Insert an image from a saved file, your camera, or an online search. Follow the prompts to select or capture the image and insert it, depending on the option you choose.
To insert a video, paste or enter the URL into your note, just like on Mac. Hit the Enter key, and the video will display with the title and an option to play it.

Use drag and drop to add items to notes
You can also use drag and drop to add files, images, or videos to any version of OneNote. Grab the item, drag it onto your note, and drop it.

Keep everything together in OneNote
By inserting things like images, videos, and files, you can keep all the items related to a note together. And OneNote makes this easy in every version of the app.

