
More and more of us are using Google Docs to write documents and install custom fonts It becomes essential to achieve a better result. We can install fonts in two different ways, depending on whether we are using Docs locally or online.
Install custom fonts in Google Docs
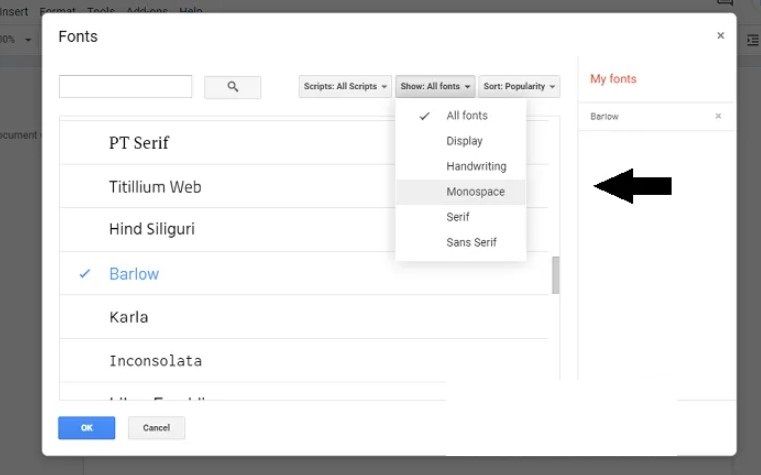
Before we start, it is quite useful to preview what the font we want to install will look like. In order to do so, we will have to open the Fonts drop-down menu and click on More fonts. A new window will open that will be displayed as the image that accompanies this article. In this section we will have a list of all fonts. We can use the “Show: all sources” dropdown menu to be able to see the sources of a specific category.
Add custom fonts with Extensis Fonts
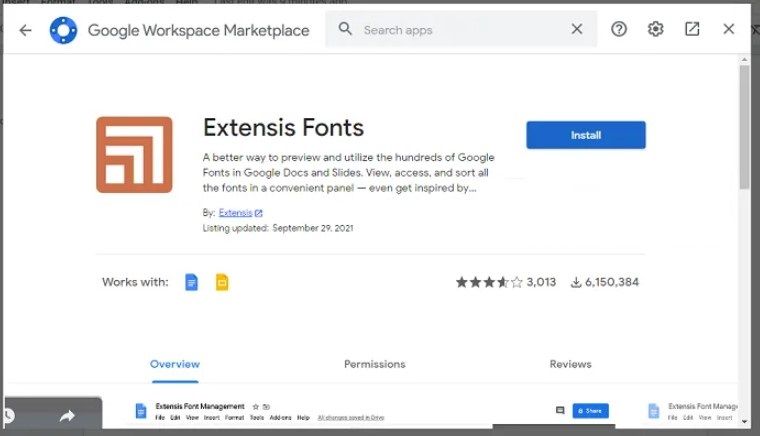
We can add an interesting extension called Extensis Fonts which offers us a simple solution; Installation is very easy.
- We open a new Google document.
- In the tab at the top, we’ll click Plugins and choose Get Plugins.
- A new message will open, we will search for “Extensis Fonts” and select it from the results.
- Next, we click on Install and we will grant the necessary permissions.
In order to use it we will have to click on Add-Ons. We will be able to see the Extensis sources in this section with the “Start” option. If we click on Start we will see that a toolbar appears on the right side of the screen with several available sources.
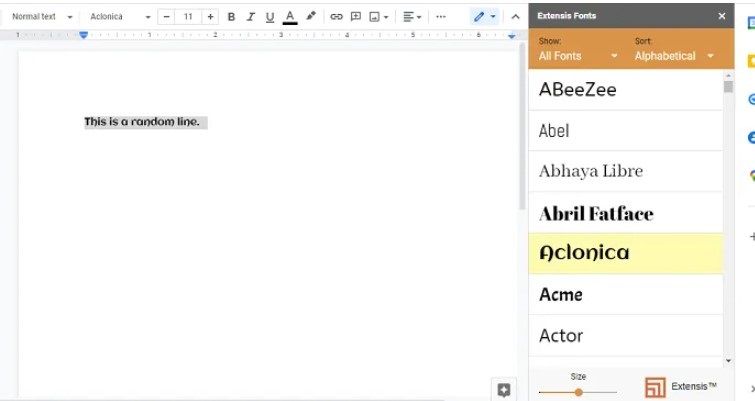
We will choose the text in which we want to apply the font and we will click on the font that we like. At the bottom we can see a small bar that is used to adjust the font size. In this way we can adjust them as it suits us.
Install fonts with Google Fonts
The tool mentioned above may not be the best solution for those running Docs locally on Windows. But don’t worry we can use Google Fonts official website. From the official portal we can find a large number of available sources.
The sources are found on the official website and there are a huge number of them; we can also adjust the size with a bar very similar to the one we saw in the extension. We can even categorize the sources to find the ones that suit us best depending on our project. We will only use the Search button and we can access any specific source.

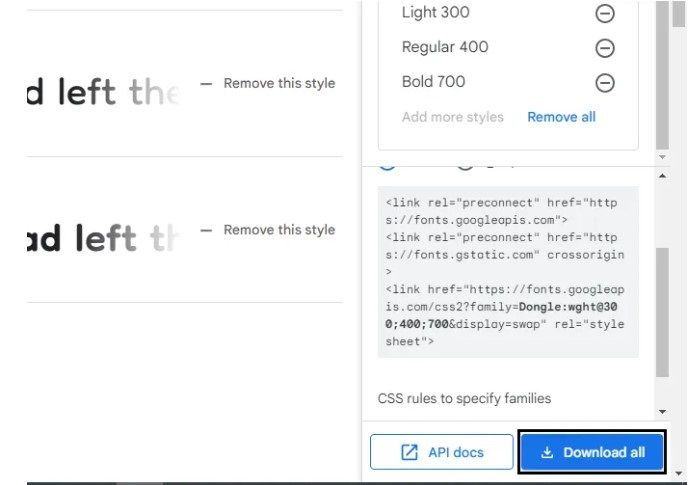
Once we have found the font that we like, we will click on it and we will see different families of the font. This is actually a minor difference in the original font, between italics, bold, etc. Below the families we will find the sample glyphs, which will give us an idea of what the letters and characters of the font look like.
When we are sure that we want this font, we will click on “+ Select this style”. We can choose several families from a font. After making the selection, we will click on the Download all button and we will obtain that compressed zip file.
Next, we open the File Explorer on our computer and locate the downloaded file, we will have to decompress it by right clicking on it and extracting the files; if we have WinRAR on the computer, it will be even easier.
We will see a TTF file for each family, we will right click on it and select install. The process takes a few minutes, once it’s done, we can open the word processing tool of our choice and we can use the font in question.
Something to keep in mind as a great advantage is that the installed font can be used in any application: Word, Paint, Photoshop, Camtasia, etc.

