
- Mounting an ISO image is one of the things you need to learn, regardless of your version of Windows
- Due to its reliability and conservation, this method has been key in computer environments for years
- What are the steps to follow if you want to mount an ISO image in Windows 7, 8, 8.1 and 10?
Mounting an ISO image is one of those basic procedures of Microsoft operating systems that we have to master because they can get us out of trouble. There are numerous solutions that we can enjoy if we know how to carry out this process. As you may not have doubts about how to do it in Windows 11, but in previous versions, let’s see what are the steps to follow to mount an ISO image in Windows 7, 8 and 10.
The good news is that if you have a PC with Windows 8 or Windows 10 operating systems, any of the versions that were marketed, you will be able to enjoy an integrated system to mount ISO-type files. In the meantime, if you still have Windows 7 on your computer, you will have to resort to a third-party tool.
Mounting an ISO image in Windows 8, 8.1, or 10
In Windows 8 and 10, Windows has the built-in ability to mount both ISO disk image files and VHD virtual hard disk image files, and you can even do it in three different waysthus:

- Double click on the ISO file to mount it. This will not work if they are associated with any program
- Right click on the ISO file and select the Mount option
- Select the file in the File Explorer and click on the Mount button, within the “Disk Image Tools” section that appears in the Explorer functions ribbon
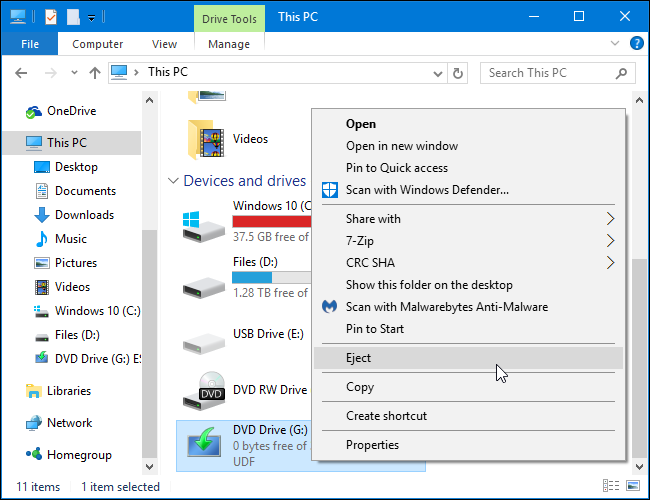
Once you have mounted the disk image, you will notice that it appears as a new drive on your device. Right-click on the drive and select Eject to unmount the ISO file when you’re done.
Mounting an ISO image in Windows 7 or earlier
As we explained before, in versions prior to Windows 8, including Windows 7, a third party application will be required to mount ISO image files, our suggestion being that you install WinCDEmu.
If you follow this advice, you will come across a simple and open source disk mounting program. Likewise, this software is capable of working both with ISO images and with other disk image formats.

One last clarification in this regard is that if you feel comfortable with WinCDEmu you can also run it later on Windows 8 and Windows 10, with BIN/CUE, NRG, MDS/MDF, CCD and IMG formats. Considering that Windows doesn’t support these, it’s a really useful tool.
Install WinCDEmu from this link Y give it permission to install the hardware driver that will require you. When you have done it, double click on the disk image file to proceed to mount it. Eventually, you can right-click and go to “Select drive letter and mount”.

You will immediately come across the application interface. You have to choose the drive letter and some other additional settings, which will not take more than a few seconds. Click OK and that mounted image will appear on the screen. You will need to unmount the disk image at the end of the procedure by right-clicking on the virtual disk drive and selecting Eject to get rid of it.
Have you updated your computer? Find out how to mount an ISO image in Windows 11!

