
After several minutes of inactivity, a black screen usually appears or the monitor “turns off”. The idea of this is to protect the screen when we are not using it. However, there is another way to take care of it with a little more style, and it is thanks to the possibility of use and customize a screen saver on Mac. In this simple, yet detailed guide, we are going to teach you not only how to switch between different screensaver options, but also how we can add a custom one, either created by us or downloaded from the Internet, even family photos!
Use screen saver on Mac
A screen saver is an image, sometimes animated, that will appear on our Mac after a period of inactivity. Generally, it appears when we spend a while, without doing anything, without touching our Mac in any way. To be able to see the screen normally, we just have to move the mouse or press a key.
On Mac, it is possible to configure a custom screen saver, it is something simple to do that will only take a few minutes.
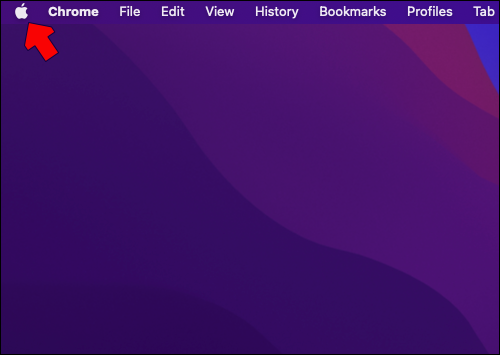
The first thing we are going to do is click on the Apple icon that is in the upper left corner of the screen.

The next thing will be to click on System Preferences in the drop-down menu that appears.
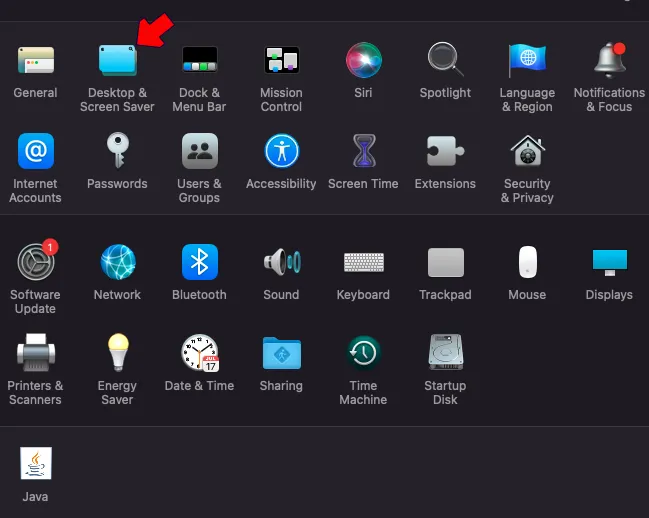
In this new screen, we are going to have to choose Desktop and screen saver.

Now we will have to go to the tab that says Screen Saver.

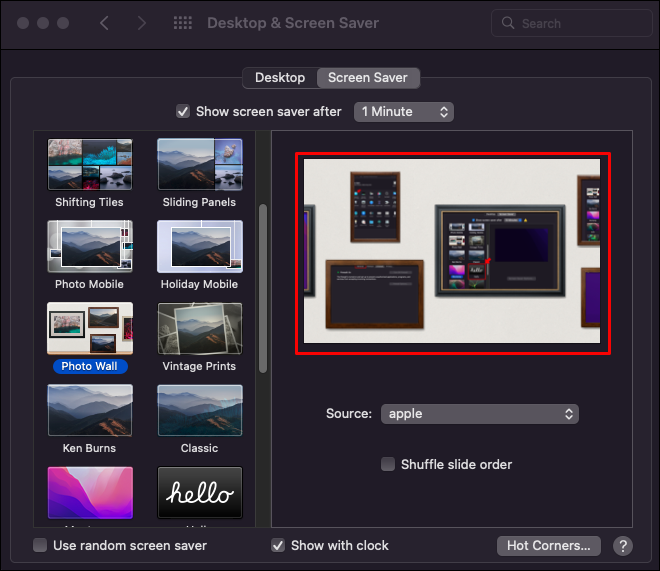
We will select a screen saver from the list of options in the left bar, we have a great variety available.

In the upper part we can choose how much time must pass inactivity for the screen saver to activate, in the “Save after” part on the right, we will have a menu where we can choose the minutes.
And basically that would be it. Something that we must consider is that some options may vary depending on the macOS we have. This method can be applied to the Catalina, Sierra, Monterey and Mojave versions.
Set screen saver in macOS Ventura
We are going to click on the Apple icon at the top of the screen, right next to Finder. A new menu is displayed where we will have to select the System Configuration option.
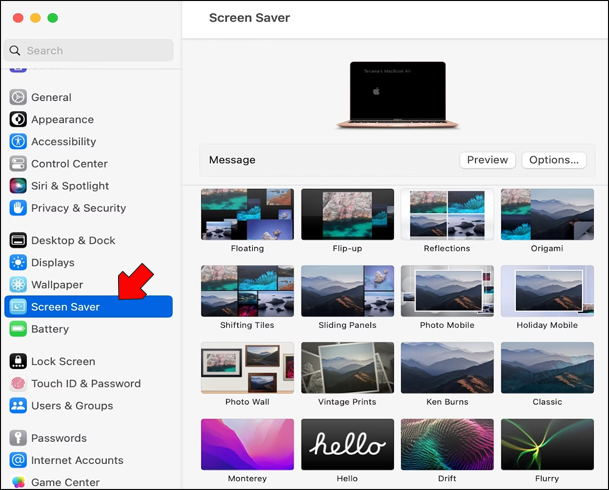
Here we are going to have to look for Screen Saver in the left sidebar.
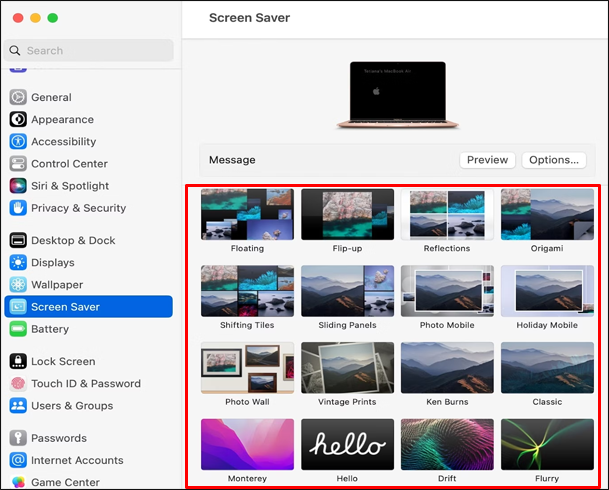
As we can see, we have a wide variety of screen protectors that we can select; We will choose the one we like the most.

At the top, to the right, we can see an Options button; We’ll click on this.
Here we can adjust the settings of the protector according to our personal tastes.
Depending on the length of the inactivity period we set, the screen saver will launch automatically. The way to “deactivate” it to be able to use our Mac normally is to move the mouse or by pressing a key on our keyboard; we can even touch the touchpad, basically doing something.
Customize the screen saver in macOS
There are different ways to customize the screen saver, we can choose up to several slideshow images. For this we have to check “Random slide order”.
So, when we don’t know exactly which screen saver to choose, we’ll just have to click Use random screen saver in the Desktop & Screen Saver window. We can even add a clock to our screen saver by checking the Show Clock option.
In case we want to improve security, we can add a password to the screensaver or screen saver, what we will have to do is the following.
We are going to have to click on the Apple menu and we will go to System Preferences.

From here, we will have to go to Security and privacy.

We choose the General tab.
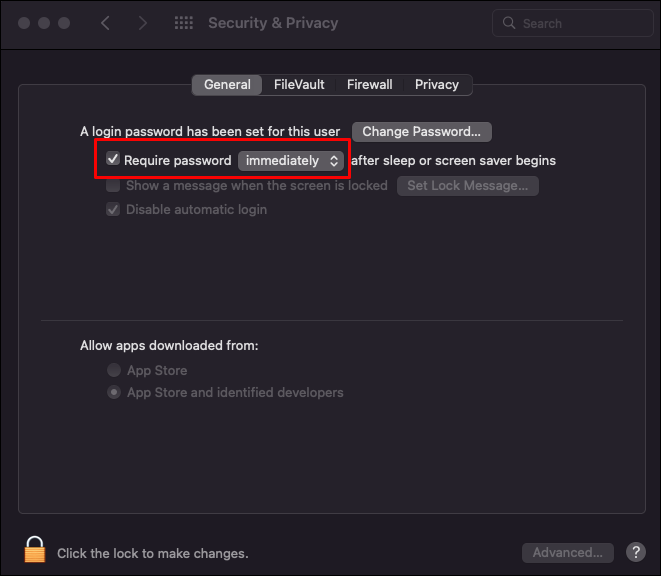
We will have to check the option that says Require password and the option immediately after the suspension or screen saver begins.
Another option that we have in terms of customization is the possibility of adding a different screen saver to the one offered by Mac. We can even download personalized static or animated wallpapers that, on many occasions, we will find for free on the internet. We can use some photo editing program to create our protectors or get it while browsing the web.
How to set up a custom one
We are going to start by clicking on the Apple icon in the upper left corner and we will go to System Preferences.
Here we go to Desktop and screen saver, then we are going to choose Screen saver in the tab located at the top.

Just below the preview, we will have to select Source.

A new menu is displayed where we are going to select the Choose folder option.
Here we can search for the screen saver that we have created or downloaded, we will have to search for it on our Mac by browsing the available folders. Once we find the folder, we are going to click Choose.
Before continuing, we can see in the preview how it would be applied on our Mac.
If everything is fine, then we just apply the changes and that’s it. We will already have our Mac screen saver completely personalized with the image or images that we like.

