
We are all beginners at some point and this guide will be very helpful for those who want to start use Microsoft Lens. It is a tool available on iOS and Android that allows you to capture any information from documents, scans, business cards, receipts, menus, signs, and anything that has text that you don’t want to type manually.
We cannot deny that using Microsoft Lens effectively will facilitate all our tasks and most importantly: we will save a lot of time.
Main features of Microsoft Lens
Scan images: Lens allows you to capture and scan images. When we scan an image, it removes shadows and awkward camera angles, leaving us with a very attractive scanned image that we can use to save or share. Very different from the old scanners of a lifetime.
Scanning whiteboards: Writing all the text we can see on a whiteboard can take a considerable amount of time. However, thanks to Microsoft Lens this is a thing of the past, we can easily scan whiteboards and convert written text into typographic text.
Edit documents: ideal for when we need to edit PDF documents. No need to use any other app than Lens.
Smart Actions – One cool feature of Lens is a so-called Feature. We can use it to extract text from an image. Lends supports up to 30 languages to be able to extract the text from said image. However, currently the extraction of text from handwritten notes is limited to English.
Immersive reader: we can use the application to read text from an image. When we scan a document or click on a photo in Lens, we will see the immersive reader function. We can click on Play so that Lens is in charge of reading the text.
Scan QR code: finally, we also find the possibility of scanning QR codes and opening the relevant links.
How to use Microsoft Lens
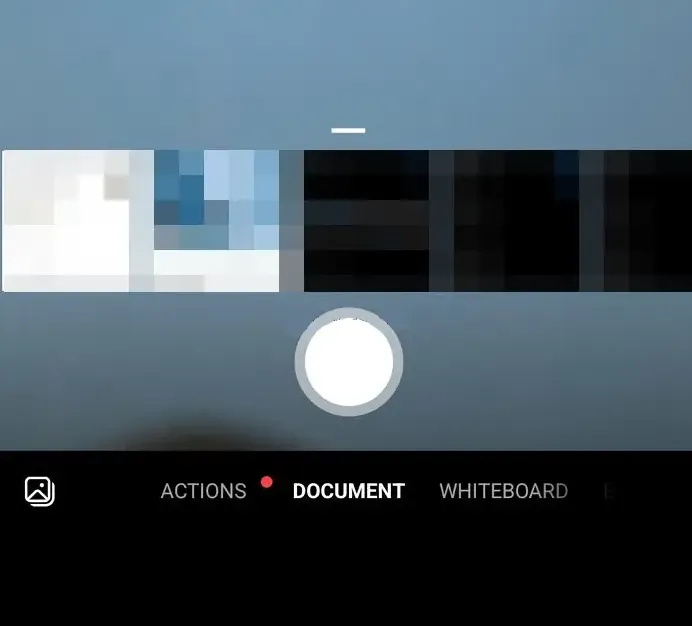
After installing Microsoft Lens on our Android device from this link or iPhone from here. We are going to have to open it and on the first screen we will have to choose a capture mode by sliding our finger to the left or right at the bottom and selecting one of the available options.
We can choose any of the available options, depending on our situation. Once we choose one, we will click on the capture button to take a photograph of the document or object. If we do not want to capture an image, and instead want to import an existing capture or image from the device, we will have to press the Image button that is next to the Capture button at the bottom of the screen.
Next, we will provide file and gallery permissions to the application so that it can access and import the documents that we have saved in this section.
You can capture and import up to 100 images at a time in Microsoft Lens. If we capture, we can review each image after taking it, edit them at the moment or do it later.

After importing or capturing an image, we can easily edit it thanks to the options that we will see after taking the capture. We can click on Add and capture more images or apply a filter from the Filters button. We will also have the option to crop, rotate or delete using the available options. In case we want to highlight or mark something specific, we will use the Ink button. If we need to convert the image to text, the Text option is what we are looking for. We can also reorder the photos taken with the Reorder option.
Share an image, document or text
Obviously, we will see at a glance the option to save in Microsoft One Drive. It is even possible to save the file locally or share it through any messaging application such as Telegram, WhatsApp, Messenger or email.
Edit previously scanned PDF files

From the three points at the top right of the screen, we can import documents. After importing a document, we can use the options Edit PDF, Share or Delete. We will choose Edit to start editing the document as we wish.
Extract a table from an image

Another interesting option is the possibility of extracting a table from an image, for this we will have to choose the Table mode while capturing the image. After selecting the table mode, we will click on the Capture button. We can edit the table as we wish, the text or the data it contains. We also have the ability to use the Copy button to copy the table and paste it into another document.
read text
To be able to read text from any image, we will have to select the reading mode, point the camera towards the text we want to read and capture it.
Now, we will place the text by adjusting the borders of the image and pressing Continue in the lower right corner of the screen. If we want to take the image again, we simply click on Retake in the lower right corner of the screen.
When we click continue, Microsoft Lens will show us text from the image in the immersive Reader. We can press the Play button to hear the text spoken aloud. We can also change the size of the text, the spacing, font and several other options by pressing the button in the shape of three points that we will find in the upper right part.
Scan a QR code
For this we will have to select the QR code mode. Then we will point the camera at the QR code that we want to scan. Microsoft Lens will automatically open the link or let us see all the information about this QR code. We will be able to see options to share the information of the code in question.

