 Format in Microsoft Word")
The Modern Language Association or MLA (Association of Modern Languages or ALM in Spanish), allows you to establish formatting guidelines for professional and academic papers: it is uniform and easy to use. If you have to write an essay, educators may require that it be written using the MLA format.
However, specific criteria must be met in order to have a properly formatted MLA paper. The process involves setting correct margins, using the proper font, double-spaced body content, and other essential rules. If you have not written a document in this format before, here we explain how to use the MLA format in Microsoft Word.
How to use an MLA format document template in Microsoft Word
The easiest way to set up an essay in MLA format is to use one of the Microsoft templates.
To use an MLA format template, do the following:
- open a new Microsoft Word document in white.
- Click on File, Archive on the ribbon.
- Scribe MLA-format and click template MLA style document in the search field.
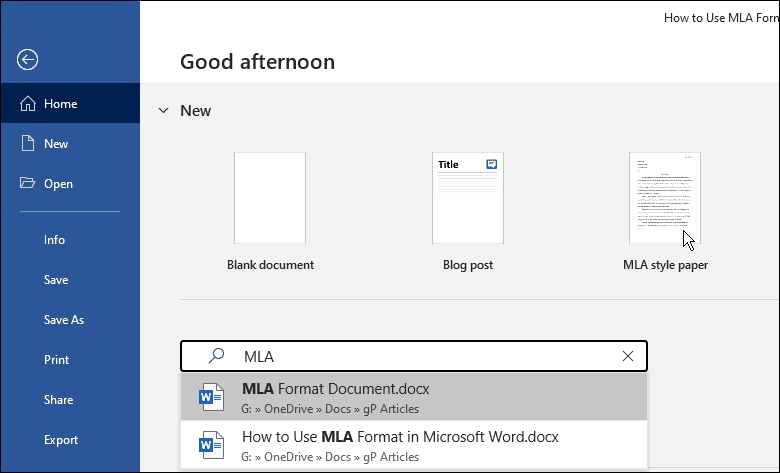
- A generic essay document in MLA format will appear, and you can enter the data you need for your paper.
- Add your name, course instructor (if necessary), course number, and date.

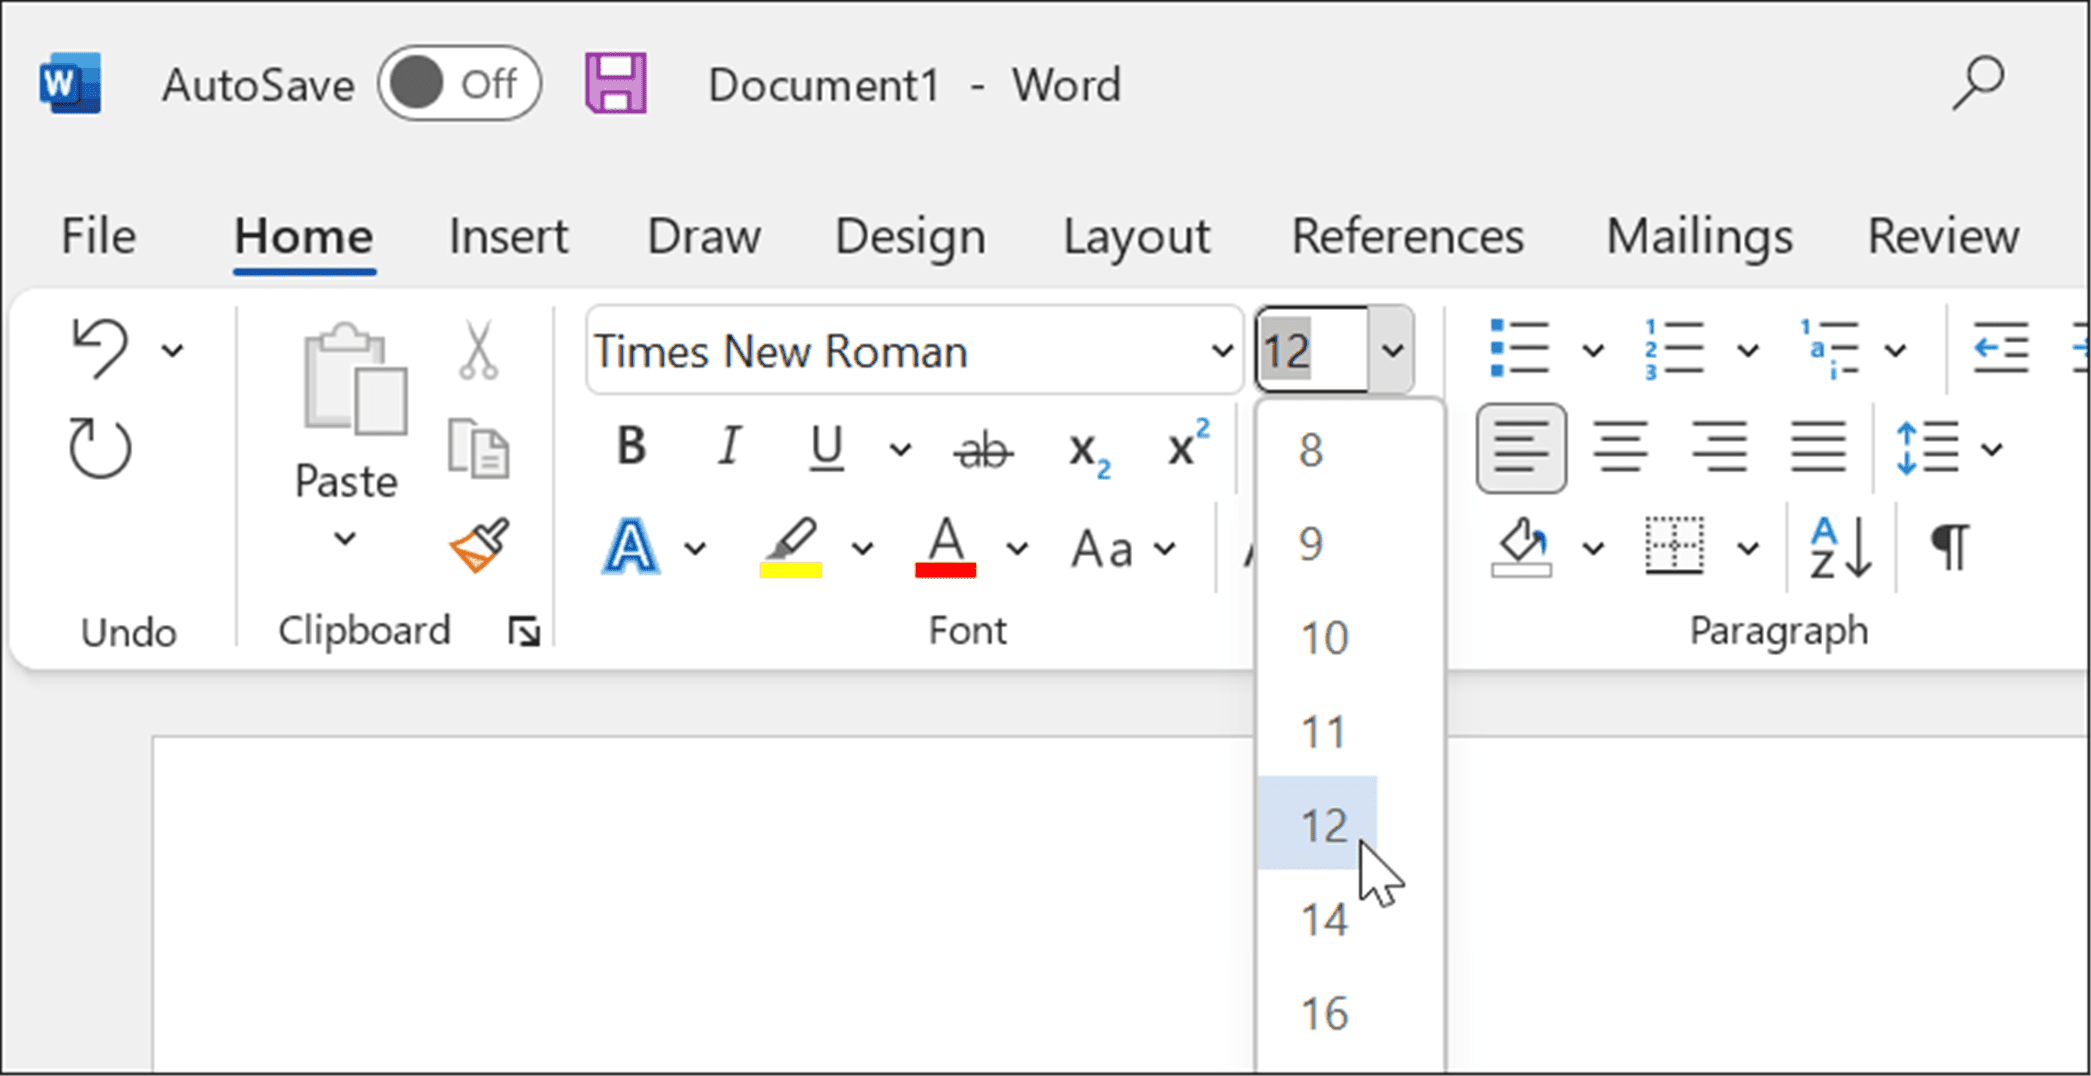
- The process is as simple as going through the document and adding your own data. For example, if you copy and paste a quote, remember to change the font to Times New Roman and set its size to 12.
- Highlight the text you need to format, right-click and choose Times New Roman in the Font drop-down menu and 12 in the frame Font.

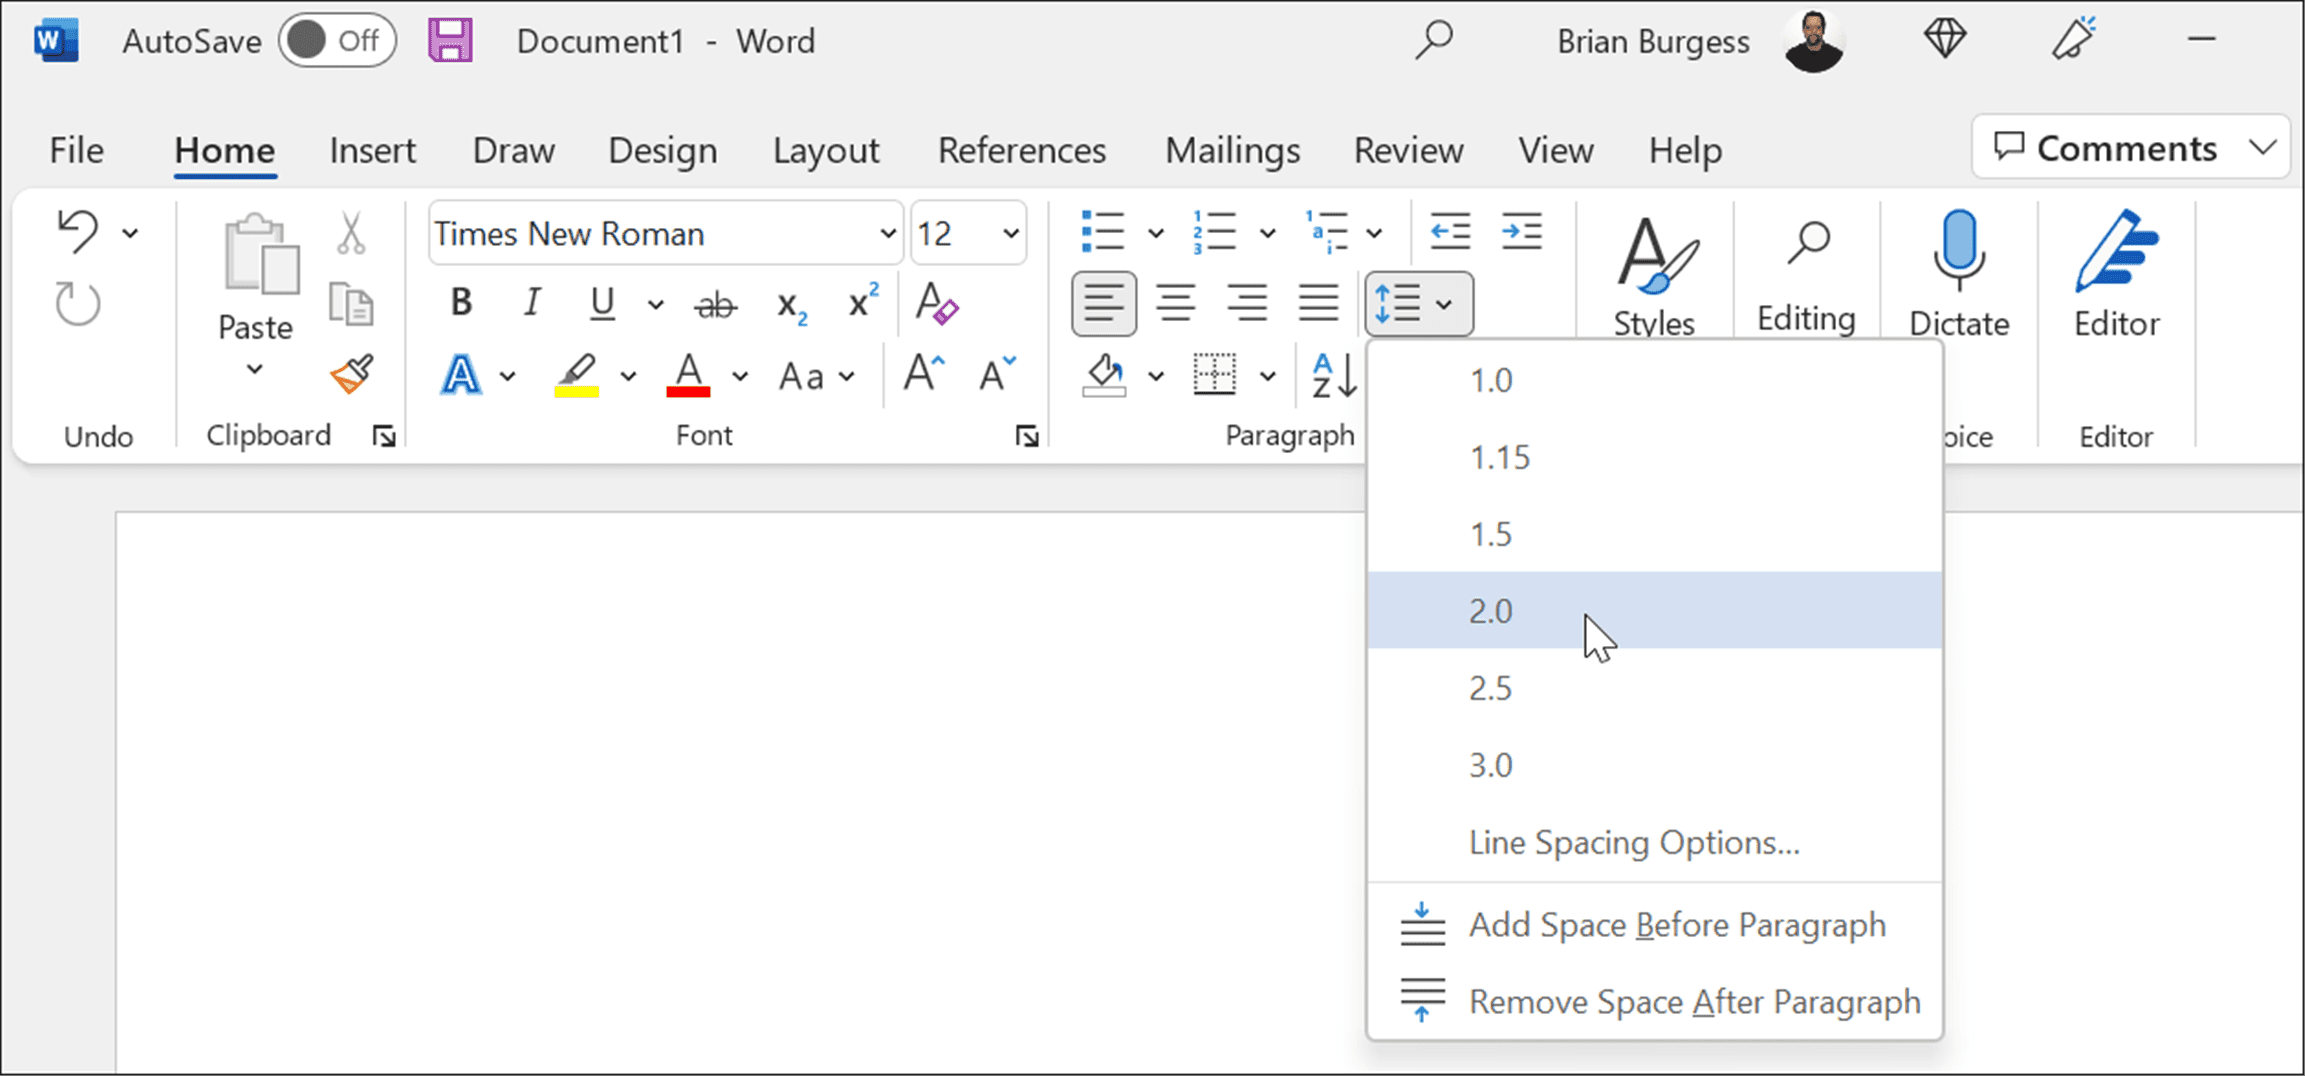
- With MLA format, the entire document must be double spaced. If you need to correct one or two sentences, highlight the sentences and right-click to bring up the formatting box.
- Click on Spacing between lines and paragraphs and select 2.0 in the dropdown menu.

How to manually set up the MLA format from scratch in Word
You can also set the MLA format manually. To set up the MLA format in Word, do the following:
- Create a new word document and, in the tab Start, set the font Times New Roman and its size to 12.
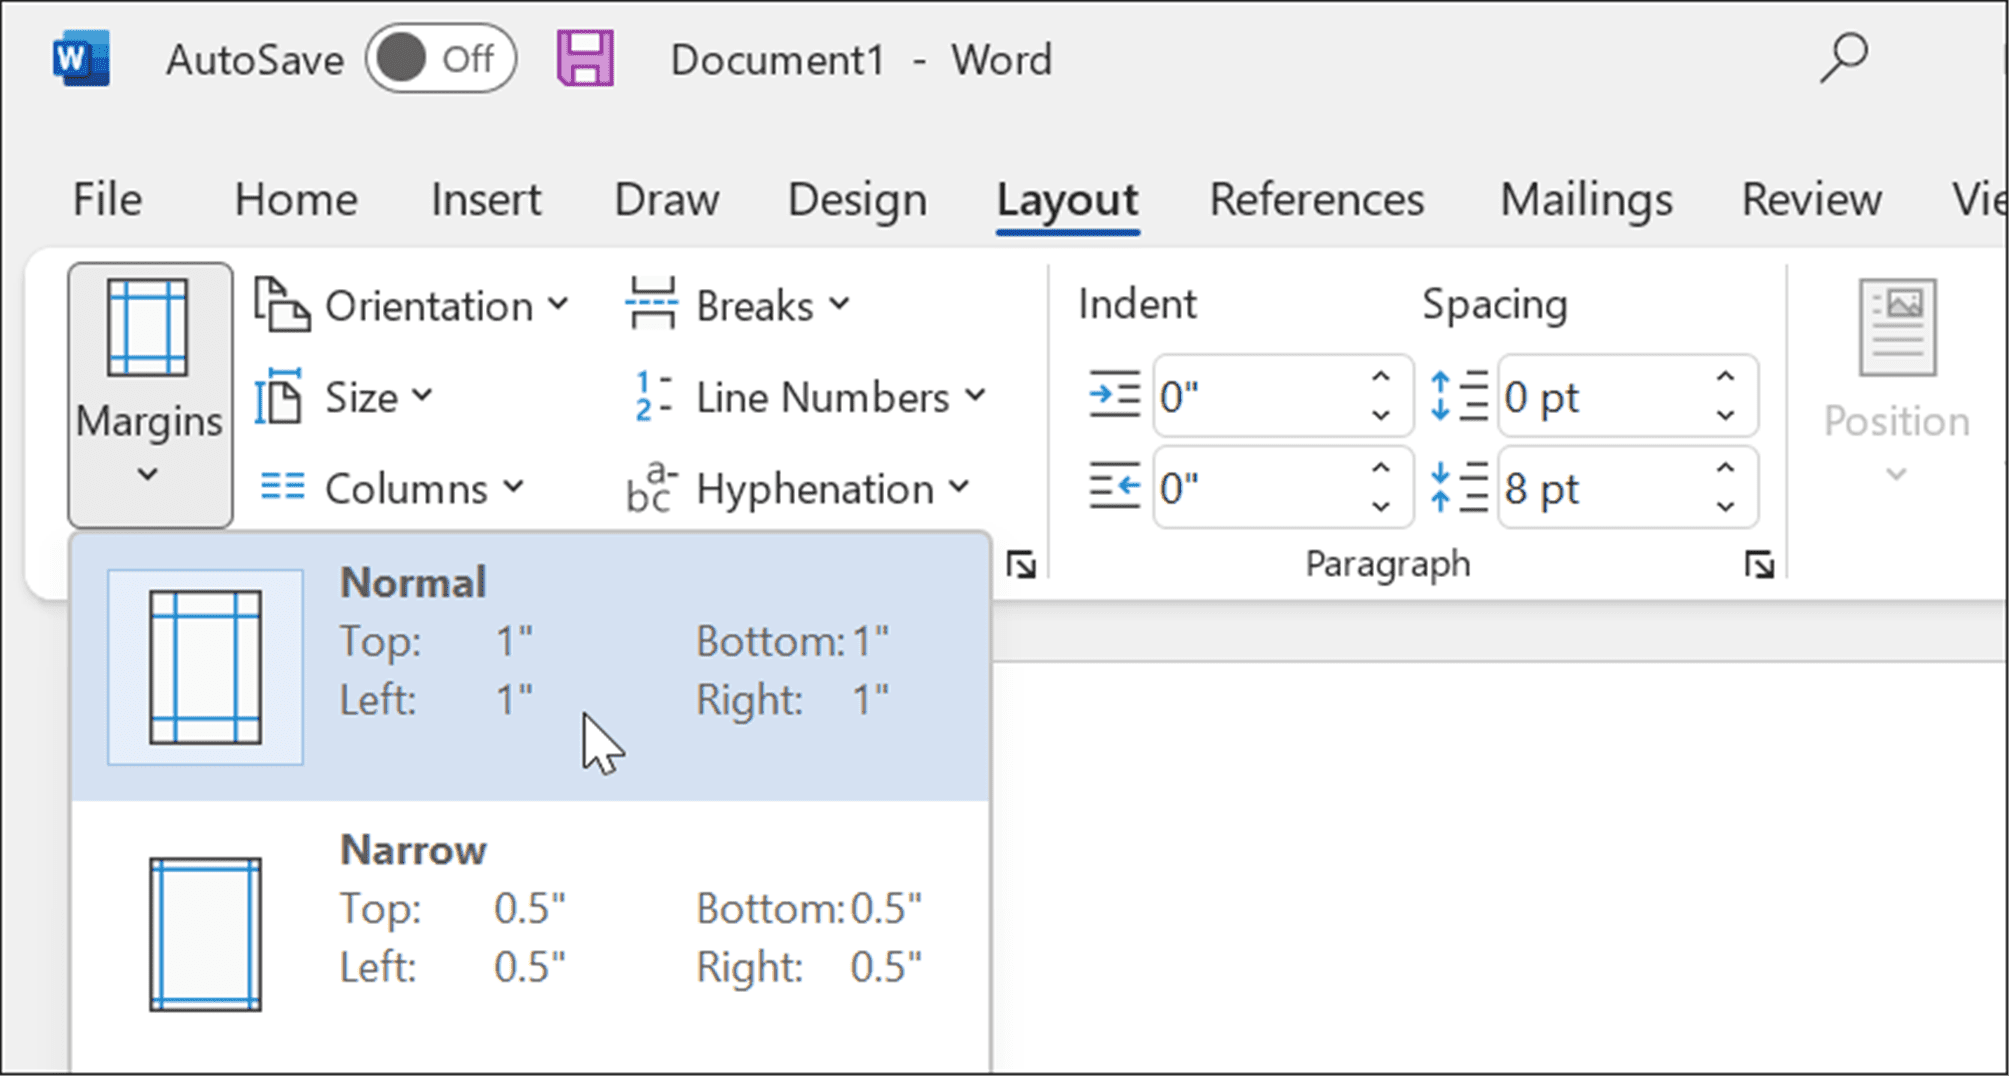
- Click on the tab Provision and click the button margins and select Normal, which makes the margins 1 inch throughout the document.
- An MLA document must be double spaced. Click on the tab Start, click the button Spacing between lines and paragraphs and put it to 2.0.
- Double-click the top of the document to bring up the area of the document. Header and write your full name.
- Go back to the tab Start and change the alignment to To align to the right.
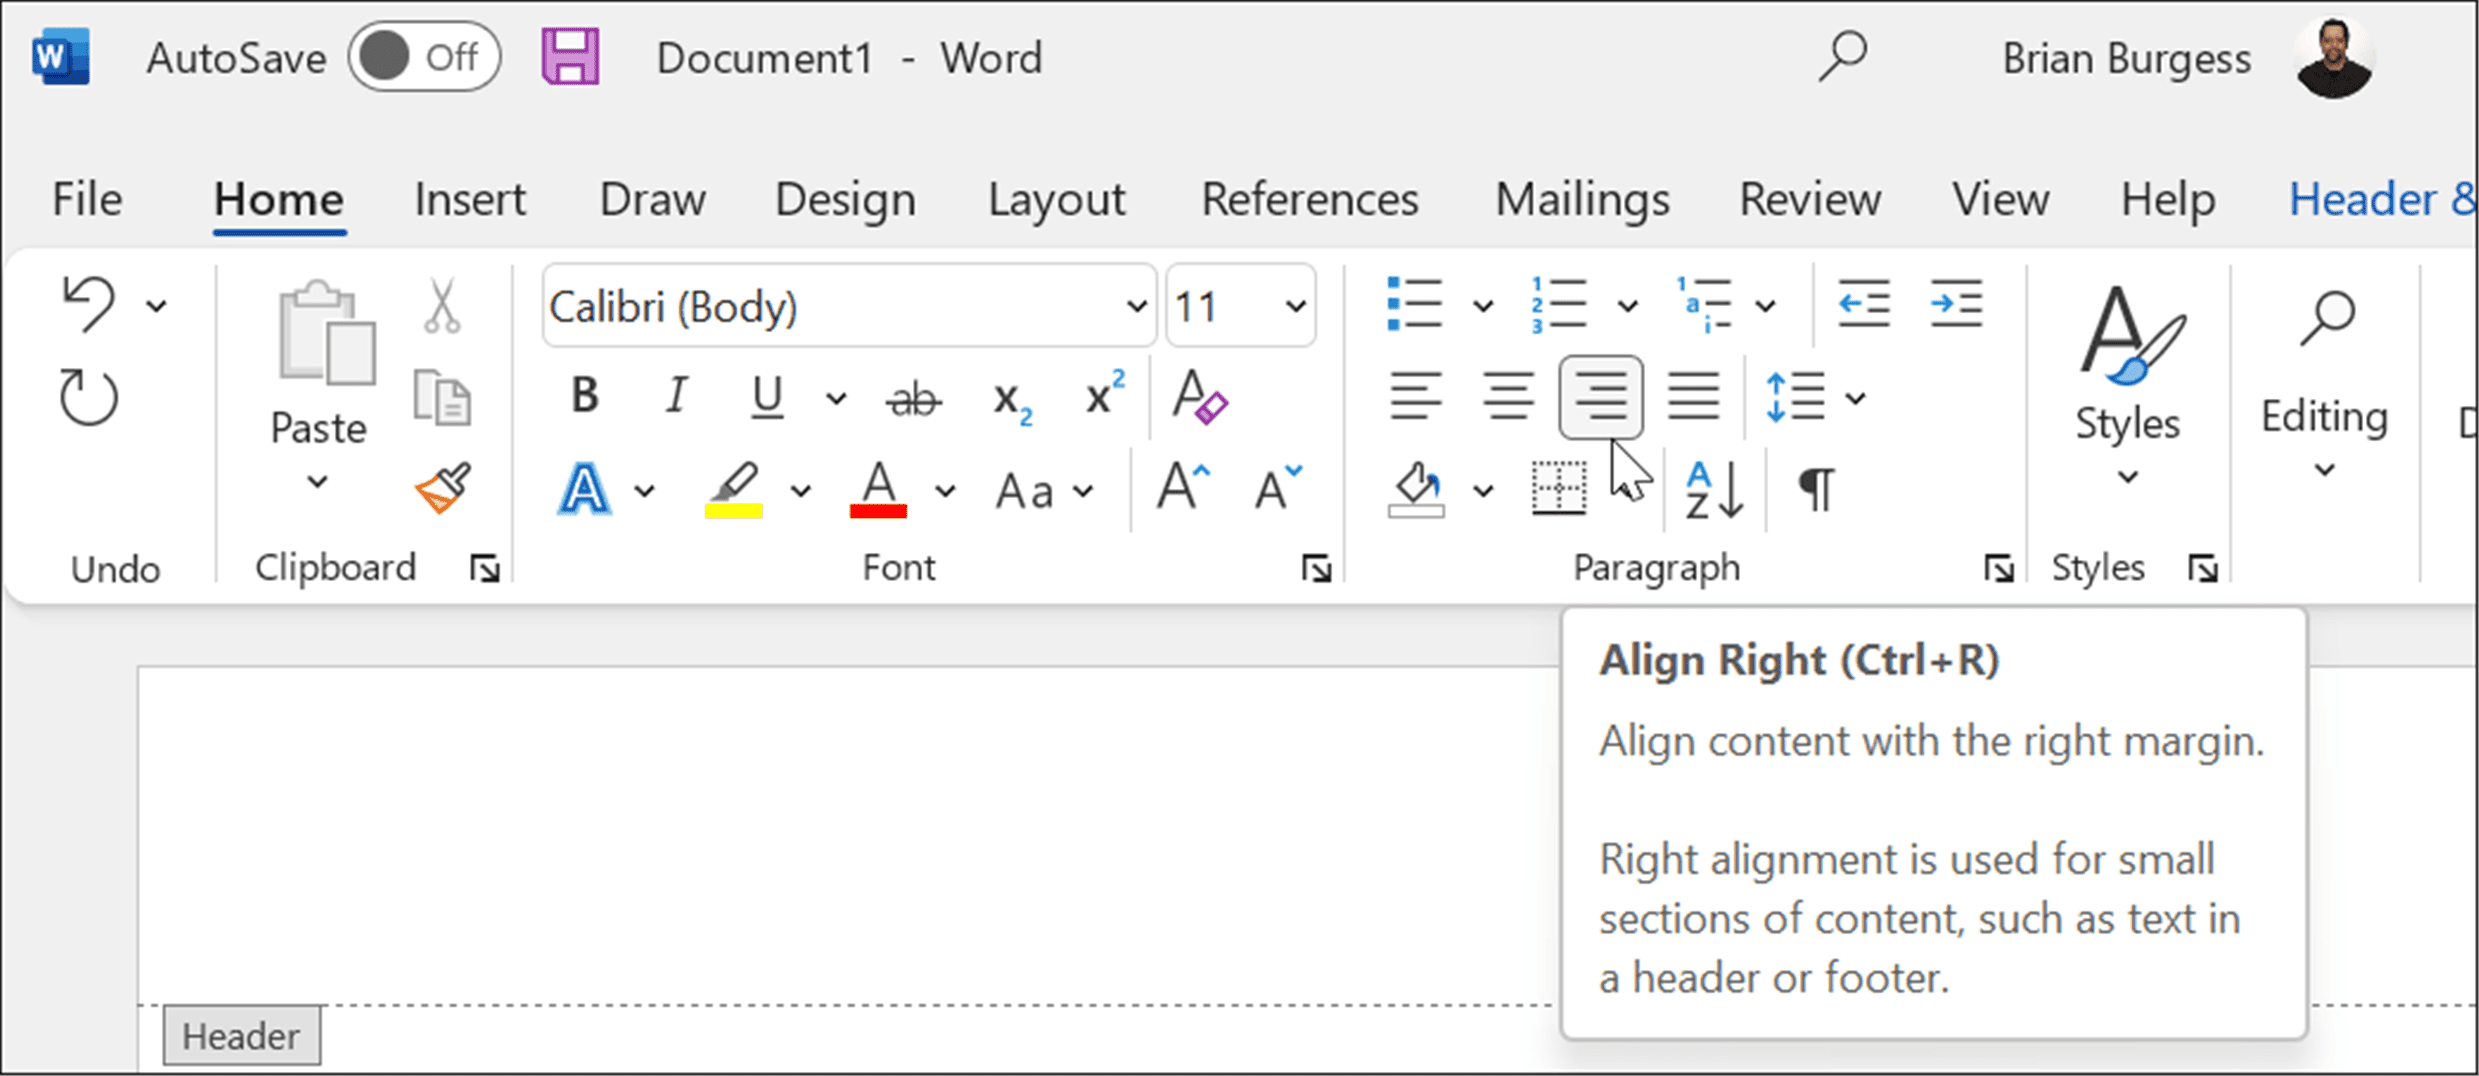
- Write your last name in the area of the Header and a single space.
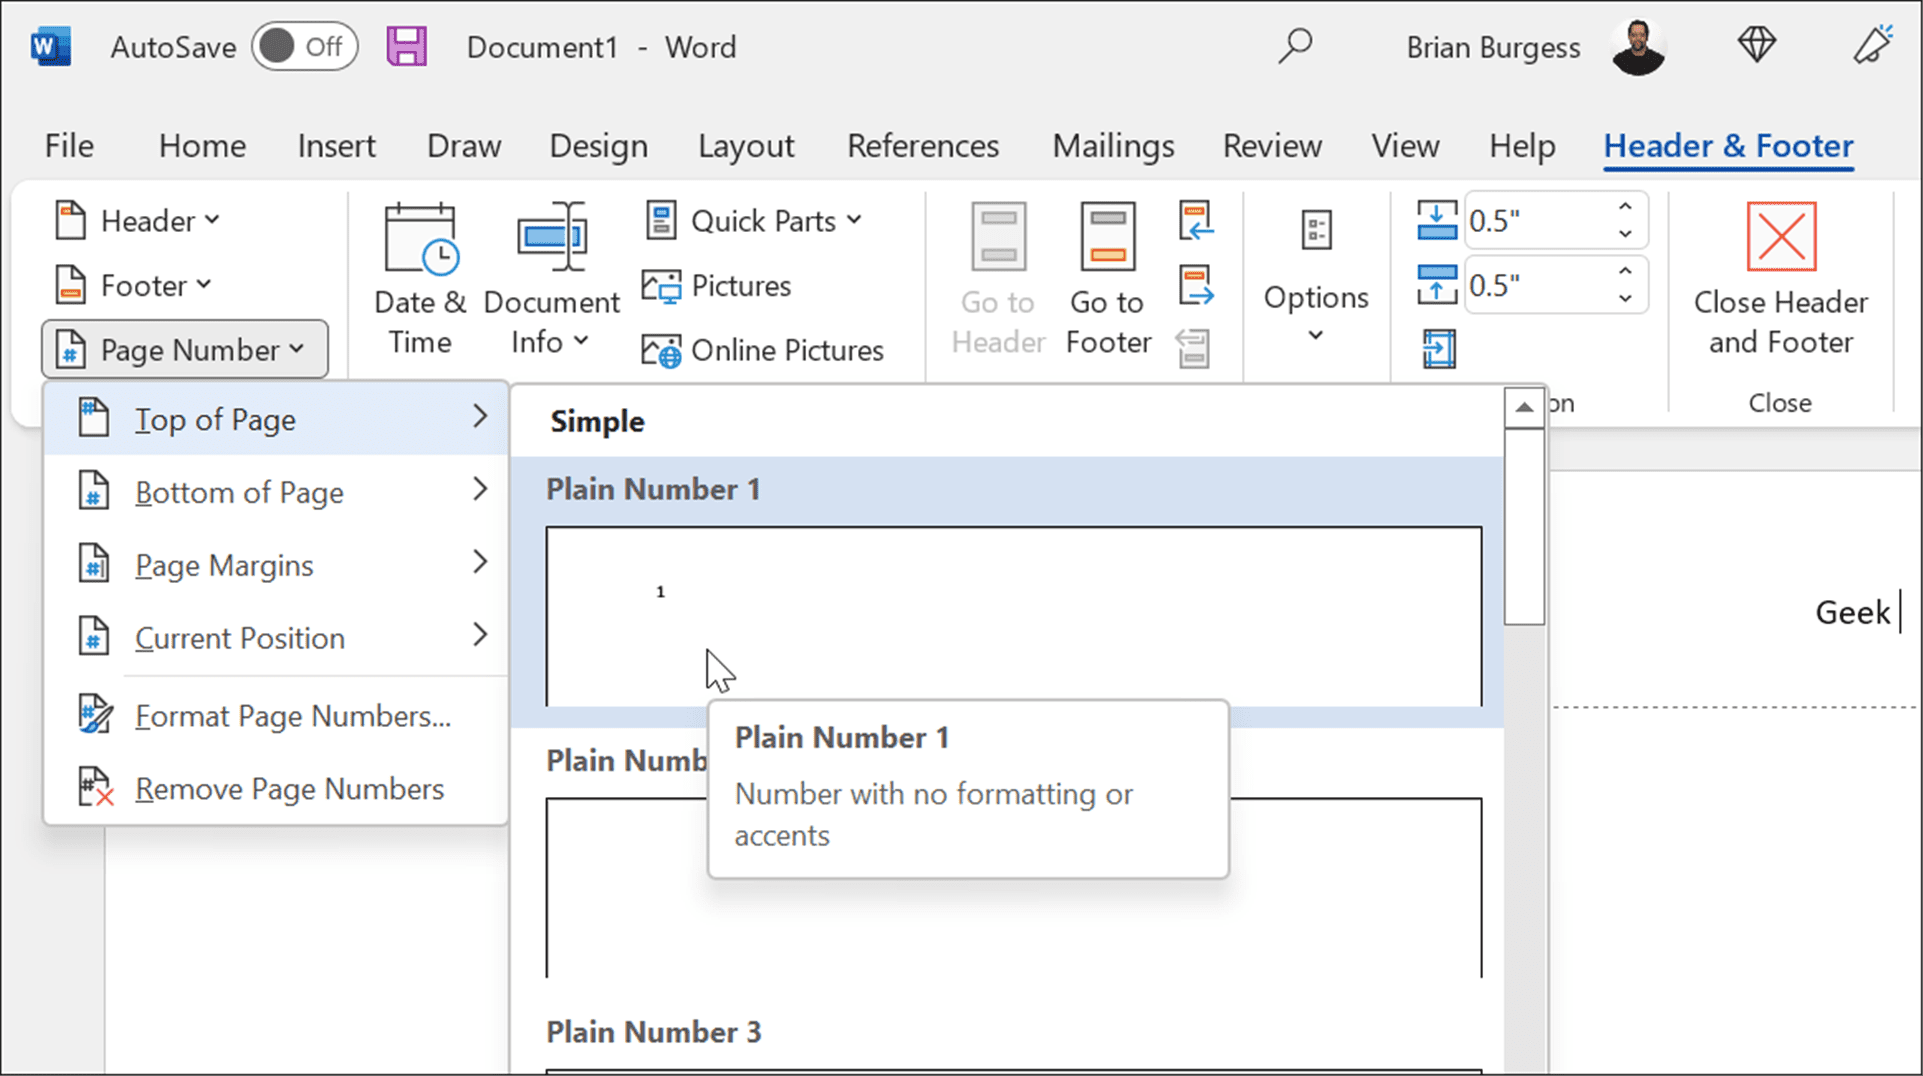
- Click on the tab Header and footerclick on Page number in the section Header and footerand select Actual position Y raw number.
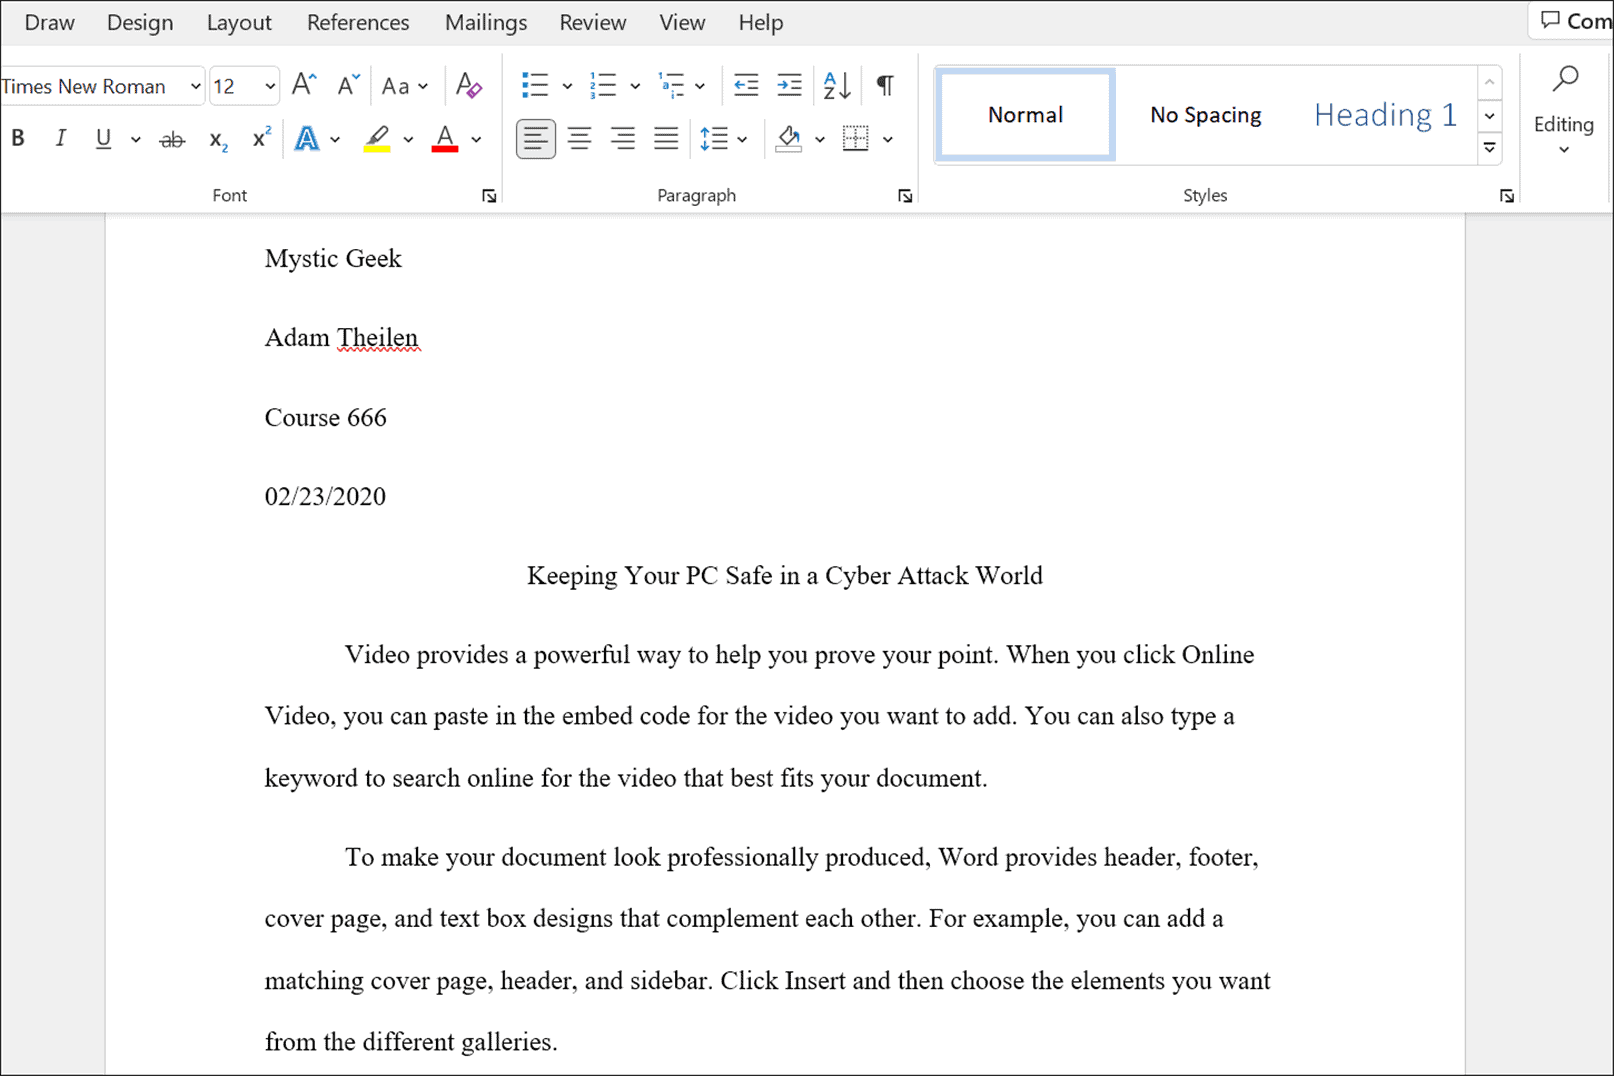
- Double-click on an empty area of the document to exit the document area. Header and write your full name. Make sure the Paragraph this left aligned and type the information shown in the template above: name, teacher’s name, course, date, etc.
- Click on Center and write the title of your essay.
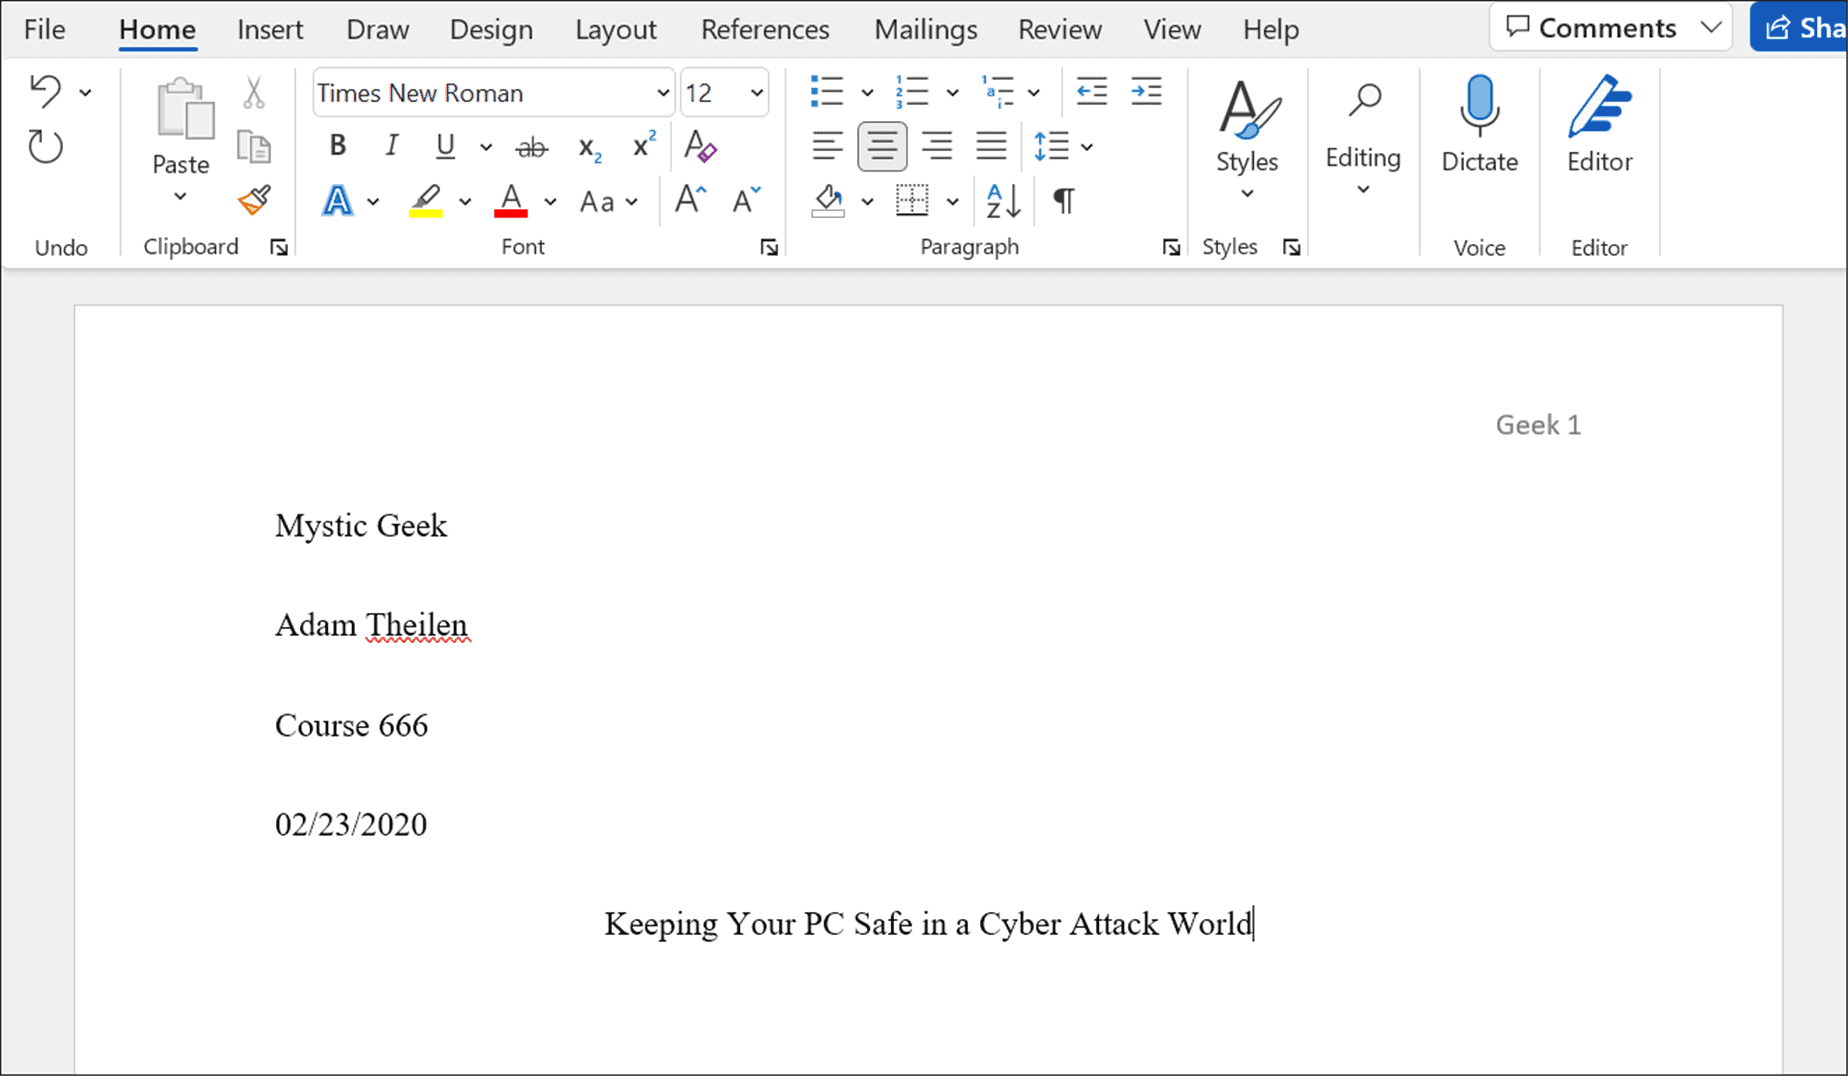
- Now, before you write the body of your text, set the section Paragraph in Align to the left.
- Start typing your text and keep in mind that if you need to indent a paragraph, just press Tab. Here is an example if you need to use the MLA format in Microsoft Word.
Also, remember that when you have finished your essay, you must insert citations to get an excellent grade.
Using the MLA Format in Microsoft Word
The steps above will help you set up the MLA format in a Microsoft Word document. You can too configure the MLA format using Google Docs.
Keep in mind that some professors may put their own spin on the MLA format, so be sure to talk to them before you start your essay. You may need to make some adjustments to the formatting of the template to get the correct style for your document.

