
Generally, printing with Windows is too easy a process that shouldn’t take much time. However, on some occasions we find ourselves with the unpleasant surprise that the printer only prints half a page vertically or horizontally. How can we fix it? This is something we will solve next.
The printer only prints half a page
The reason behind this inconvenience can originate from different reasons. We may have incorrect printer settings, unstable connection, driver issues, etc. Luckily, we have at our disposal several possible solutions to the problem.
One of the most common reasons is using an outdated driver or drivers. It’s actually one of the most common reasons why we end up with a half-printed page. So it’s something we have to consider. Additionally, if we use Word, we recommend removing blank or additional pages to avoid possible extra inconveniences.
Another reason would be incorrect page size and orientation, this may be due to a page size that was set the wrong way. We should also consider possible damage to the hardware, especially if the printer has been bumped, maybe we recently moved and it was dropped, etc.
Having too much paper in the paper tray or misaligning it is one of the most common reasons why this issue occurs.
Disconnect and reconnect the printer
Why complicate our lives? We can try a fairly simple solution that often works without any problems. So we are simply going to proceed to disconnect the printer for a few seconds and reconnect it.
Check printer settings

An incorrect printer configuration is usually the main source of this problem. For example, it is possible that we misconfigure the document in a small size while we are using a paper of a larger size, which would cause the printing to be half done.
- Press Windows + R, type control panel and press Enter.
- We recommend setting the display to Large Icons from the View By option at the top right.
- Here we are going to have to select Hardware and sound> Devices and printers.
- We will right click on the printer we are using and choose Preferences from the menu.
- We are going to go to the Original Size and Output Size menu, we will have to configure the actual size of the sheet that we are using.
- Finally, we are going to apply the changes so that they are saved.
Verify that the document has the specified size
Something else that we must verify is that the page size that we set in the application from which we are printing does not match the size of paper that we have in the printer. So it would be quite common for the print to come out halfway. For example, if we are using Microsoft Word, we will have to do the following:
- We open the document that we want to print in Word.
- We go to the Design tab that is at the top.
- We select Size in the tab and configure the indicated size according to our printer.
Reinstall printer drivers
It is possible that we have some kind of problem with the original installation of the printer and its drivers. Even if it previously worked, it may be that a recently installed operating system update or some related application corrupted the original installation. In this case, we will have to reinstall the printer to rule out this possibility and consider installing optional driver updates in Windows.
- For this we will have to press Windows + i to access Windows Settings.
- Here we go to Bluetooth and devices, then we are going to press Printers and scanners.
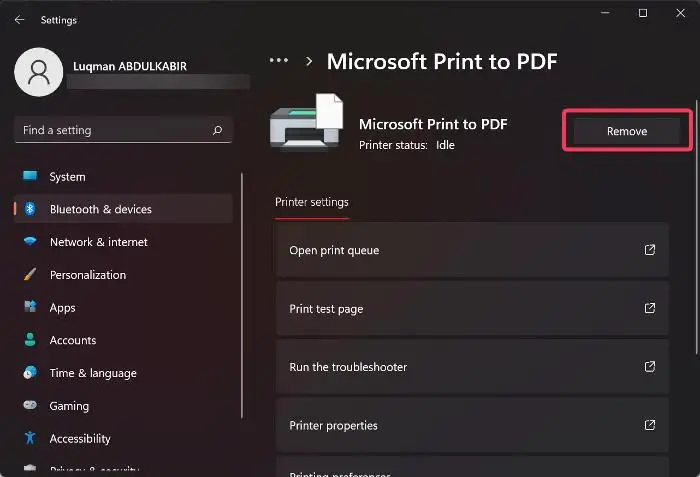
- We look for the printer that is giving us problems and we choose Delete.
- After this we will disconnect the printer from the computer and proceed to restart the PC.
When the computer turns on again, we make sure we are connected to the internet, we connect the printer as we normally would and Windows will take care of installing the drivers automatically, it is a matter of waiting a few minutes.

