
- There are over 150 shrines available throughout The Legend of Zelda: Tears of the Kingdom
- Due to its own characteristics, it seems that the third sanctuary represents a more difficult challenge.
- What are the steps to follow to arrive at the third sanctuary? And what else should you know?
Beyond the unforeseen delays, there is no doubt that Tears of the Kingdom is one of the great releases of this year 2023. Thousands of players are already enjoying it on their Nintendo Switch and, if you are one of them, you may be eager to Arrive at the third sanctuary of The Legend of Zelda: Tears of the Kingdom. Today we invite you to discover how to go to that place, easily and quickly so you don’t waste time.
If you are not that familiar with the game, the first thing you should know is that there are more than 150 shrines in it. Basically, very few titles manage to compete with The Legend of Zelda: Tears of the Kingdom in this regard.
So how to get to the third shrine of Tears of the Kingdom?
Due to its own characteristics, it seems that the third sanctuary represents a more difficult challenge than normal. Generally, players make it to the first and second shrines, but they struggle when they reach the third.
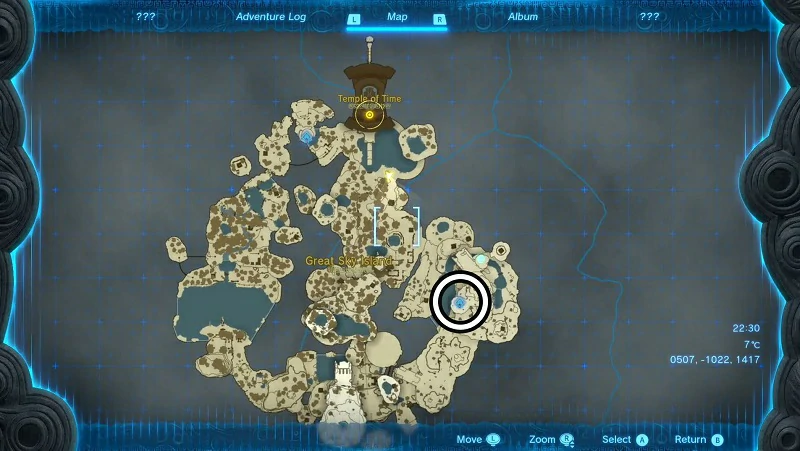
The third shrine in TotK is called the Gutanbac Shrine, and you will have to complete it after finishing the Ukuoh and In-isa shrines. It is not a particularly complex sanctuary to complete since it is part of the initial tutorial of the game. Now, the problem is when it comes to getting to the site. Above all, for players described as newbies.
Pondside Cave Trip
Starting from the end of the second shrine, you need to go down the steps and head right into a cave. It’s called Pondside Cave, and it’s located around 0149, -1635, 1378. Take the Archaic Robe from the chest as you advance.
make a raft
At the other end of Pondside Cave, you will find yourself facing a lake, and you will see that you cannot swim across it. Instead, you will need to use your new ability Ultrahand to make a boat or a raft of some kind. Fortunately, there are some logs nearby that you can use. Connect a fan to boost yourself.
Enter the mining cave
Once you reach the shore, you will see a path going up the hill. Follow it to find the Mining Cave. This cave has a couple of abandoned minecarts outside and some rails leading up the cliff. You just have to enter and talk to the Constructs to learn about these matters.
Ride the Minecart
When you get to the Forge, you will get new fans. Take one of them and attach it to the back of the minecart using the Ultrahand ability. Then lift the cart onto the rails and climb aboard. Turn on the fan quickly to get him out of the mine. You will go to the area where are Rauru and the Device Dispenser.
Enter the well cave
After trying the Device Dispenser, you need to head east towards the Pit Cave, which is located around 0580, -1625, 1442. Before you go in, grab some of the Spicy Peppers that you can see near the entrance. Navigate through the cave, using the pot to cook some stir-fried hot peppers and survive.
go through the snow
Coming out of the cave, everything is cold and snowy. Low temperatures can cause problems for Link, so it is advisable to chew the cooked peppers before continuing. This will give you a temporary extra resistance to cold, allowing you to carry on without worry. Fight your way through the snow, fighting soldiers.
Enter the bottomless cave
As you follow the path, you will eventually reach the entrance to the Bottomless Cave, near 0717, -1444, 1486. Being careful to avoid the large hole in the center, make your way through. There are several enemies that you can defeat by shooting arrows at the colorful orb in its center. Also you will find a chest to beat those enemies.
Go up to the Sanctuary
Eventually, after reaching the top of the cave, you will come to a new snowy and icy space. The walls are too slippery to climb, but you must travel up to reach the shrine. To do this, locate the large tree roots that cover the cave door and start climbing. Stop to rest and, energy recovered, continue climbing until finally reaching the destination: the Sanctuary of Gutanbac.
Other frequently asked questions
Is the third sanctuary difficult?
The third sanctuary is not particularly difficult. It is one of the game’s tutorial shrines, which are designed to be easy and introduce you to your skills. The main focus of the third sanctuary is to show players what they can do. There are still a couple of puzzle elements, but it tends to be a simple space.
Must you complete the third shrine?
Yeah, the first four shrines in the game are required as they serve as the tutorial for the game. They allow you to get introduced to your talents, and learn what the mechanics are so you can move on.
What do you get for completing the third shrine?
The third shrine, or the Gutanbac Shrine, will teach you the Ascend ability. This allows you to move up, even across solid surfaces, and is very useful for other shrines, challenges, and puzzles that will appear later in the game. You will also find things like an ax and a construction bow.
Have you been able to reach the third shrine of Tears of the Kingdom? What else would you like to know?

