
This post shows students and new users the steps to back up important files to external drives when using Windows 11.
Backing up your files simply means making a copy of your files and storing them somewhere for safekeeping. In case you lose the original files on your computer or device, you can go back and restore the files from the backup location.
It is always good to have backup copies of your most important files. Save copies of your files to another drive in case something happens to the originals, for example an external hard drive. A good location to store the backup file is a USB drive, external hard drive, CD / DVD, or online storage.
However, this post focuses on backing up to external media only. Other posts we’ve written showed you how to backup to online storage like OneDrive and Dropbox.
The new Windows 11 comes packed with many new features with a new user desktop, including centered Start menu and taskbar, rounded corner windows, themes and colors that will make any Windows look and feel modern.
If you’re excited about Windows 11, keep reading posts about it.
To get started backing up your files in Windows 11, follow the steps below.
How to back up your files in Windows 11
The easiest way to back up your files is to let Windows 11 handle the backup process for you. There are several different backup applications available, but Windows 11 comes with a built-in tool that can help you back up your files.
Alternatively, you can manually copy the file to a backup location instead of using an application. However, allowing Windows to automatically back up your important files might be the best option.
What files to backup in Windows 11
Your priority should be to back up important files, as well as those that would be difficult to replace. Your personal files like documents, emails, financial documents, family photos and others that would be irreplaceable.
Other less important information would be your profile settings, installed software, and system settings. These, you can replace, but they may spend some time setting up the way they were. Therefore, your priority should be to back up only your most important files.
How to make a backup in Windows 11
As mentioned above, Windows 11 comes with a built-in backup tool that you can use to automatically backup your important files. Follow the steps below to configure your backup process.
Windows 11 has a centralized location for most of its settings. From system settings to creating new users and updating Windows, everything can be done from your System settings crystal.
To access the System Settings, you can use the Windows key + i shortcut or click Start ==> Settings as shown in the following picture:
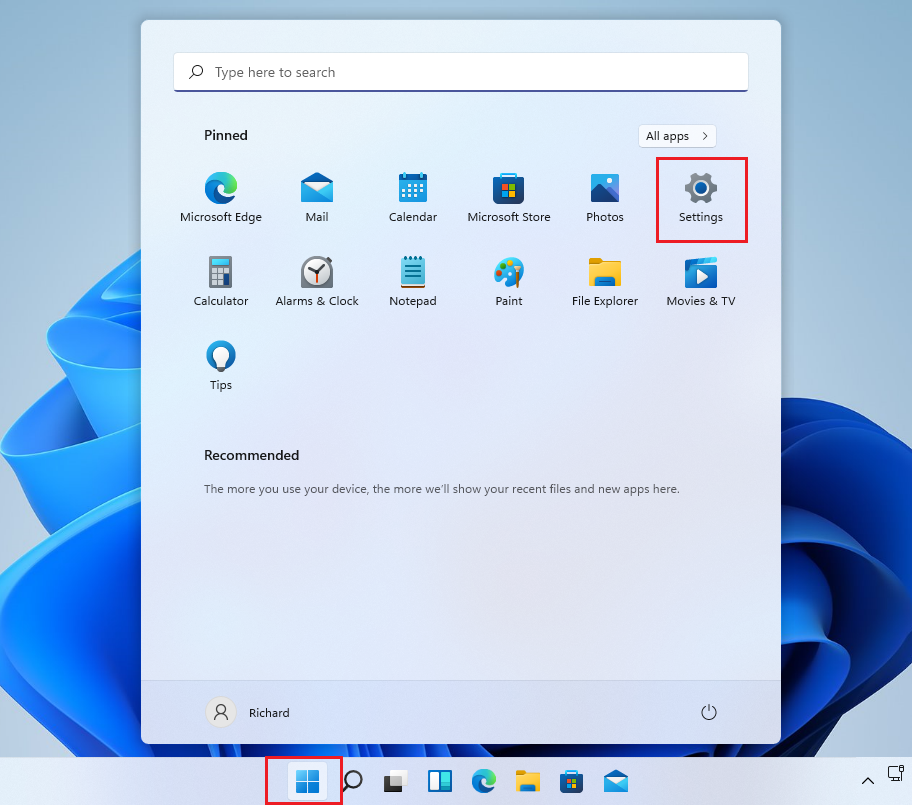
Alternatively, you can use the search box on the taskbar and find Settings. Then select to open it.
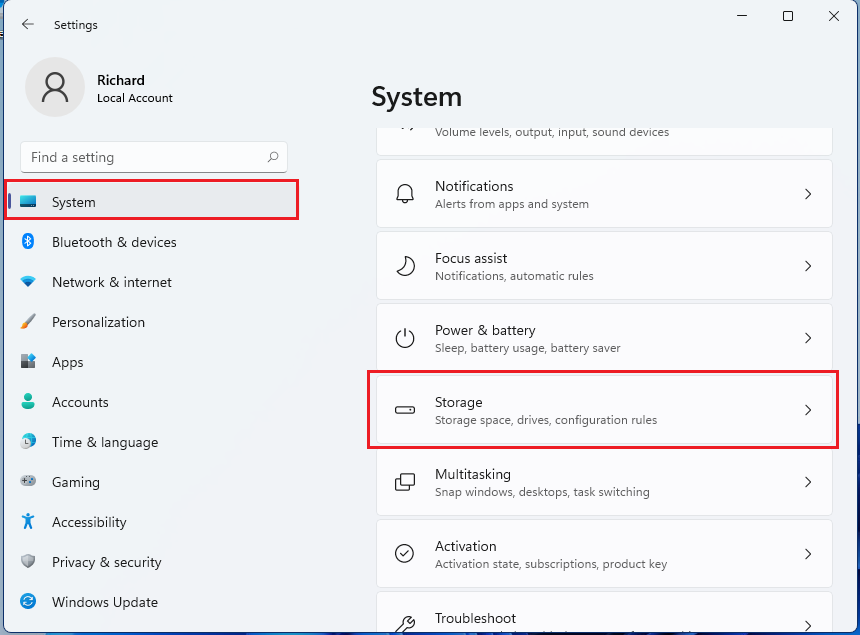
The Windows settings panel should look similar to the image below. In Windows settings, click System, Select Storage on the right panel of the screen shown in the image below.
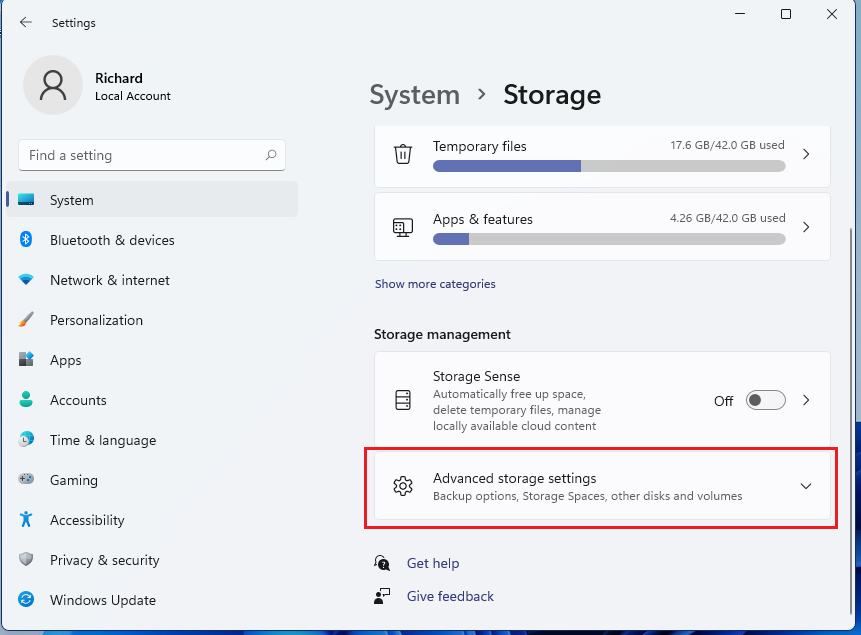
In the Storage Settings panel, under Storage Management, select Advanced storage settings to expand more storage options.
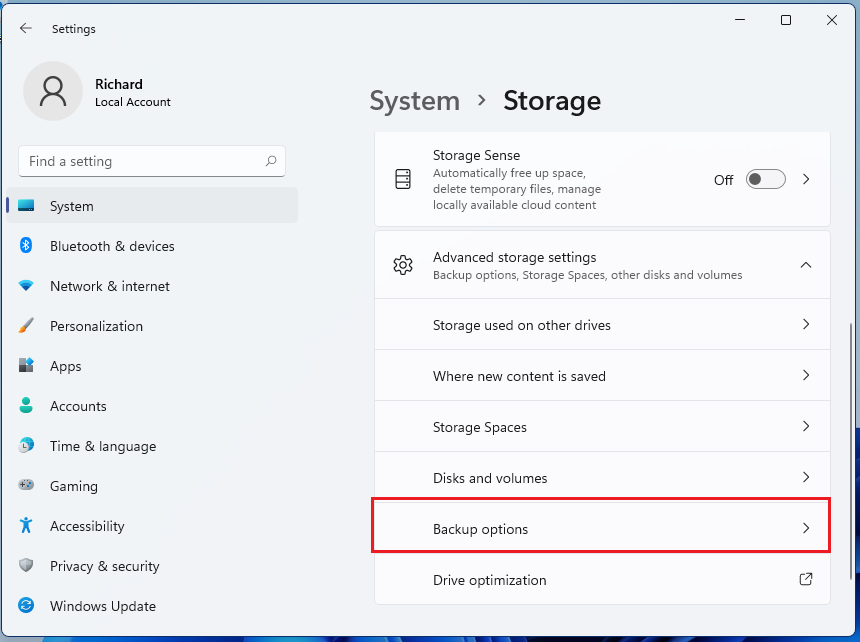
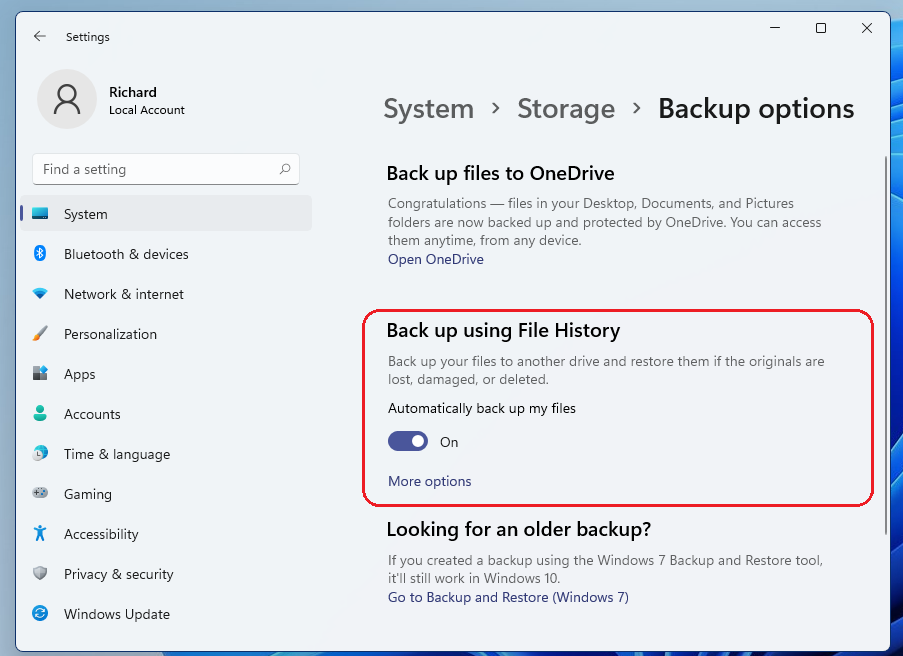
Then select Backup options
Toggle button to enable File history back.
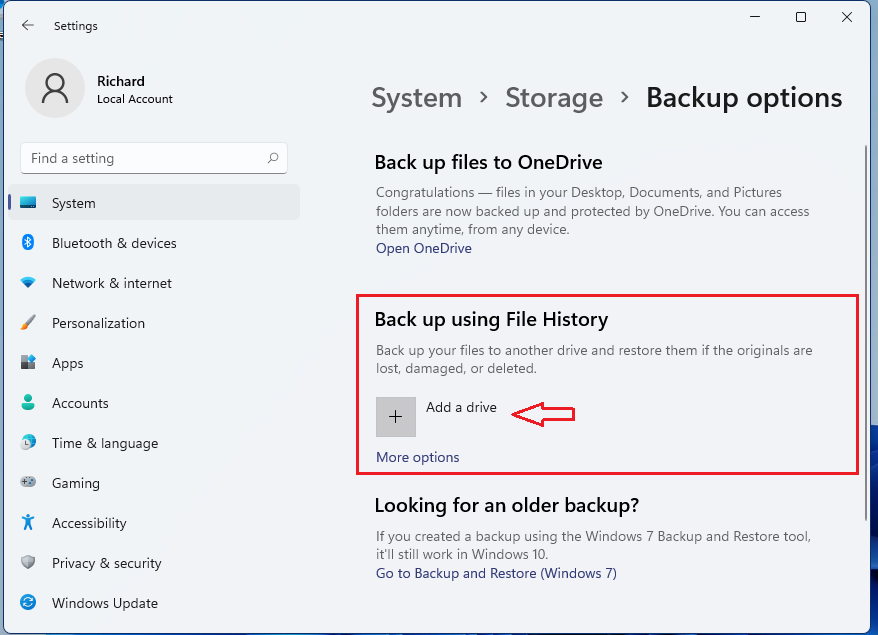
Then click Add a unit to select the external drive to back up to. You can select any of these media to back up to: external drivers, CD / DVD disc, or network location.
Insert a USB drive into your computer and Windows should identify it and allow you to back it up.
When you select a unit, everything is configured. Every hour, Windows will back up everything in your user folder (C: Users username). To change the files that are backed up or how often they are backed up, go to More options.
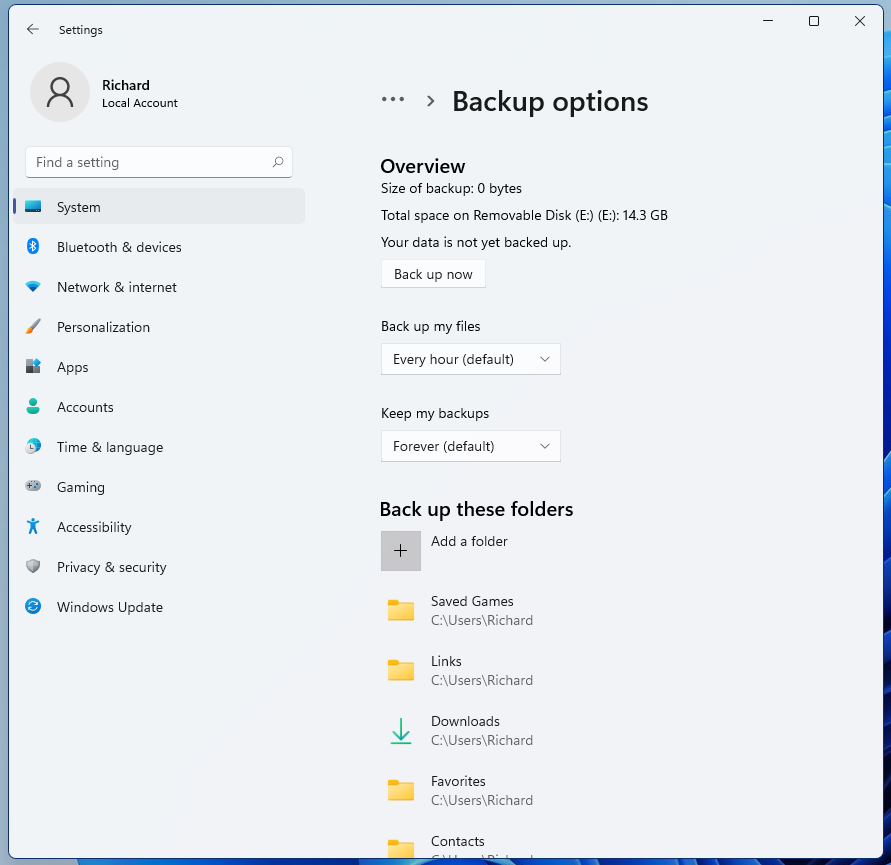
When you’re done, save and exit. Windows 11 will automatically backup your important folder stored in your home folder automatically. You can also manually choose additional folders to add to the backup if you want.
That is all!
Conclusion:
In this tutorial we have seen how to backup important files in Windows 11. If you find any errors above, please use the comment form below to report.


