
Use Bitlocker encryption in Windows 11 It is a simple, fast and safe process. Originally released in Windows 7, this feature helps protect data saved on local, fixed, and removable drives. Data is encrypted using hard-to-crack AES encryption.
Use Bitlocker encryption in Windows 11
It is possible to use Bitlocker on any PC with Windows 11, although we must take into account that it is only available for those running Windows 11 Pro, Education or Enterprise. In order to use Bitlocker to encrypt your local drives or other drives, we will need to follow these steps.
The first thing we will do is press the start button and click on Settings. Alternatively, we can press Windows + i.
In the Settings menu, we will have to choose System that is on the left side and then click on Storage that we will find on the right side.
In this section we are going to click on Advanced storage configuration in the Storage management section. Then we are going to have to select Disks and volumes.
Here, we will have to choose the unit that we want to encrypt with Bitlocker and then we will click on the Properties button.
Next, we are going to click on the “Activate Bitlocker” option found in the Bitlocker section.

Now we will have to click on “Activate Bitlocker” that is on the right side of the unit that we selected to encrypt.

After several system checks, we will have to select how we want to back up our recovery key. We can choose to save to your Microsoft account, save to a file, or print the key.
The recovery key is extremely important to be able to recover files without the need for a password. If we lose the password and do not have the recovery key, it will be impossible to recover the files. Therefore, it is highly recommended to do so.
If we decide to save the 48-digit recovery key, it is best to store it by linking it to the Microsoft account.

After making a backup copy of the recovery key, we will have to click “Next”. Here we will make sure to encrypt only the used space (faster and better for new PCs and drives) and click Next.

We will have to determine the encryption mode. For better security, let’s select “New encryption mode (better for fixed drives on this device)” as the preferred encryption mode and click Next.

Next, we will have to click on Run Bitlocker system verification and click on Continue.
In order to complete the Bitlocker verification and encryption process, we will need to restart Windows 11.
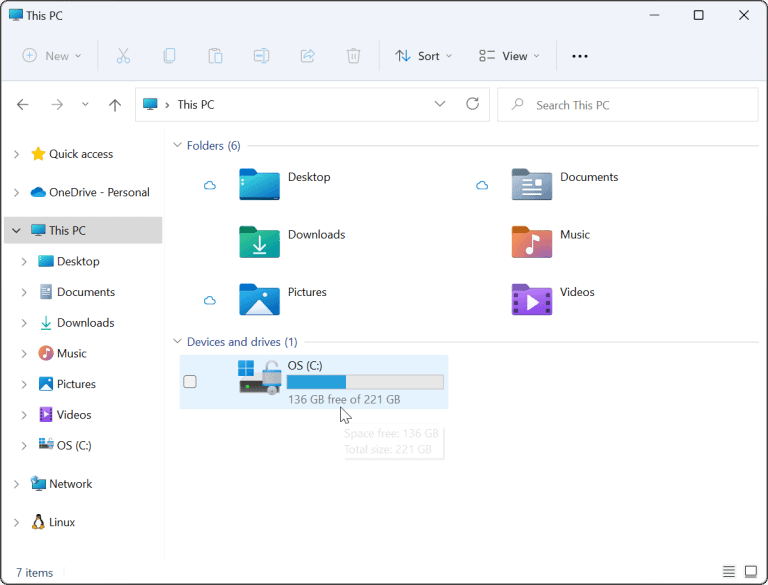
After restarting the PC, log in and wait for Bitlocker to encrypt the computer. We can see a padlock next to the unit in question from the File Explorer.
How to disable it

We click on Start, we will write Control Panel and we will give Enter.

When the Control Panel opens, we will have to click on “Bitlocker Drive Encryption”.

We will locate the unit with Bitlocker encryption enabled and click on “Deactivate Bitlocker”.

A pop-up window will appear asking us to confirm the action.

Then a message will appear in the form of a notification informing us that the decryption of the drive is in progress. We have to wait a while for it to complete.
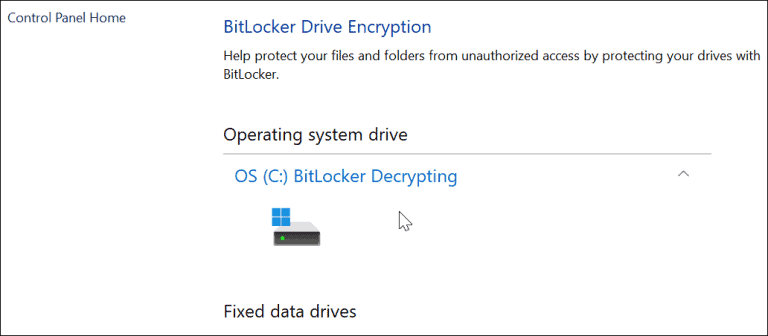
When the process is finished, we will see a pop-up notification and we can also see Bitlocker disabled next to the decrypted hard drive in Control Panel.


