 in Windows 11")
When a Windows 11 PC is set up with a Microsoft account, it is assigned the profile picture from your online account. On the other hand, adding a local user account will create a generic image. But you may want to mix things up and change your account image to something more personal. Here’s how to do it.
How to Change the Picture of Windows Account 11
Note: You need to have an administrator or standard account to change the photo. Also, the steps to change an account image are the same for local and Microsoft accounts through Settings.
To get started, click the button Beginning and then in Setting. You can also use the keyboard shortcut Windows + I to directly open the Settings application.

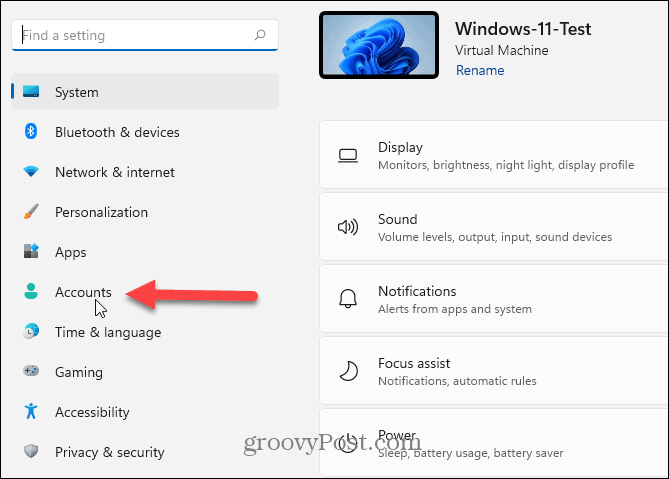
Then click on the option Accounts from the list on the left.
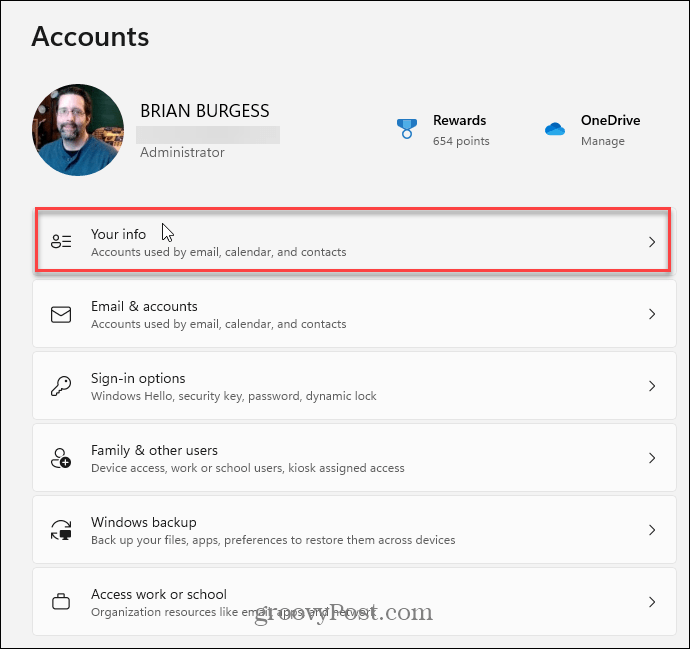
On the next screen, in the section “Accounts“, click on Your information.
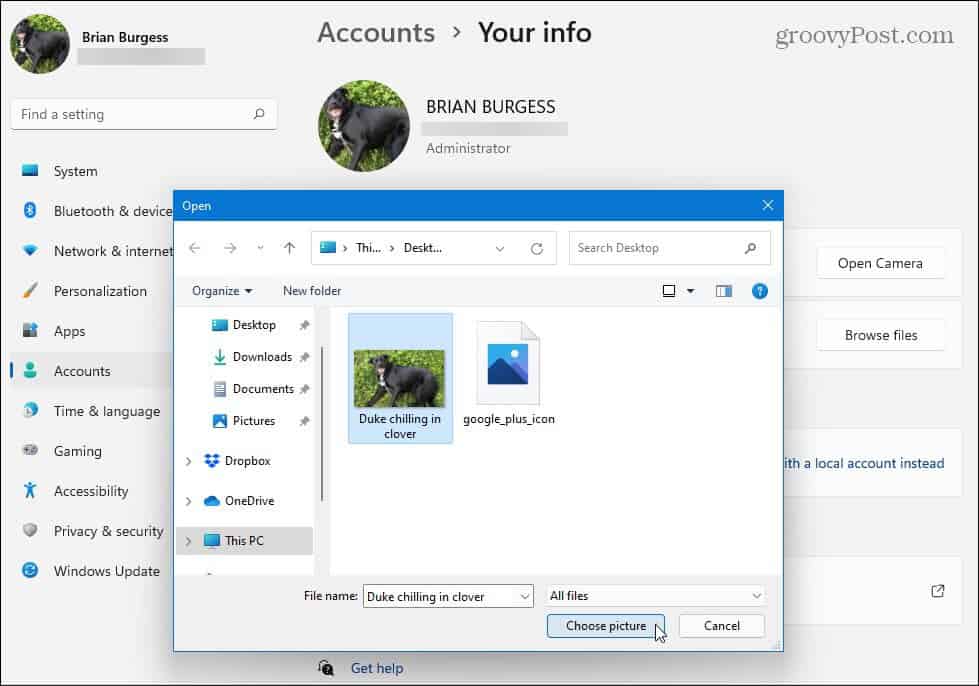
You have two options to add a new photo in the “Adjust your photo” section. You can click the button Open camera to use your webcam to take a photo. Or you can click the button Browse files and navigate to the location of the photo you want to use.

In the example below, I am navigating to the location of a photo of my dog that I want to change the account image to. Whatever photo you want to use, navigate to it, highlight it and click the button Choose image.
Your account photo will be changed immediately and you can enjoy the new look of your login experience.

How to change Windows 11 account photo online
To change your account photo online, go to Microsoft account profile page and sign in if you haven’t already. In the “Your information” section, click the button Change photo.
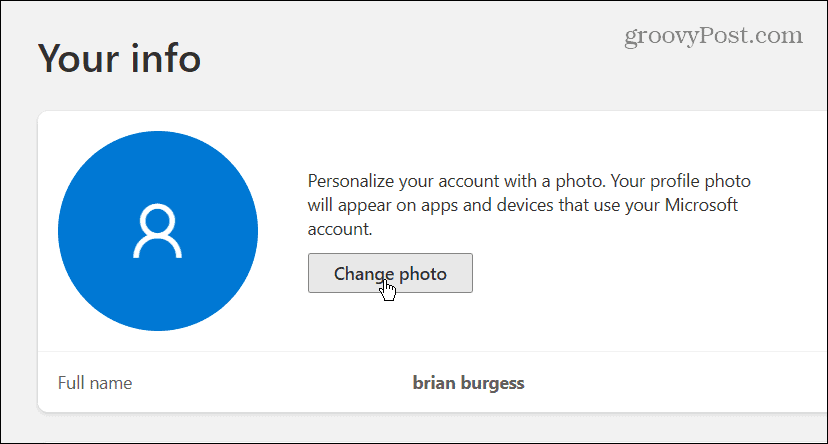
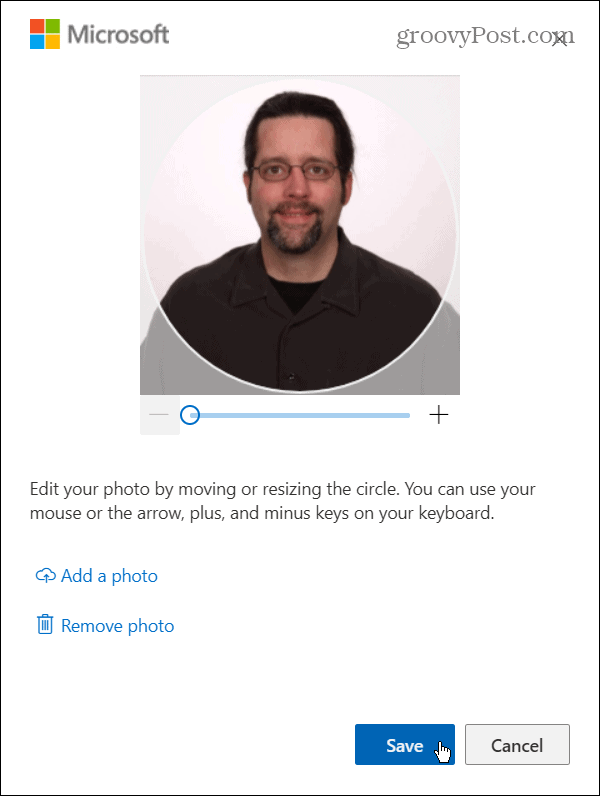
Then click on the link “Add a photo“.

Navigate to the image you want to use and adjust it on the screen. When you’re done, click the button Keep.
That is all. The photo from your new account will sync across all Windows 11 devices where you use your Microsoft account to sign in.


