This post shows students and new users the steps to create a bootable USB flash drive to install or reinstall Widows 11 on a new computer. The vast majority of users will perform an in-place upgrade to Windows 11. That is, they will upgrade from a Windows 10 PC to Windows 11.
There are some users who will want to do a clean install of Windows 11. Sometimes upgrading a computer can bring other Windows 10 problems, and doing a clean install is one way to make sure you’re starting over.
Microsoft has released a tool (Media Creation Tool) to help you create a bootable CD / DVD or USB drive from which to install Windows 11. If you want to perform a reinstall or clean install of Windows 11 on a new or used PC , use this option to download the media creation tool to make a bootable USB or DVD.
To start creating a bootable USB drive for Windows 11, follow the steps below.
How to use the Windows Media Creation Tool
When you’re ready to install Windows 11, follow the steps below to create a bootable USB disk or CD / DVD from which to install.
First, download the media creation tool on an existing computer. You can use the link below to download it.
Download the Windows Media Creation Tool
- After downloading, run the media creation tool. You must be an administrator to run this tool.
- If you agree to the license terms, select To accept.
- About him What do you want to do?page, selectCreate installation media for another PCand then selectnext.
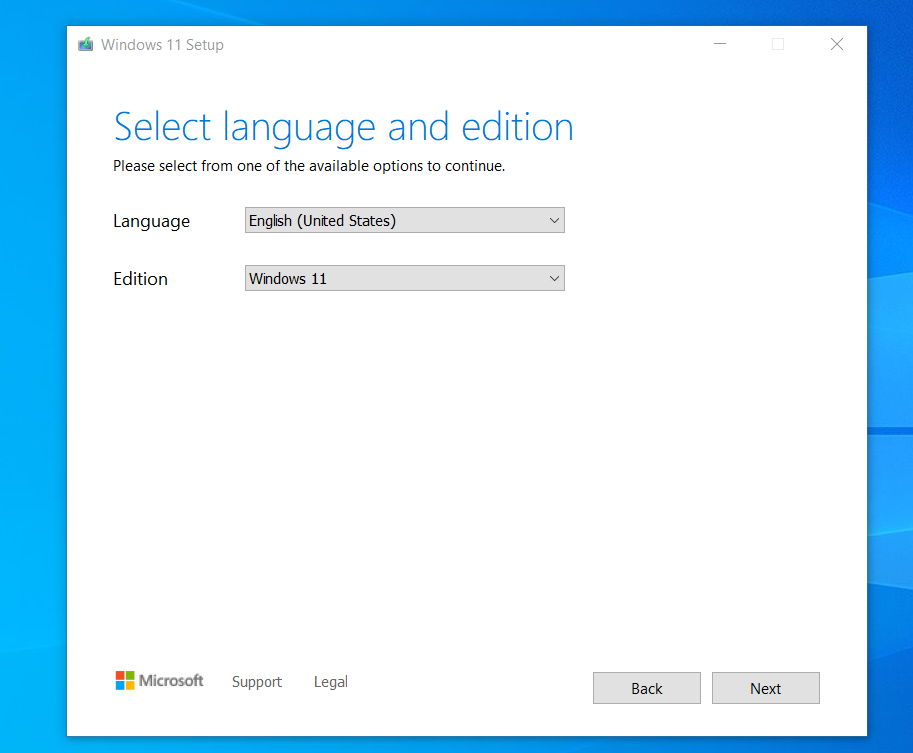
- Select the language, edition, and architecture (64-bit) for Windows 11.
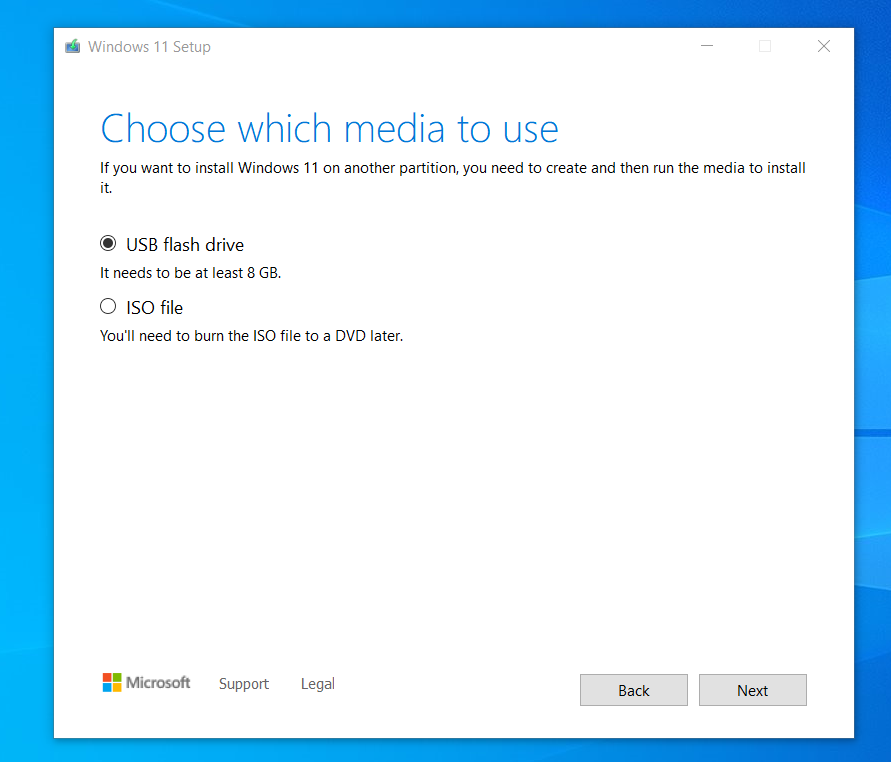
- Select the media you want to use:
- Pen drive:Connect a blank USB flash drive with at least 8GB of space. Any content on the flash drive will be deleted.
- ISO file:Save an ISO file on your PC. This can be used to create a bootable DVD. Once the file is downloaded, you can go to the location where the file is saved or selectOpen DVD burnerand follow the instructions to burn the file to DVD.
On the next screen, select the USB flash drive that you want to use to start Windows 11.
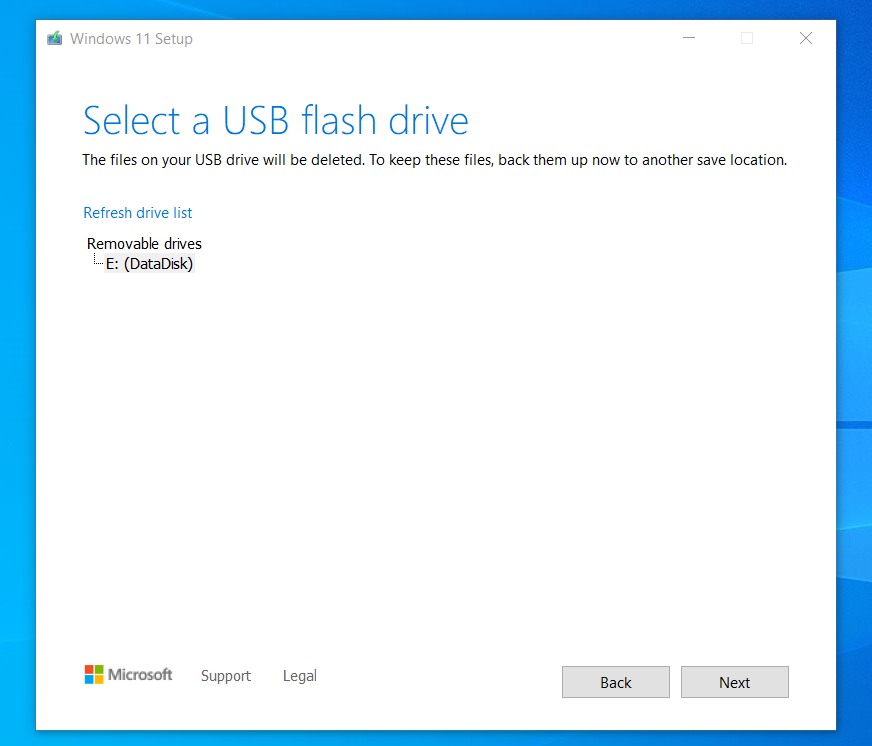
Clicking Next, the tool should start downloading Windows 11 to the USB flash drive to boot from.

Please wait until the download is complete. Then take the USB flash drive to the computer where you want to install Windows 11.
How to boot your computer from a USB flash drive
- Connect the USB flash drive or insert the DVD into the PC where you want to install Windows 11.
- Restart your PC.
- If your PC does not automatically boot to the USB or DVD device, you may need to open a boot menu or change the boot order in your PC’s BIOS or UEFI settings.
- To open a boot menu or change the boot order, you will typically need to press a key (such as F2, F12, Delete, or Esc) immediately after turning on your PC. You may need to consult your computer manufacturer’s documents to see how to access the start menu.
- If you don’t see the USB or DVD media device in the boot options list, make sure your computer’s USB port is working or change the port.
- If changing the menu or boot order doesn’t work and your PC immediately boots into the operating system you want to replace, the PC may not have shut down completely. To ensure that the PC shuts down completely, select the power button on the login screen or in the Start menu and select Shut Down.
- About himInstall windowspage, select your language, time, and keyboard preferences, and then selectnext.
- Please selectInstall Windows.
Once the installation is complete, remove the USB drive and log into Windows 11.
You should do that!
Conclusion:
In this tutorial we have seen how to create a bootable USB flash drive for Windows 11. If you find any errors above or have something to add, please use the comment form below.

