
Windows 11 has a new coat of paint and a ton of new features, but many of the classics are still available. One of them is the possibility of create a restore point.
It is essential to enable and create restore points from time to time if something goes wrong with your system. Another necessary action is to create restore points before making any significant changes to your system. However, it is not enabled by default, so let’s explain how to enable and create a restore point in Windows 11.
How to create a system restore point in Windows 11
To get started, press the Windows key or click the button Beginning, writes: restore point and press Enter, or click on the top result of the search list.

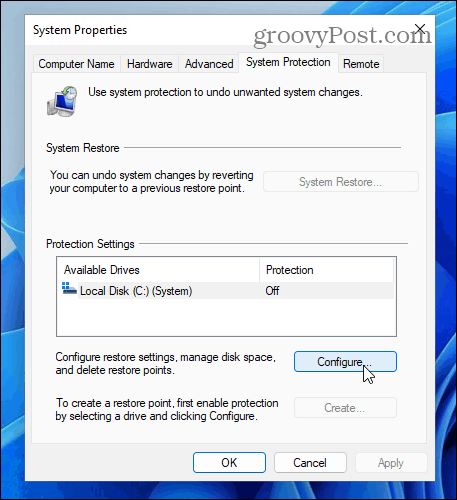
This will open the System Properties window to the “System Protection” tab. From there, click the button Set up.
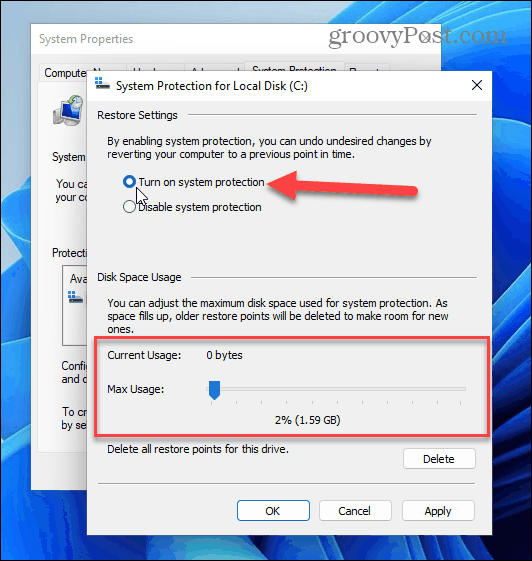
Note that you can move the slider up or down from the next dialog window to adjust the amount of disk space used for restore points. If you have a disk with a lot of storage, you can add more.
On the other hand, if you have a small amount of storage, you can reduce it. Typically, the amount of space that Windows allocates will be fine.
When you’re done, click To accept.
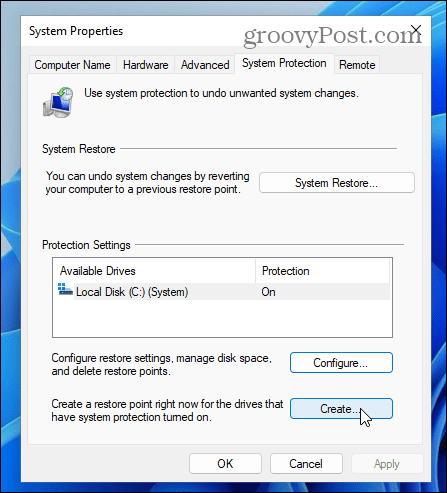
Now that you have System Restore turned on, it’s time to create a restore point. Click the button Create and follow the instructions on the screen.
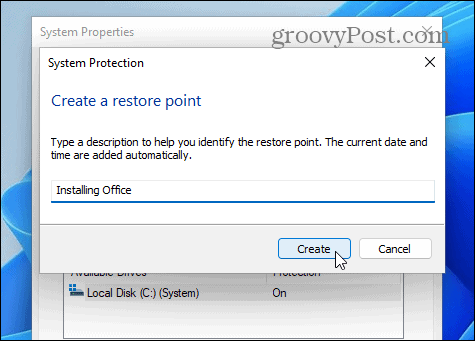
First, enter a name that helps you identify what the restore point is for. For this example, I am typing “Install Office.”
After creating a memorable name for the restore point, click the button Create.
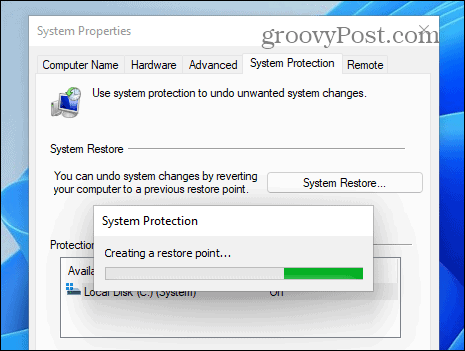
While the restore point is being created, you will see a progress bar.
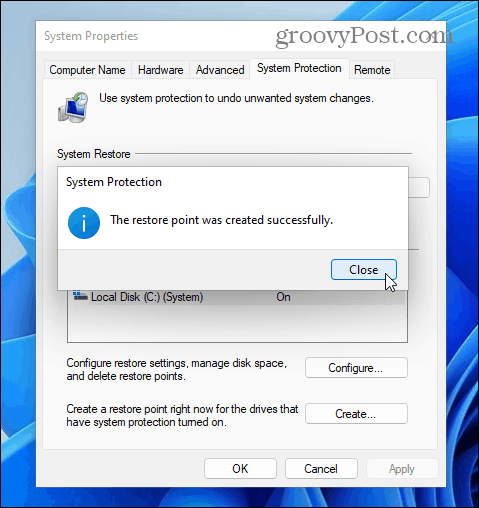
When done, you will see a message that the restore point was created successfully.
That is all. System Restore in Windows 11 continues to work as previous versions.


