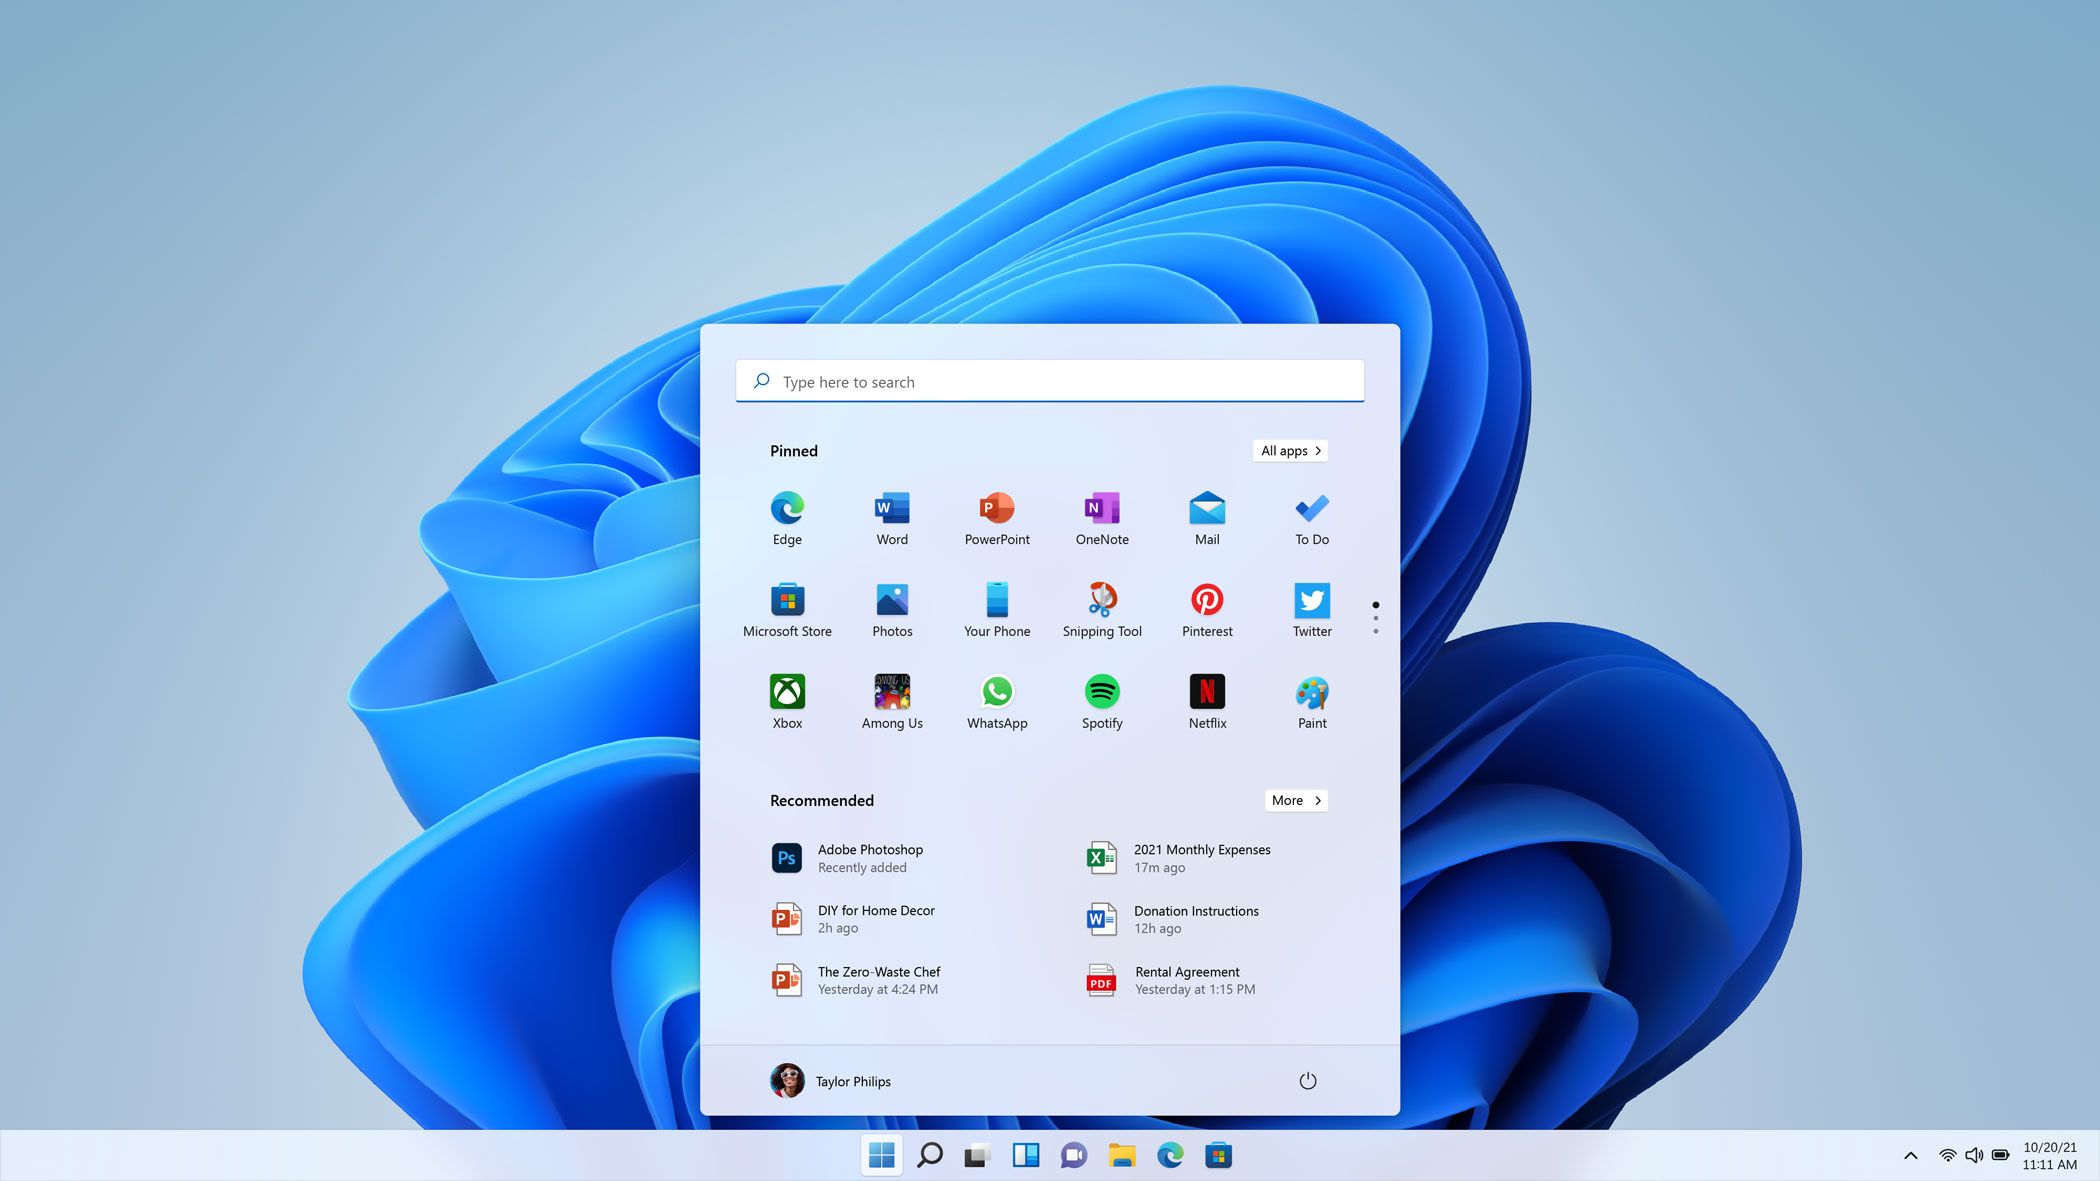
One of the most interesting things about the new version of the operating system is precisely the noticeable change in terms of its interface. However, we can still personalize the menu from beginning from Windows 11 along with many other sections.
In this article we are going to focus purely and exclusively on customizing the start menu of the new version of Microsoft’s operating system.
Customize the start menu in Windows 11 by changing its position
It is possible to change the position of the elements of the Windows 11 start menu, for this we will have to do the following.
- We open Windows Settings (Windows + i).
- We go to Personalization> Taskbar.
- We look for the taskbar alignment option in the taskbar behaviors.
- Here we simply choose left from the drop-down menu and voila.
Change the color of the start menu
In case of selecting the dark mode, we can change the background of the start menu. Instead of showing a white or any other default color, we can choose one ourselves.
- We are going to press the “Windows + i” keys to access the operating system configuration.
- Next, we go to Personalization> Colors.
- Here we choose Dark from the mode drop-down list.
- Activate the button “Show accent color on start and taskbar” to activate it.
- We can choose any color from the list above from this page.
Pin or unpin apps
By default we will find a large number of pre-installed applications in the start menu. Many of these are set automatically when we install them or just start Windows. We can remove them from this section and add the ones that really interest us.
To unpin an application, we go to the start menu and right-click on that application. Then we will have to select the option to unpin from the beginning.
In case we want to pin an application. We simply go to start and click on “Applications”, we look for the app that we want to anchor and we right-click it, among the options we select “Anchor to start” and that’s it.
Remove apps from recommended list
By default, Windows shows a list of applications and files that we have recently opened in the recommended section. But we can show only files and not apps.
For this we press Windows + i to access the Windows configuration; then we will have to go to Personalization> Start. Next, we click on the switch on the right side of “Show recently added applications.”
If we want to hide a specific application, we can right click on it and select the option “Remove from the list”.
Hide recently opened items
In the start menu we can see all the elements or files that we have recently opened from the Recommended section, if we do not want to see them we will do the following:
- We click on the start menu from the taskbar.
- Then we right click on the element we want to delete.
- We will choose the option “Remove from the list”.
This will disappear immediately. Although we can remove this list from Settings> Personalization> Home and by pressing the switch of Show recently opened items, Jump Lists and File Explorer.


