
- App Diagnostic is a Windows feature that often goes unnoticed, whereby the operating system collects data about these apps, and officially uses them to make them work better
- Some users, if not the majority, do not feel entirely comfortable with this treatment of information from Microsoft programs, and as far as possible they intend to reverse it
- In that case, you can disable App Diagnostic in Windows 11 altogether, or for specific apps
App Diagnostic is a default function of the Windows operating system that takes information from the applications we install and use, in order to “improve their stability.” But if you want to protect your privacy and prevent your data from wandering around, better know how to disable App Diagnostic in Windows 11 in seconds.
Indeed, more and more people are suspicious of their security and privacy when they connect to the Internet. Enough cases we hear daily of apps that take advantage of our personal information to steal identities or impersonate us, with the aim of stealing money or asking for it in exchange for returning our accounts.
In this sense, fortunately the latest version of Windows gives us the ability to get rid of this setting. We can disable App Diagnostic in Windows 11, and it will not cost us too much to do so.
But what specifically is application diagnostics?
As we said, App Diagnostics extracts information about the applications running on your PC, pretending to use it to make them work better over time. But it does not clarify much more about it.
Yes we are told that does not take all the information available, but some elements in particular, among which we can cite the following: app name, app package name, user name linked to the application, memory used by the application and other application processes, if without further details.
Disable App Diagnostic in Windows 11 step by step
Disable general app diagnostics
The most direct way to fix this potential security issue is to disable App Diagnostic for all applications, something that will not take you more than a second, but it may not be as exact as you wanted.
- Open your PC Settings from Start
- Click on Privacy and security
- Go to App Diagnostics
- On the new screen, use the toggle to disable App Diagnostic access
By doing so, you will be adding a new layer of privacy to your entire system, affecting all apps.
Disable diagnostics for a specific app
On the other hand, if you notice that some of the apps start to crash from the previous change, maybe it would be better to undo it, and disable diagnostics for a specific application, or several. Of those you distrust.
- Open your PC Settings from Start
- Click on Privacy and security
- Go to App Diagnostics
- On the new screen, use the toggle to disable App Diagnostic access
- Before you go, be explicit about which apps can access diagnostic information
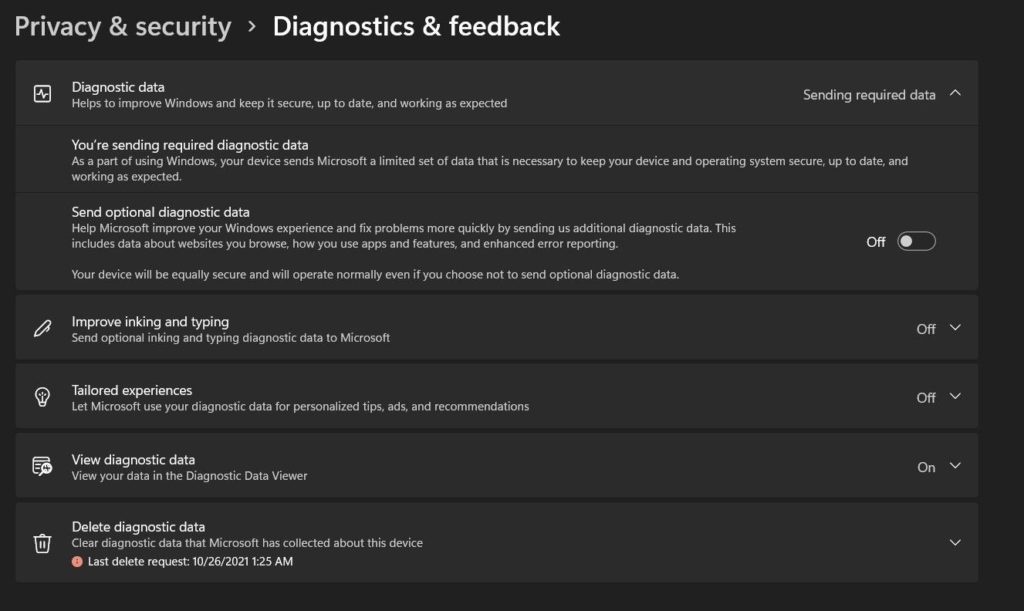
And how to delete old diagnostic data in Windows 11?
Finally, if you are going to install Windows 11, you want to see how everything is going, and you only deactivate this function after a few weeks, or months, you may want to delete old stored diagnostic data.
So if you want Microsoft to get rid of the diagnostic data it previously collected, do the following:
- Open your PC Settings from Start
- Click on Privacy and security
- Go to Diagnosis and comments
- Select the option to Clear diagnostic data
- Confirm that this is your intention, clicking on Delete, to do so
The system will take a second, and will delete the data previously collected on your computer.


