Windows’ built-in User Account Control (UAC) feature protects your PC by preventing unwanted changes to your system. These changes may come from other software or from the users themselves. Although the feature isn’t as annoying as it used to be, in older versions of Windows, you may want to tweak or disable it entirely. Here’s how to do it in Windows 11.
How to disable User Account Control in Windows 11
When you or an application tries to make a change to your Windows 11 system, the UAC screen will appear. If you know what you are doing, having to click through this screen each time can be annoying.

Access to the UAC is essentially the same in Windows 11 as it was in previous versions (the user interface just looks different). Still, if you’re new to Windows 11, now may be a good time to refresh your memory.
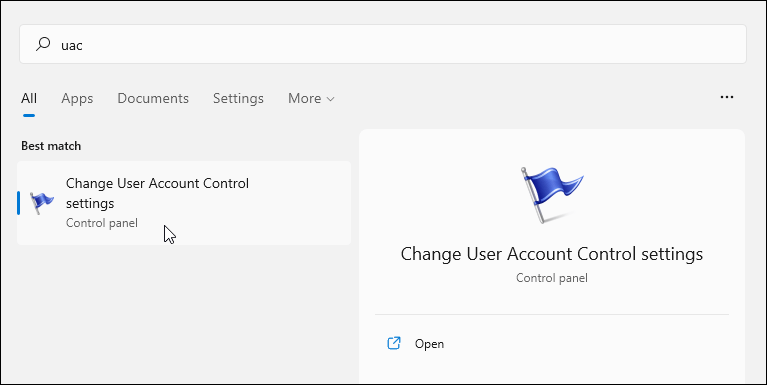
Press the Windows key on your keyboard and writes: uac and then click “Change User Account Control settings” in the menu under “Best Match”.
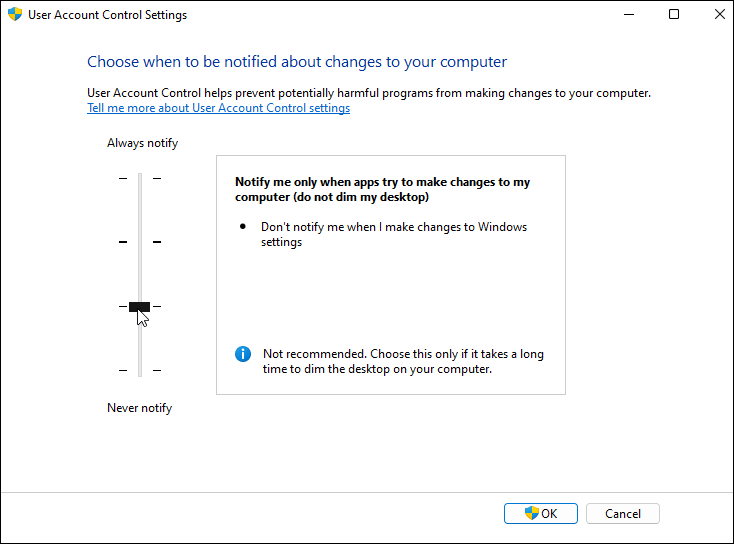
This will open the UAC configuration screen. This is where you can adjust the slider up or down for more or less user account control protection. Move it up to always notify you when applications and / or you try to install software or make changes to system settings. The default setting is to notify only when applications try to make changes (default setting).
And you can completely disable the UAC by moving the slider down. You will never receive a notification when applications try to make changes to your system or when you make changes to Windows settings.
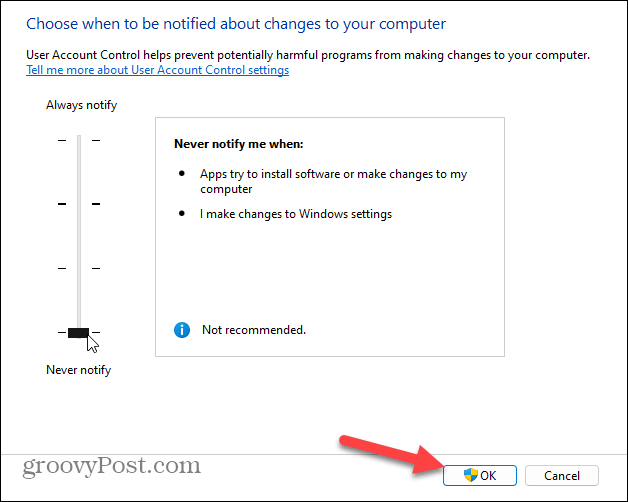
Once you’ve made your decision, remember to click the button To accept for the change to take effect. Finally, the UAC will appear once more, verifying that you want to make the change. Click on Yes.

The choice is yours. You may want to temporarily disable the UAC while installing trusted software and re-enable it later. Or you may be an advanced user and don’t need it at all. The good thing is that you can adjust it to your liking.


