
Microsoft’s operating system allows us install many sources, Windows 10 and 11 gives us the opportunity to install fonts in the system to be able to use them with different programs such as Word, Excel, Photoshop or any other that has the ability to edit text of any kind, even simple and basic programs like Paint. The idea is simply to install them in Windows so that it works with all the apps that we have on our computer.
How to install a font in Windows 10 and 11
The way to install a single font is extremely simple. All we have to do is download the font in question. If it is compressed in WinRAR format, we will have to right click and choose “Extract here”, if we have WinRAR installed on our computer; if not, it is easy to do so.
Once we extract it, we will have to right click on the source file in question and choose “Install for all users” and ready. In this way it will be installed and we will have it available in all programs that have text editing (Word, Excel, Photoshop, etc.)
How to install many fonts at once in Windows 10 and 11
We download all the sources in a single folder and unzip them if they are compressed in WinRAR or another compression program. After this we will have to select them all.
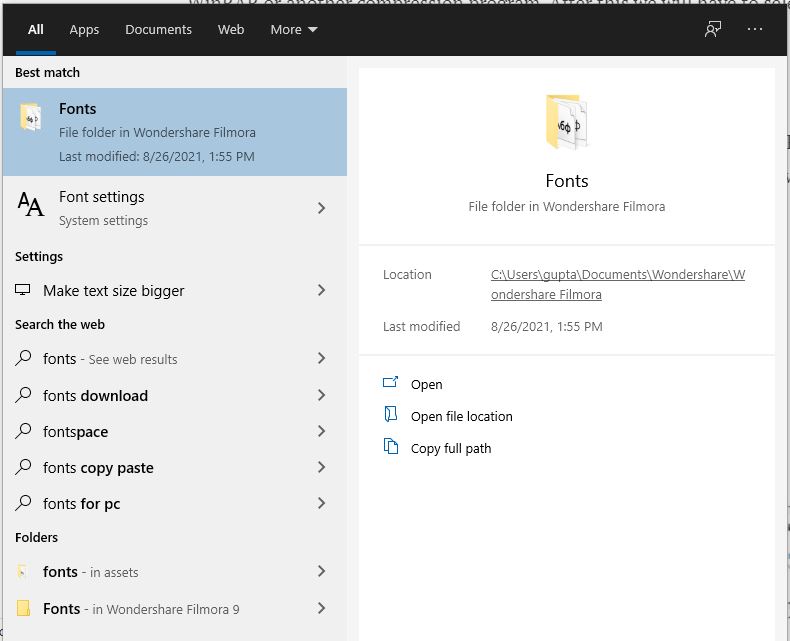
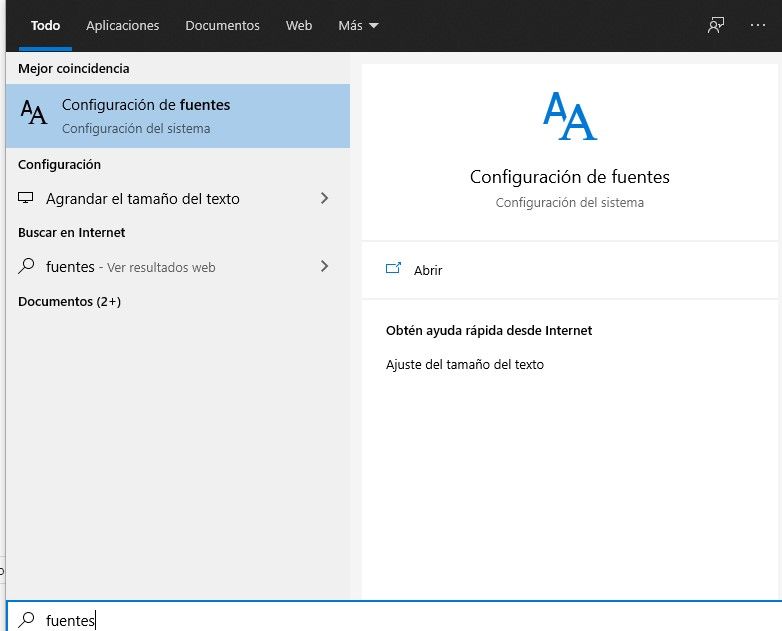
After this we will have to press “Start” and we will write “Sources”. The “Font Settings” option will appear. Next, a new window opens with all the sources that we have available.
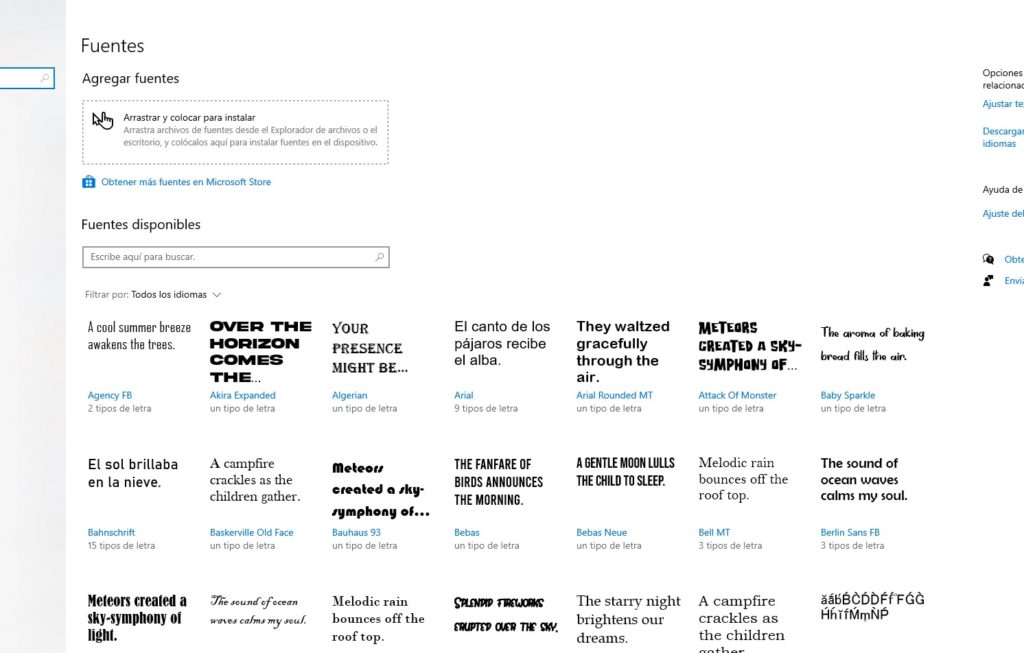
At the top we will see what it says “Add fonts”, Here we will have to take all the sources that we selected previously and drag them, clicking on them and holding down the mouse button and dragging them precisely to the box that appears at the top that says:
“Drag and drop to install: drag font files from File Explorer or desktop, and drop them here to install fonts on the device”.
When we do, the installation will begin, which lasts a few seconds; If it asks us to impersonate or a sign appears where we must press between “Yes” and “No”, obviously we will press “Yes” so that they are installed properly. Some formats must be converted in Windows and sometimes we already have some fonts installed, it is nothing serious.
Uninstall a font in Windows 10 and 11
In case you want to uninstall a font it is extremely easy. We go to “Start” and write “Font”. Next, we choose “Font Settings”.
Now we are going to go to a new window where we will have all the fonts that are installed in the operating system. We look for the one we want to uninstall, we click it and it takes us to a new window.
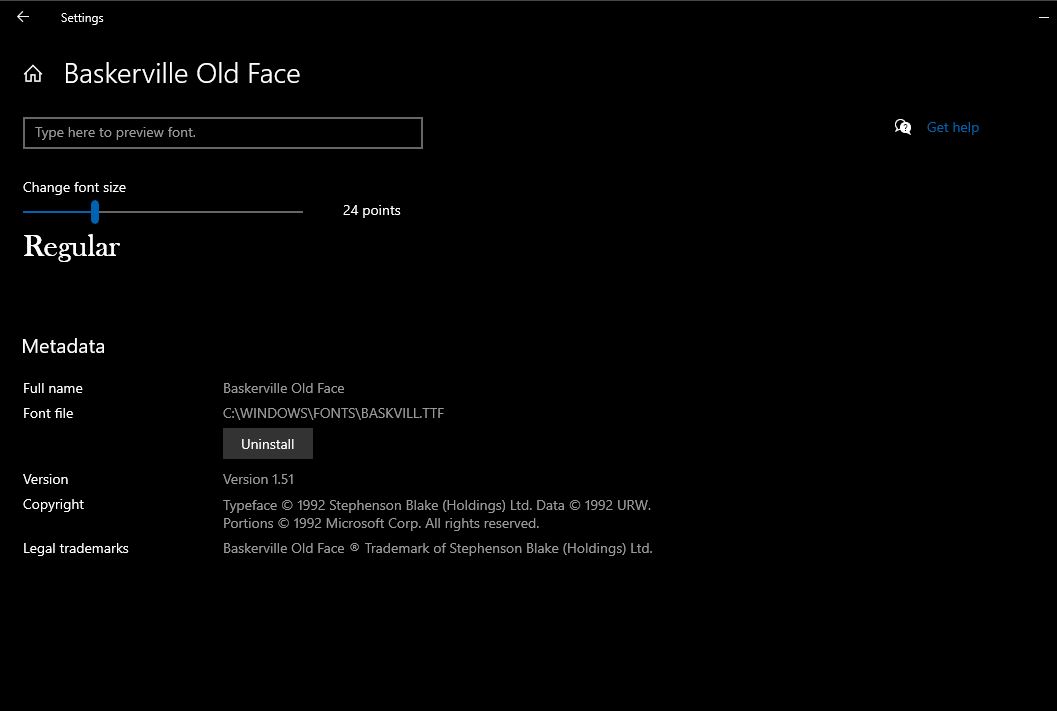
In this window we will have a button that says “Uninstall”, when clicking on this button, the uninstallation process of the font in question will begin.


