Like previous versions, Windows 11 will automatically check for updates in the background. It will then try to restart your PC at a time when you are not using it outside of Business Hours. This is an important function to keep your system up to date with security patches and new features. But you may need to pause Windows 11 updates for a while in order to finish a project, for example. Here’s how to do it.
How to Pause Windows 11 Updates
To get started, click the button Beginning and then in Setting on the menu. Alternatively, you can use the keyboard shortcut key Windows + I to open Settings directly.

When the Settings app opens, click Windows update at the bottom of the list on the left.

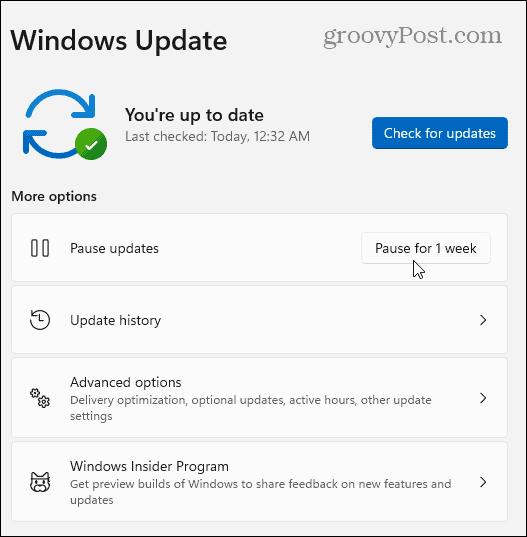
On the next “Windows Update” page, click the “Break for 1 week” from the section “More options“.
After clicking the button, you will see the following message informing you that updates are paused. The date (one week after clicking) will be displayed when automatic updates will resume.
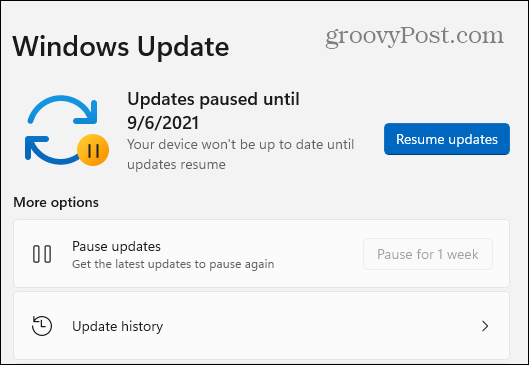
To resume automatic updates, go to Start> Settings> Windows Update and click the button Resume updates.

When you resume updates, Windows 11 will check for new updates available while you had it paused. If you find any, you can install them immediately by clicking the button “Install“Or download now“. The name of the button varies depending on the type of update available.
And if an out-of-band update comes up, or you like to stay on top of everything, you can manually check for updates.


