
This post shows students and new users the steps to turn captions on or off when using Windows 11. Captions allow you to read the words that are spoken in the audio portion of a video. Windows 11 supports closed captions by default, so all you have to do is right-click or tab-click on the video screen to choose to enable or disable closed captions.
When closed captions are turned on, closed captions are usually displayed at the bottom of the screen. The default style is block white text. However, you can change the style and color of the text and background.
Closed captioning is often used by the hearing impaired or people in an area where the sound is muted or not allowed. When you need subtitles, it is available in Windows 11.
The new Windows 11 will come with many new features and improvements that will work great for some while adding some learning challenges for others. Some things and settings have changed so much that people will have to learn new ways of working and managing Windows 11.
Subtitles are not new to Windows 11. In fact, they have been a part of Windows since XP.
To get started with subtitles in Windows 11, follow the steps below:
How to turn subtitles on or off in Windows 11
Again, as mentioned above, the subtitles are ready to use in Windows. If a video supports subtitles, Windows 11 will display the text when enabled.
To activate subtitles on a video that is playing, simply right-click or long-press anywhere in the video. A menu bar will appear at the bottom of the screen. If subtitles are available, DC The icon will appear.
To turn off closed captions, tap or click the DC icon. You can also tap or click the language in which you want to see closed captions. Closed captions will now appear on your screen.
How to change subtitle styles in Windows 11
By default, white text on a black background is chosen as the style when closed captions are enabled. Well, you can change that in Windows 11.
Windows 11 has a centralized location for most of its settings. From system settings to creating new users and updating Windows, everything can be done from your System settings crystal.
To access the System Settings, you can use the Windows key + i shortcut or click Start ==> Settings as shown in the following picture:
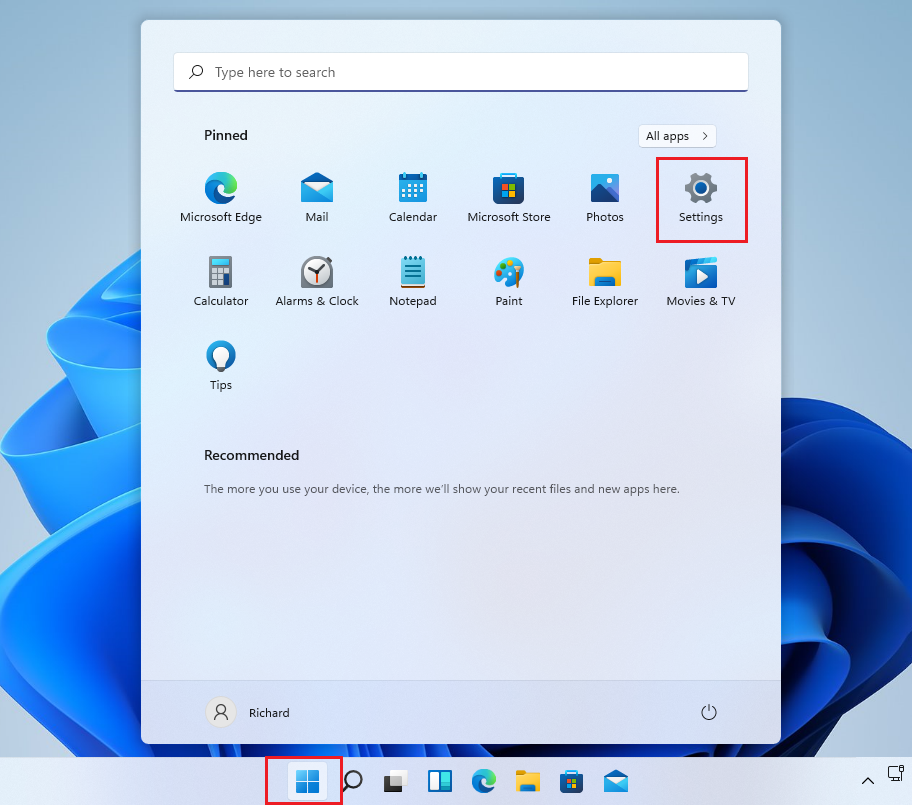
Alternatively, you can use the search box on the taskbar and find Settings. Then select to open it.
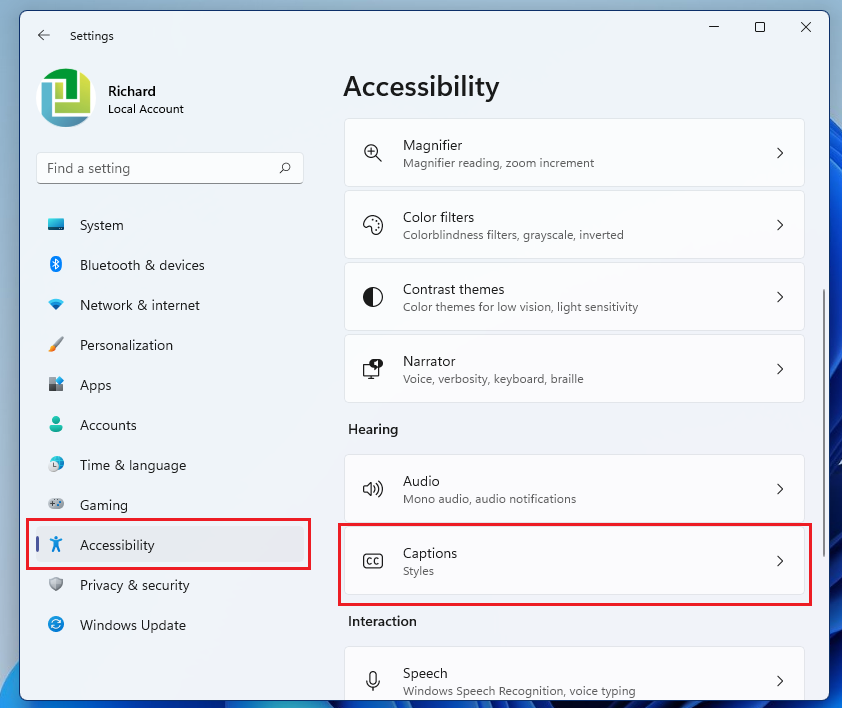
The Windows settings panel should look similar to the image below. In Windows settings, click Accessibilityand select Subtitle on the right panel of the screen shown in the image below.
In the Captions settings panel, choose a style to use. By default, White on Black is selected. However, you can also choose between yellow on blue, small caps, and large capital letters.
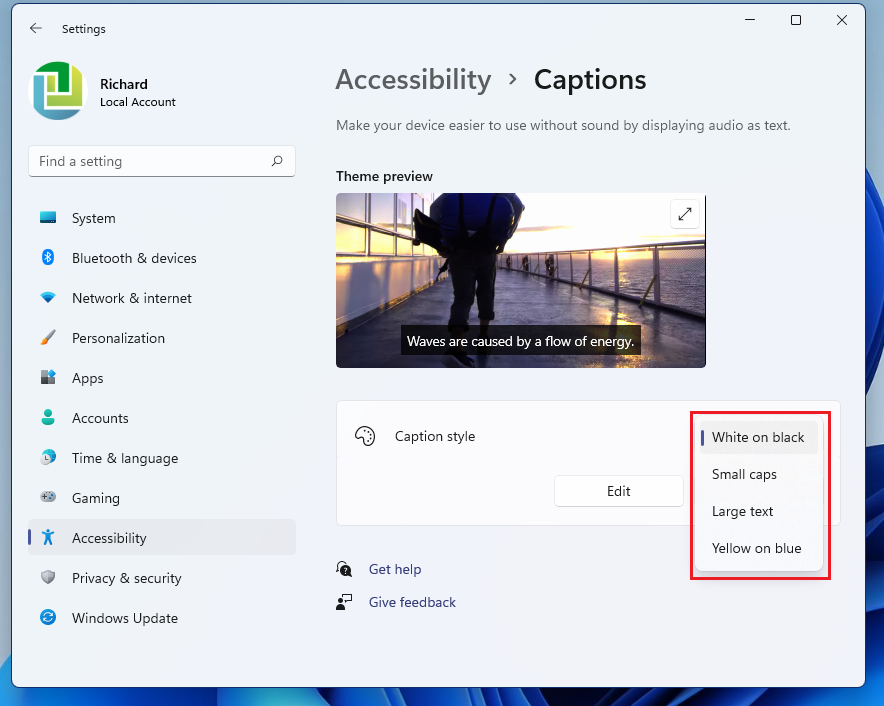
If the defaults are not good enough, click the Edit to choose from all text and background color, fonts, caption transparency, caption size, window color, and more.
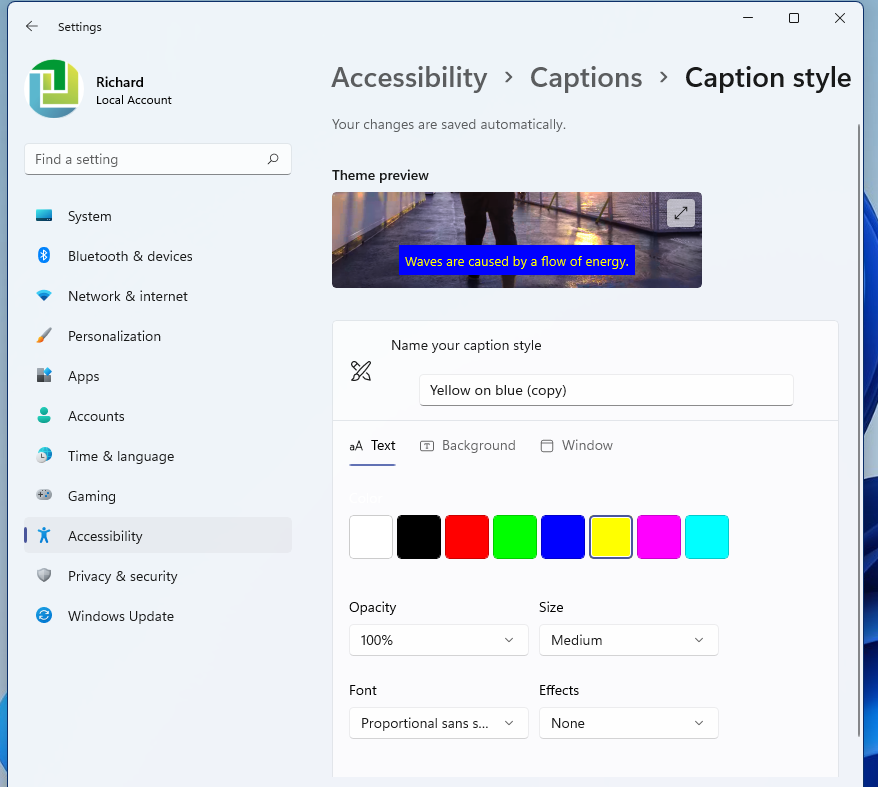
When you’re done, just save your changes and exit. The next time captions are displayed, the color and styles you saved will be used.
That should be enough!
Conclusion:
In this tutorial we have seen how to use subtitles when using Windows 11. If you find any errors above, use the comment form below to report.


