
This publication shows students and new users how to download and use Microsoft Safety Scanner when using Windows 11. Microsoft Safety Scanner is a scanning tool designed to find and remove malware from Windows computers. If the Windows security application is not working and you suspect malware or viruses on your PC, you can download and use the security scanner to scan your computer.
Windows machines that have malware or virus problems can download it and run a scan to find malware and attempt to reverse the changes made by the identified threats. The software is only available for use for 10 days after download and then expires. This is done so that you always download the latest version to find the latest threats.
Windows 11 comes with a built-in antivirus and antimalware security application called Microsoft Defender. Microsoft Safety Scanner is not a replacement for your antimalware product. The security scanner should only be used when no other malicious software is available.
The security scanner can also be downloaded to an external drive, then manually activated on the infected computer to search for and remove unwanted programs.
The new Windows 11 comes packed with many new features with a new user desktop, including centered Start menu and taskbar, rounded corner windows, themes and colors that will make any Windows look and feel modern.
If you’re excited about Windows 11, keep reading posts about it.
To start downloading and using Microsoft Safety Scanner in Windows 11, follow the steps below:
How to download Microsoft Safety Scanner in Windows 11
Again, as mentioned above, Microsoft Safety Scanner is for situations where the infected computer cannot run other security scanners and tools or cannot connect to the Internet to download the latest definitions.
Go to the website below to download Microsoft Safety Scanner on an infected computer or using another computer.
Microsoft Security Scanner Download
Download the 64-bit version for Windows 11.
Once downloaded, go to your Downloads folder and double click on the downloaded file and begin the installation.
When it starts, accept the license agreement.

There are several types of scanning available after installation. These are the types of scans available:
Quick scan – Scans areas of the system most likely to contain viruses, spyware, and other potentially unwanted software. This is quick and may not be the best option in most situations.
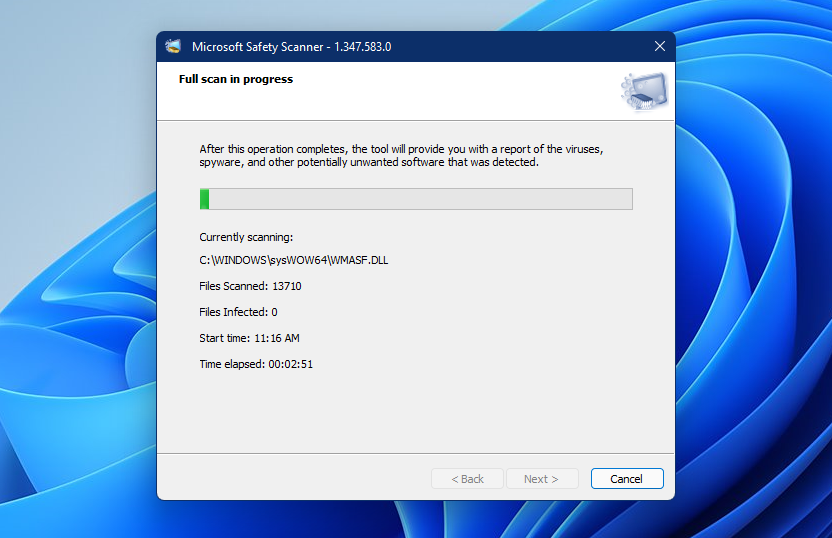
Ffull scan – Scans the entire system. This could take several hours to complete, depending on the system being scanned.
Custom scan – This uses Quick Scan settings, but also points to additional identified folders.

For this post, we chose the full scan to scan the entire system.
By clicking Next, the scan action should begin scanning your system for unwanted software. Again, the full scan can take hours to complete.
Review the scan results displayed on the screen. For detailed detection results, see the log at % SYSTEMROOT% debug msert.log.
That should be enough!
Conclusion:
In this tutorial we have seen how to download, install and use Microsoft Safety Scanner to search for potentially unwanted software in Windows 11. If you find any errors above, use the comment form below to report.


