
Use virtual desktops on Windows 11 it can greatly help our productivity. In this way we can organize one of the desks only to work without distractions and another for multimedia or games.
In this article, we are going to see one of the functions that have come with us since Windows 10, but in the new version of Microsoft’s operating system. It is very easy to use virtual desktops in Windows 11 and we are going to show you step by step everything we can do.
How to add a virtual desktop in Windows 11

In order to add a new virtual desktop, we are going to have to move the mouse over the View button on the taskbar. This button is the one between the search and Widgets icons. Then, we will have to click where it says “New desktop” (where it has a “+” sign).
We can do this every time we want to create a new virtual desktop. This is extremely useful because in this way we can create one for work and another for multimedia or games. We can even create several desks for different projects where we are working.
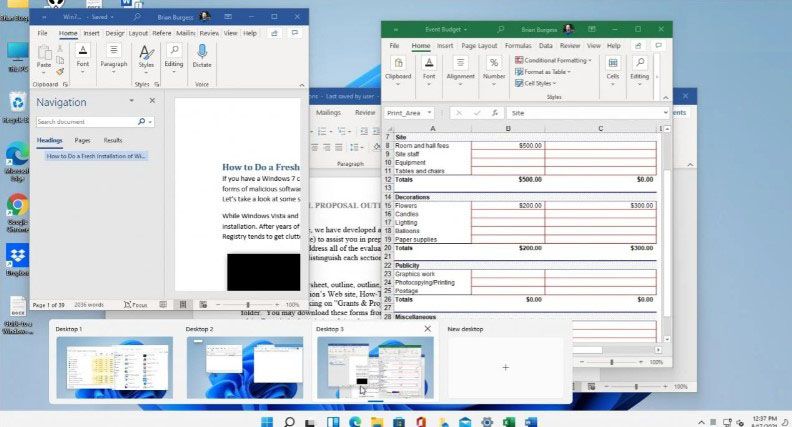
To be able to switch between desktops, we can put the mouse over the View button that is on the taskbar (where we create the desktop) and click on the one we want to go to. We can open different applications on each desktop independently.
How to customize the name of a virtual desktop
As soon as we create a virtual desktop, Windows assigns a fairly generic name to it. But we can customize it in a fairly simple way, this way it will be easier to identify them.

We are simply going to move the mouse over the Task View button and we will have to click with the right mouse button on one of the desktops, in the drop-down menu we will have to choose the option “Rename”.
We will have to repeat these steps with the rest of the desktops. In this way we can assign them different names, for example: Work, Games, Edition, etc.
Move windows between virtual desktops in Windows 11
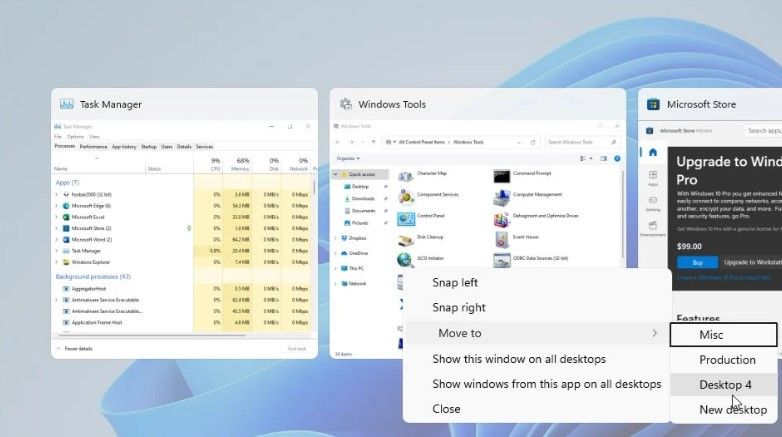
Another thing we can do is move application windows between desktops, we don’t have to open it one by one on each desktop. For this, we will simply have to click on the Task View button and position the cursor on the desktop with the window that we want to move. Then we will click with the right button on the window and we will give it “Move” and we will choose the desktop in question.
How to close a virtual desktop
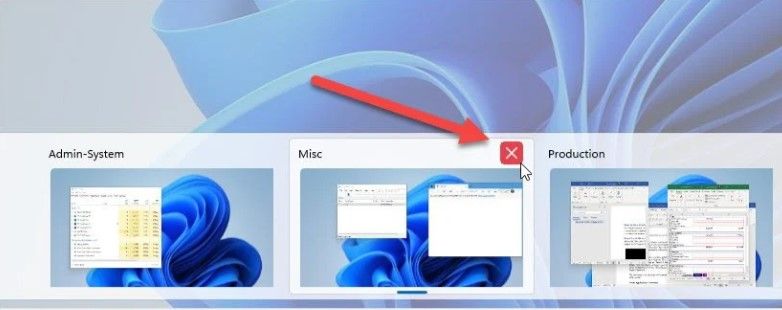
For close or delete a virtual desktop It couldn’t be easier. All we have to do is simply click on the Task View button and then we simply press the “X” in the preview of the desktop that we want to close.


