
Have you ever seen a popup asking for your permission to send notifications? These are push notifications. Browsers such as Chrome, Opera, Firefox and Safari support them on both mobile and desktop computers.
The idea behind WordPress push notifications is to encourage repeat visits from your visitors. To do this, it sends push notifications to subscribers whenever you post something new to your website. The ultimate goal, of course, is to drive more traffic to the site.
In this article, we’ll take a look at what WordPress push notifications are and how to set them up on your WordPress site. You don’t need to write any code – WordPress plugins will do the job.
What is WordPress push notification?
This is what a WordPress push notification looks like
Push notifications are tooltips that appear whenever a visitor lands on a website. If a visitor clicks the Allow button, every time new content is posted to the website. The visitor is automatically notified. Even if the visitor is not currently on the website, when new content is posted, he/she will still receive a warning. However, if the visitor clicks the Block button, the notification will not be sent.
This is how push notifications work. They work well on both desktops and mobile devices.
Benefits of Adding Push Notifications to Your WordPress Site
Attracting loyal subscribers to your website is no easy task. This is because most people visit a website once.
Fortunately, there are several marketing channels you can use to overcome this problem. The most common are email marketing, social media marketing, and web push notifications.
Email marketing works, no doubt about it. But push notification, when done correctly, is just as effective. Any visitor who allows your notifications is interested in your website. They will most likely come to your site when they receive a notification. This means that minimal marketing effort on your part gives you more engagement.
Here are some of the best examples of where web push notification will be of great benefit:
- You are running an e-commerce store and want to send coupon offers from time to time.
- When you are about to launch a webinar and want to warn your visitors about it.
- You just made a social media update, and you want to get a lot of views.
However, it is essential that you use push notification sparingly or you risk pissing off your visitors.
With that said, let’s take a look at how to set up push notification on your WordPress site.
How to add push notification to your WordPress site?
Push notifications are pretty easy to set up, and almost any developer can do it.
A useful solution Push notification plugins are all you need.
Most of them are free, but there is a catch: you have to pay as soon as the number of subscribers exceeds a specific number. PushCrew, for example, is free, but as soon as you have more than 2000 subscribers, you start paying.
Consider the PushCrew Plugin.
How to set up Push Notifications via PushCrew?
PushCrew offers a 14-day trial on all of its plans, after which you can decide whether to continue or stop using it. To test the possibilities, start with their launch plan – it’s free.
Step # 1: Create a PushCrew account
First of all, head over to the PushCrew website and create a free account. Don’t worry. You won’t be asked for your credit card details.
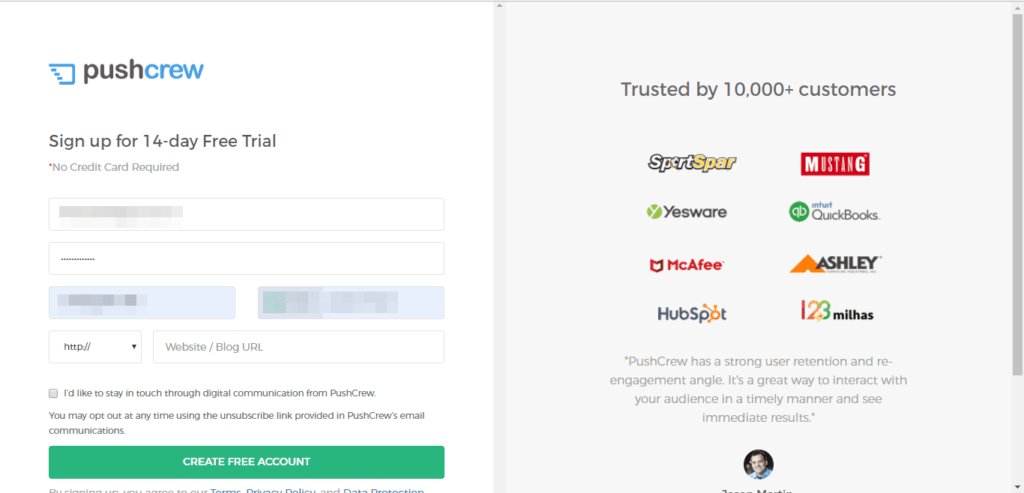
When creating your account, remember your domain format is HTTP or HTTPS. Once you have entered all the required information, click the Create a free account button.
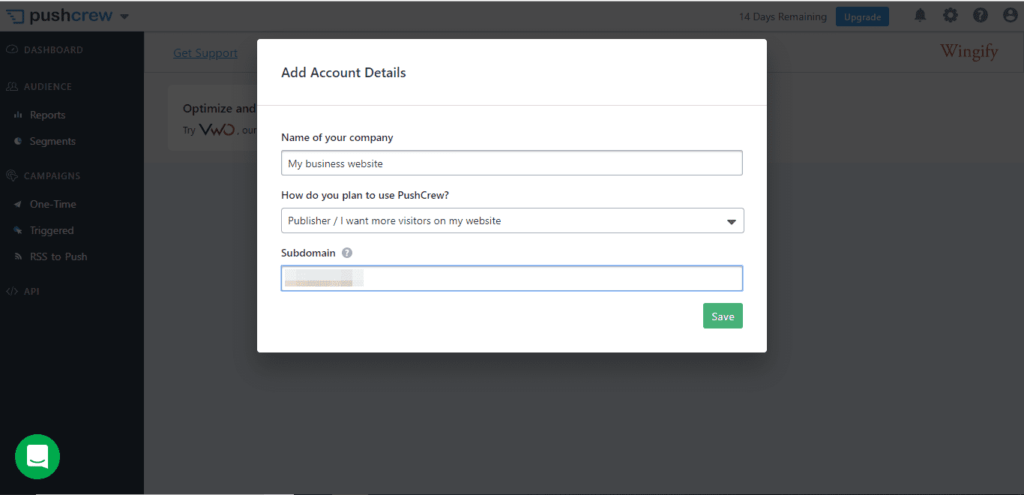
Then fill in the required information in the popup window.
Note: The company name cannot be changed after clicking the Save button. Also, in the subdomain field, enter your site’s domain. Let’s say your site domain is mytestwebsite.com, enter “mytestwebsite” in the subdomain field.
Step # 2: Customize the push notification popup
PushCrew lets you add a custom logo and message to the popup. Not logged into your PushCrew account yet, go to Setting >> Opt-in
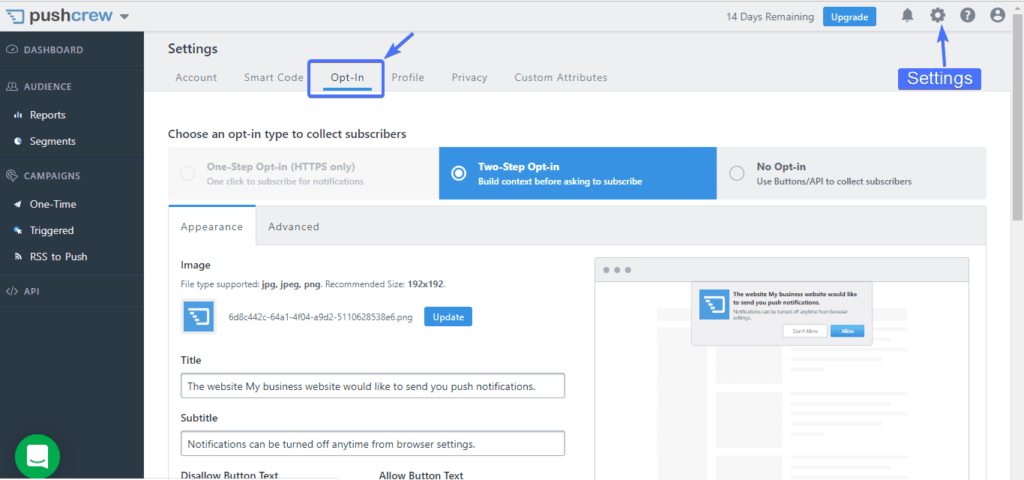
From here you can add a custom logo and change the title as well as subtitles. You can use different header messages on mobile devices if you like.
Remember to click the Save button in the top right corner once you’re done.
Step # 3: Add PushCrew to Your Site
There are two ways to add a PushCrew notification to your site. One is to add a piece of code between the <head> </ head> tags on every page of your site. Second, using a plugin. Since the latter is much more comfortable, it makes sense to go for it.
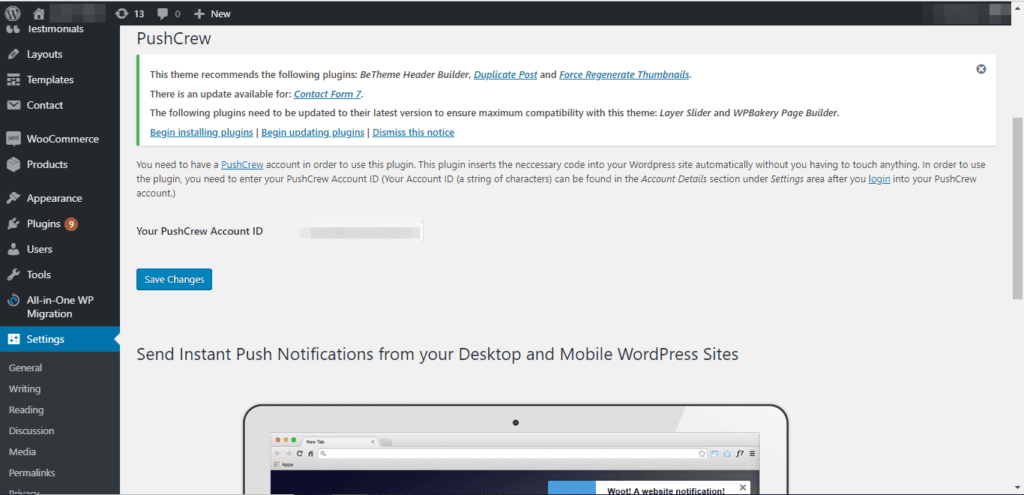
Log into your PushCrew account, click the account button on the top bar. Here you will see your account ID, copy it.

Now login to your WordPress dashboard and navigate to Plugin>> Add New. Search for PushCrew, install and activate it.
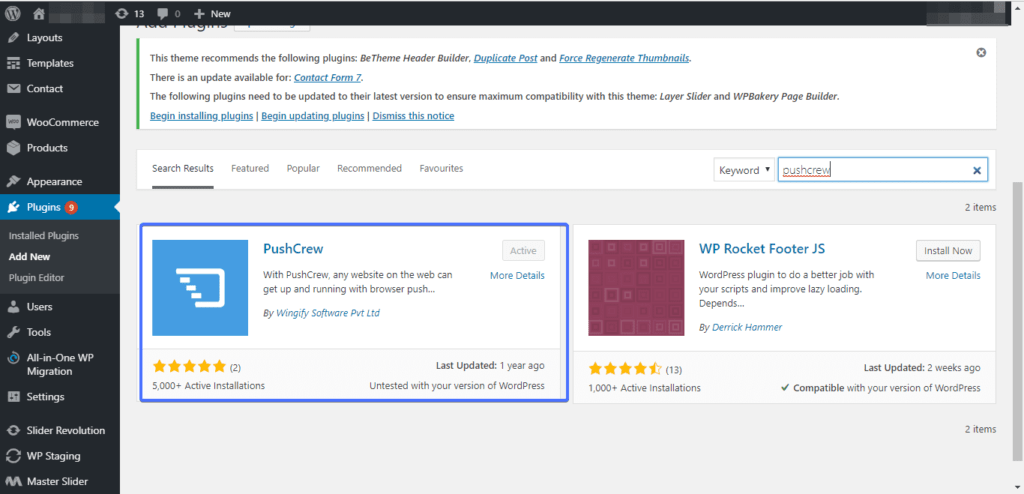
Once installed and activated, go to Settings>> PushCrew. Then paste your PushCrew ID into the given field and save your changes.
Step # 4: Send Notifications
You should see a notification popup on your site that looks like this.

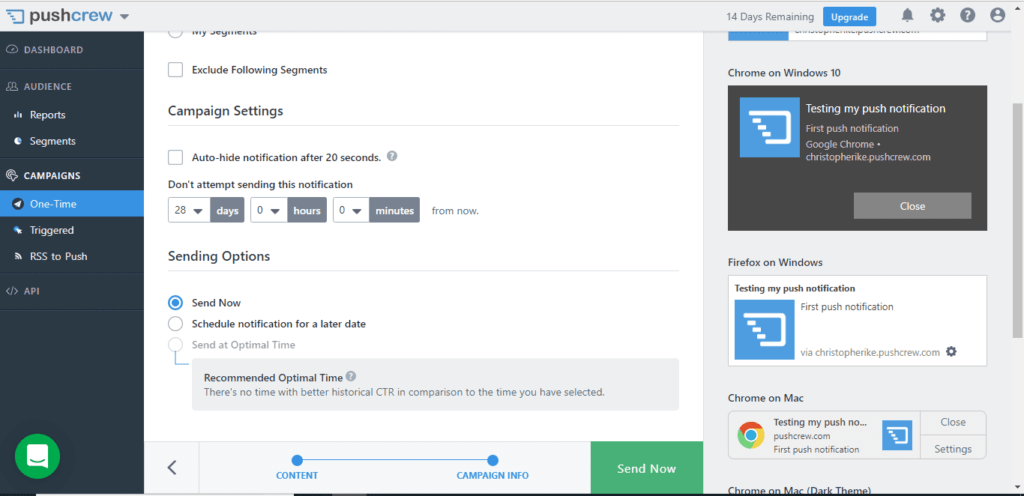
Go back to your PushCrew account, click the One-Time button on the dashboard.
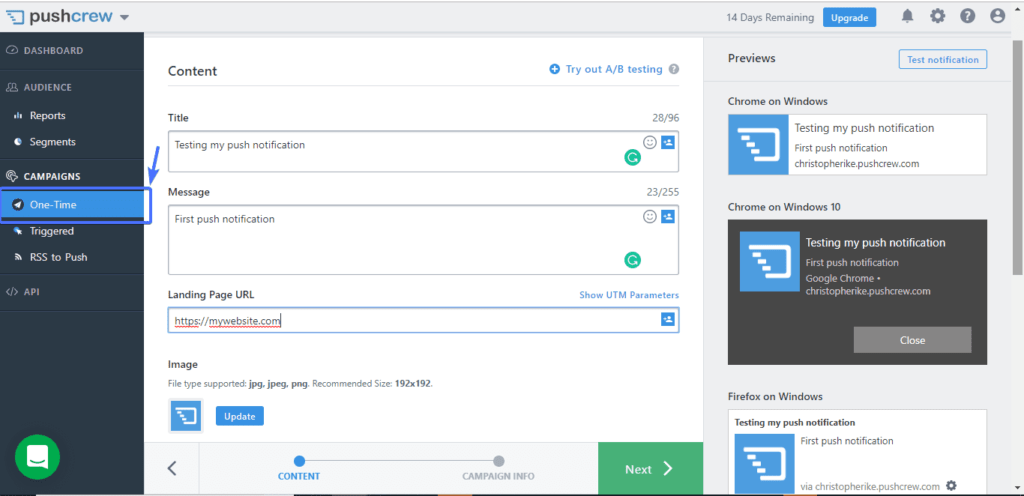
Set a title, message, and landing page for your notification. On the next page, set up a notification and press the button of Post Send Now (Send now)
That’s all!
PushCrew is pretty easy to implement. You can always update your plans at any time. Check out the PushCrew pricing page for more information.
Other Push Notification Plugins You Can Try
You are not limited to using PushCrew – there are other plugins out there that work pretty well. Let’s take a look at some of them.
Push engage
Push Engage has a free plan that you only need to upgrade after your subscribers are over 2500. Their business plan starts at $ 29 / month.
Push Engage supports all major browsers, including Microsoft Edge. They offer a 15-day free trial.
OneSignal
OneSignal has gone up and up with its free plan. Their free plan has a bandwidth of 30,000 subscribers on desktop and unlimited on mobile. This is great! Great solution if you have a large following but don’t want to make any upfront financial commitments.
Alternatively, you can use OneSignal to set up your email campaign.
You can get started right now for free.
PushAssist
PushAssist, like its predecessors, has a free data plan that can accommodate up to 3000 subscribers. There is no limit to the number of notifications you can send, both on your mobile phone and on your desktop.
Their starter plan is priced at $ 9 / month, and the business plan starts at $ 25 / month.
Pushalert
The last on our list is Pushalert. Has a 15-day free trial, free plan with 3000 subscriber bandwidth.
Conclusion
All push notification plugin solutions we’ve covered in this article work fine – the choice depends on what you’re looking for. Some let you schedule notifications. Others allow you to run email campaigns from the same dashboard.


