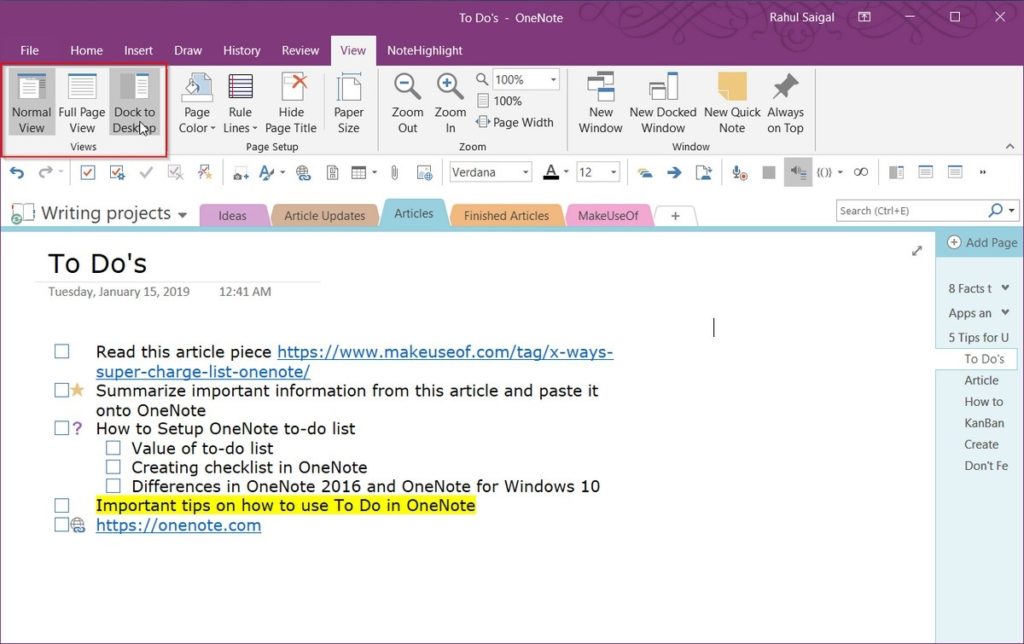
Although not everyone knows it, Microsoft’s OneNote brings an interesting feature that offers us the possibility of having an almost complete integration with Outlook, its email client. Basically, it helps us to generate tasks or obligations. Learn how to create Outlook tasks in OneNote It will allow you to make the most of your email account. But what steps must be followed to do it correctly?
An important clarification with which we must start, anyway, is that the Outlook tasks option is not available for the moment in the OneNote app for Windows 10, but we have to use the desktop application, linking it with our account first. Outlook mail. That could change in the future, why not, but so far we have no choice but to move in this way.
In any case, linking between accounts is usually on by default, which means that you can enter OneNote notes in Outlook directly without having to do any prior setup.
Keep in mind, yes, that all changes applied in OneNote will be visible later in Outlook.
Create new tasks in OneNote for Outlook
With these clarifications made, below we will see the steps to create Outlook tasks in OneNote, which you can use in the OneNote versions 2016, 2013, 2010 or 2007, no issues.
- Launch the OneNote app
- Open the internal Notepad
- Select the words of the task
- Go to Start, and then to Outlook Tasks
- Indicates a due date for the task
At this point, you will have been able to create your OneNote for Outlook tasks in most recent versions of this program, while the steps change slightly in older ones.
How to open those tasks in Outlook?
There are two main methods of opening OneNote tasks in Outlook.
The first one has to do with OneNote itself:
- Open OneNote
- Go to the task in question
- Then to Start, Outlook Tasks, Open Task in Outlook
Or, you can directly open the tasks from your email account:
- Open Outlook
- Click on My Tasks
- Choose the pending task to open

How to edit Outlook tasks created in OneNote?
Assuming then that you already know how to create Outlook tasks from OneNote, or open them for review from either application, the latter will be find out how to edit those tasks.
In general lines, we can say that you have to use the Outlook application to edit the tasks that you have previously created in OneNote. The first thing will be to open them from the mail client, as we have taught you.
When the task in question is open, you can modify both its start date and its due date, or even deactivate the reminder if you have removed this obligation from you and it no longer bothers you.
If you want to be much more precise about the status of the task, you always have the option of marking it as “not started”, “in progress”, “completed”, and so on. It’s all a matter of how you want to handle yourself.
When you are satisfied with the changes, you will save and exit, and they will be applied.
Finally, it is important that you know that Outlook may take a while to display the task update, so don’t be surprised if the edits you’ve made don’t show up for a few minutes.
And if you just want mark a task as completed in OneNote, you have to look for the flag adjacent to it and click on it, which will indicate that it is finished. It will automatically be removed in Outlook.


