
It is important to be clear how to free up space on Windows 11 since we use the computer too much and it is normal that from time to time the storage reaches its limit; especially if we have a solid state drive. For this reason, it is important to know that it is possible to free up space using the same tools that the system offers us.
Check what is taking up space
Obviously, everything we have on our computer takes up space, even some programs store files in cache to have faster access to them. Basically, if we save everything we download, storage can end up becoming a big problem.
Luckily, Windows 11 has several tools that make life easy for us about determining how space is used. Most of the tools that Windows 11 includes to manage storage can be found in the Storage menu.
To access this menu, we click on the Start button, then we will type “Storage Settings” in the search bar and press “Enter”. We can also open the Settings app and navigate to System > Storage Settings.
At the top of the window, we’ll see a breakdown of how your computer’s storage is currently doing. It is possible to click on any of the categories to have more detailed information about what we are seeing. We can also see more categories in addition to those that are at a glance, for this we click on “Show more categories”:
In this section we are going to have to take our time and review which section is using the most space. If we find things that take up too much space and use them very infrequently, it’s time to delete them to save storage.
Free up space in Windows 11

In order to quickly free up space we will have to click on “Temporary files”. If we do not see it with the naked eye, we will have to click on “Show more categories” to view it.
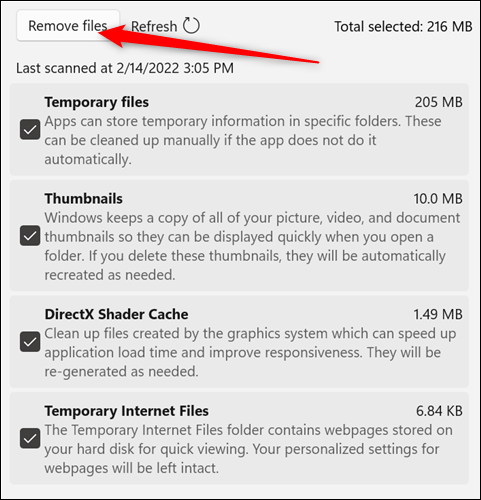
This section tells us what kind of temporary files are on our computer. It is possible that many more temporary files appear on your screen than we see in the example. It is totally safe to delete them, so we simply select all of them and click on “Delete files”.
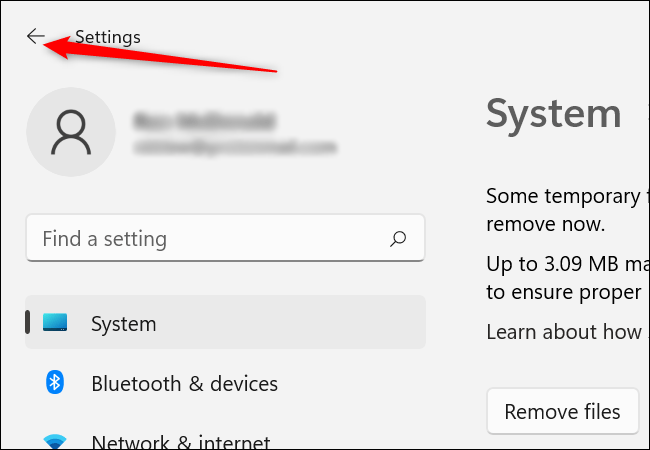
Next, we will click on the back arrow in the upper left corner.
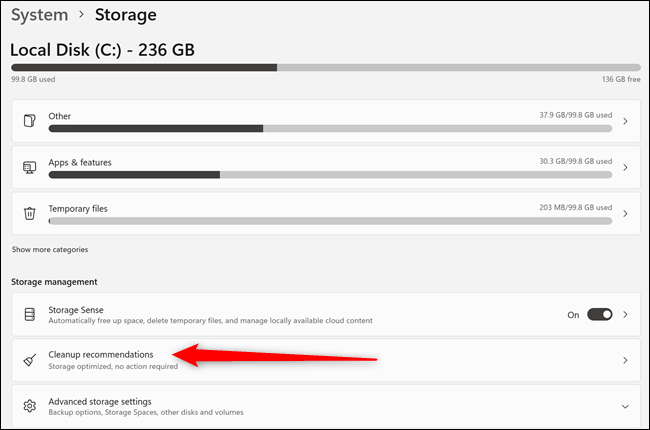
There are two other elements that have quite interesting functions to save as much space as possible: Storage sensor and cleaning recommendations.
We will click on cleaning recommendations to see several useful Windows tips. These recommendations will show us things that Windows 11 thinks it’s important to remove to save space. We will have to review the recommendations and delete those things that are not relevant to us.
Be careful with the files we delete
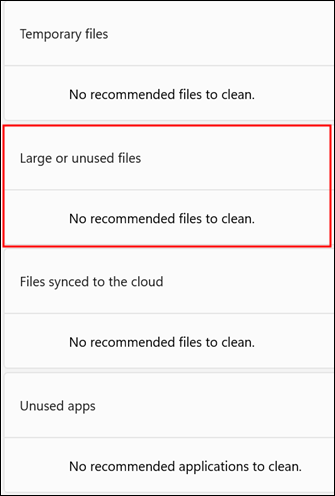
Here we have to be very careful because it is possible that Windows recommends us to delete files that, perhaps, we want to save. We must especially be careful with large or unused files. As a compressed compressed photo file that we have saved a long time ago. Likewise, it may be advisable to save this kind of files in a free cloud storage service such as Google Drive.
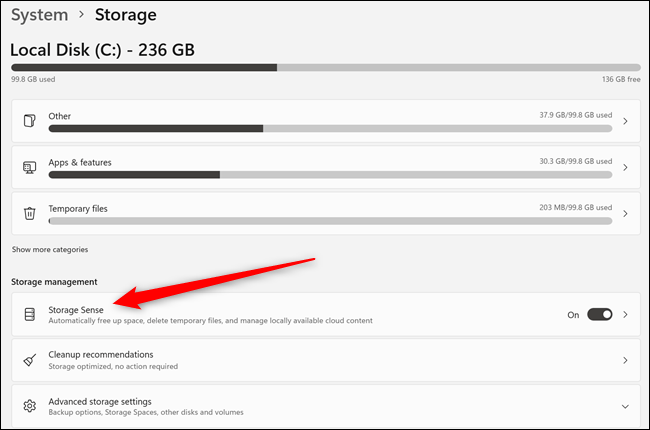
We go back again, clicking on the arrow in the upper left corner and this time we will click on “Storage sensor”.
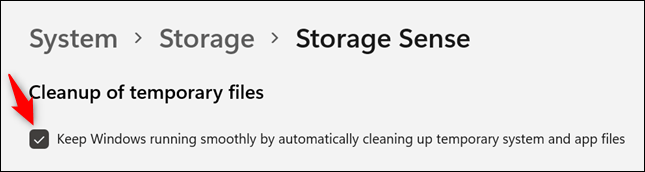
In this section, Windows offers us a utility to try to free up space on our computer in an automated way. At the top, we will see an option to delete temporary system and application files. It is important to keep it activated.
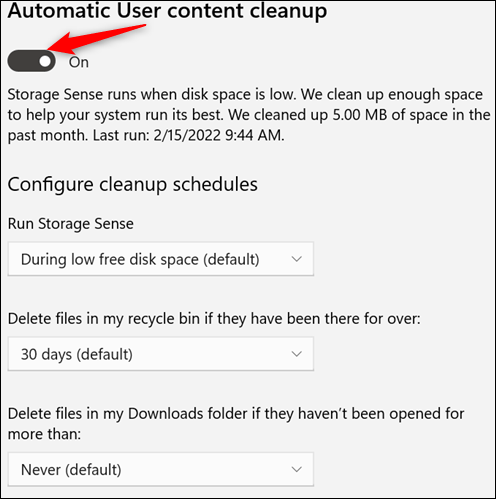
In the section “automatic cleaning of user content” we are going to use it to free up space when Windows detects that the storage is running low or on a set schedule. We will click on the switch at the top to activate it. Then, we will have to see the menu items and select the options we want.
Obviously, we will have to be careful with the automatic removal of downloads, it is more complicated to restore deleted files or pay attention at this time. As we mentioned before, it is recommended to make a backup in the cloud in services such as OneDrive or Google Drive.
Free up space in Windows 11 with Disk Cleanup
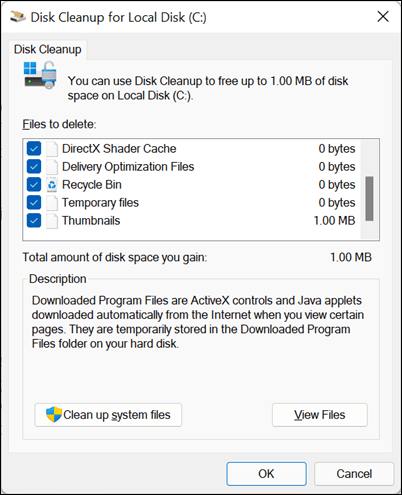
Another classic utility that Windows has always had is the “Disk Cleanup”. To start it, we are going to click on “Start” and type “Disk Cleanup” in the search bar and then press “Enter”. If we have multiple drives, we will be prompted to select the drive on which we want to free up space.
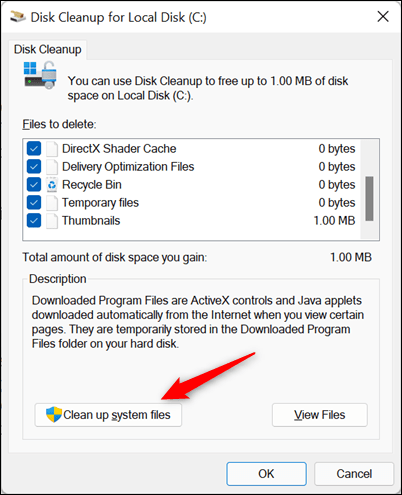
Actually, the vast majority of Disk Cleanup options are the same as the ones we saw in the Storage menu. So we can use this option if we prefer it. The important addition here is “Clean system files”, we will click on this option. Disk Cleanup will run for a while while it locates the files.

When finished, we will see that several new items have been added to the list that can be deleted. Many of these, such as files from Windows Updates or related to previous installations, can be quite large.
These items can usually be removed without any problems, although some are error log files. This means that if by chance a problem occurs on our computer, it will be more difficult to solve it.
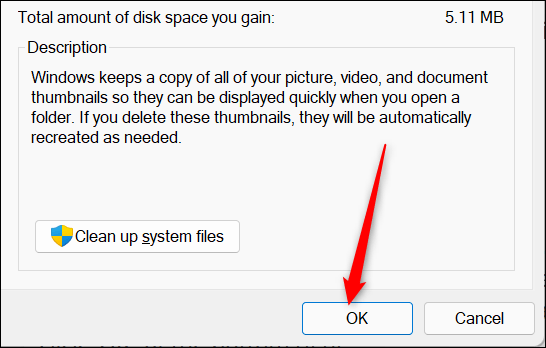
However, new error logs will still be generated if the error appears again. Once we select what we want to delete, we click OK.


