
Headers and footers allow you to include specific information in a Word document. For example, if you need to add your name or the title of the document on each page, the header allows it. You can add the same information to the footer, where page numbers and references can also appear.
We will show you how to insert a custom header and footer in Microsoft Word. So you can customize it with the information your document needs.
Use built-in headers and footers in Word
If you want to quickly add a header or footer to a Word document, you can use one of the preset options. These allow you to choose a layout for your header or footer. For example, you might want to use a header or footer with three columns, apply a style that uses color, or format it to include specific details.
To add a preset header or footer in Word:
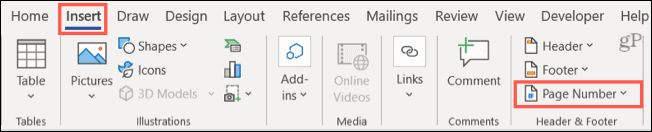
- Go to section Header and footer on the Insert tab of the ribbon bar.
- Click on Header or Footer and then review the options in the drop-down box.
- If you want a page number, click the drop-down arrow and choose a location.
- If you want a page number, click the drop-down arrow and choose a location.
- Select the header or footer style you want and it will appear in your document.
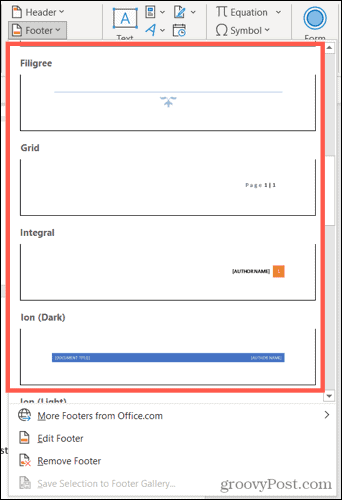
If the selected option expects additional details, go to the designated area in the header or footer to add them. For example, you may have to add a custom document title.

How to add a blank header or footer
Another way to add a header or footer is to create it entirely from scratch. To do this, double-click the header or footer section of the document.
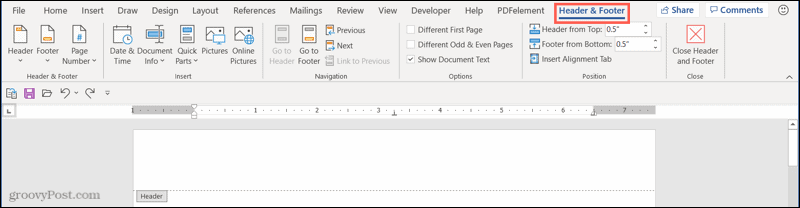
This opens the Header and footer so you can customize it further.
Customize the header or footer
You can write whatever you want in the header or footer section once it’s open for editing. Although this is convenient, you can also insert other details automatically using the tab Header and footer on the ribbon bar.
On the left side of the ribbon, you have the same built-in header, footer, and page number options as above. This allows you to apply a preset style or add page numbers later.
On the right, you will see the section Insert of the tape. This allows you to enter the details you want to use, such as the date and time, the title of the document, and so on.
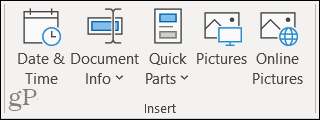
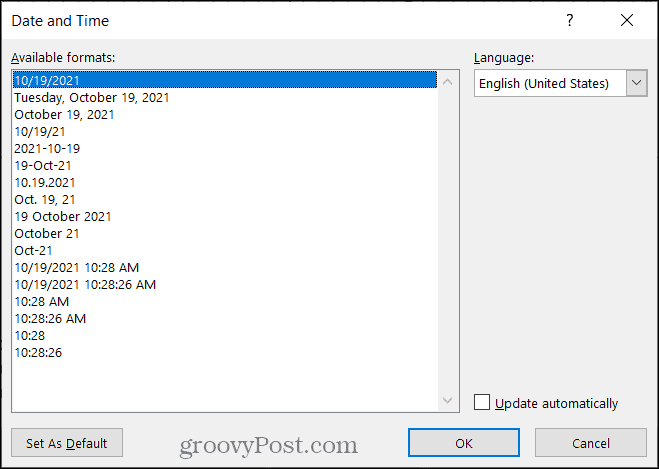
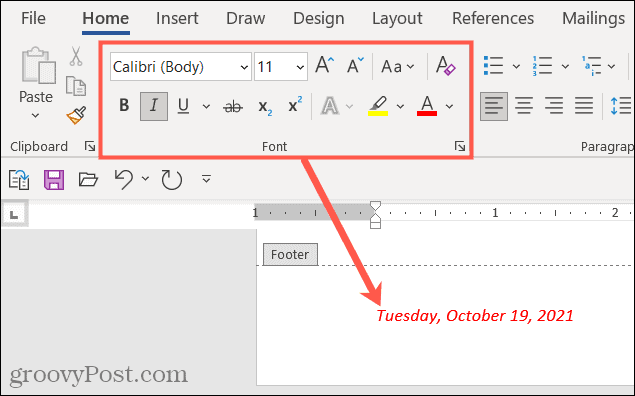
- Date and Time: To include the date and time, click the button Date and Time. Choose the format you want to use in the window that appears and click To accept.
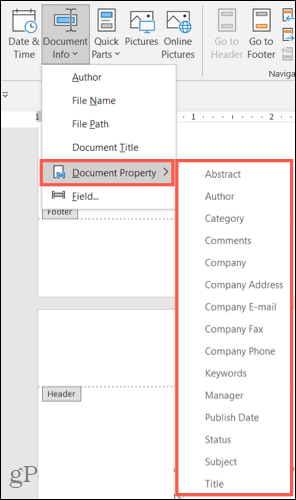
- Document information: In this drop down box, you will see options like Author, file name and Document title. You can also choose a different document property from the same drop-down menu for things like category, company, and manager.
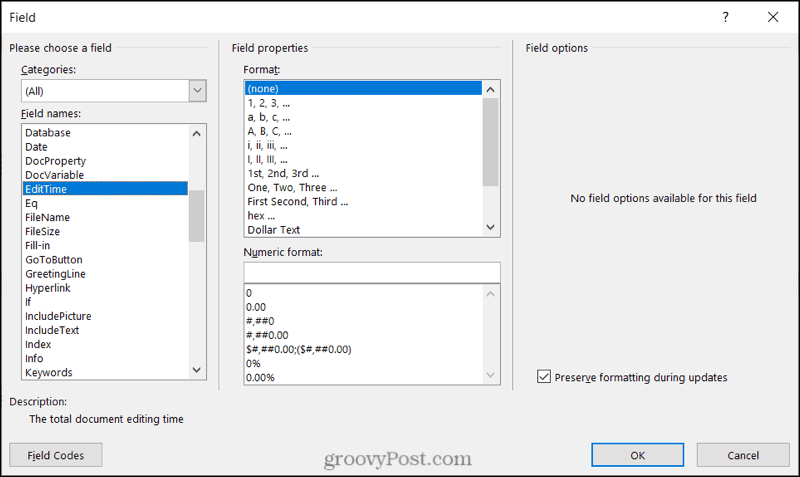
- In addition, you can choose from a lot of options of Countryside. This includes things like a hyperlink, a appointment, a section or a symbol. Please select Countryside, review the available options and choose the option you want. Click on To accept to insert it.
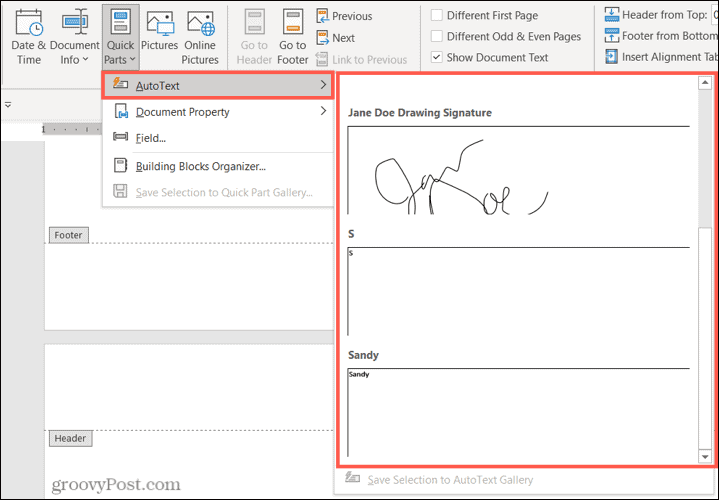
- Quick parts: If you have configured the Autotext, as a signature, use the drop-down options of Quick Parts. You can also select Document properties or a choice of Countryside in the same drop-down menu.
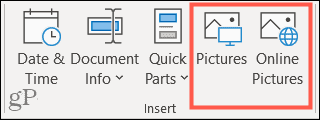
- Images and Online Images: If you want to include an image, such as a company logo, use the Images and Online Images buttons to choose and insert the image.
The rest of the options on the Header & Footer tab allow you to easily jump between header and footer sections, use different headers and footers on odd and even pages, and adjust the spacing between the section and the page. margin.

You can use the formatting options of Source in the tab Beginning to apply bold or italic formatting or choose a font style and color just like the text in your document.
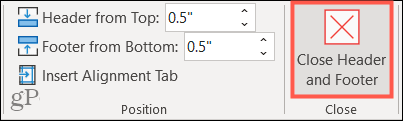
To finish editing the header or footer, click Close header and footer on the right side of the tape. Alternatively, double-click a point outside of those areas in your document.
Edit or delete a header or footer
You can change or remove a header or footer in Word at any time after inserting it.
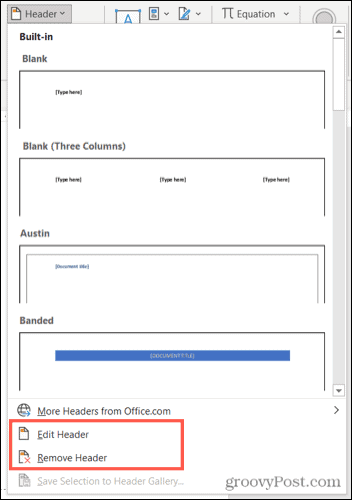
To do this, go to the tab Insert, click Header or Footer and choose Edit header or Edit footer in the drop-down list. The section will open so you can make your changes.
To remove them, choose Remove header or Remove footer in the drop-down list.
Make your headers and footers useful in Word
Whether you want to limit yourself to simple page numbers with the date and time or if you want to include specific data such as the author of the document and your company logo, you have flexible ways to make your headers and footers more useful in Microsoft Word.


