
If you are an Outlook user and you prefer this application on your Mac instead of Mail for email, you are not alone. The application offers great features, whether you are using the original desktop version or the “New Outlook” for Mac introduced in late 2020.
One of them is the ability to configure signatures. This allows you to automatically include your closing, contact information, or another signature in every email you compose. Additionally, you can choose to use your signature for replies and forwards, change your signature depending on your account, and use a different one on the fly.
How to Create a Signature in Outlook on Mac
Setting up one or two signatures in Outlook on Mac follows the same process, regardless of the desktop version you use.
- Open Outlook and click Outlook> Preferences in the menu bar.
- Select the Firms.
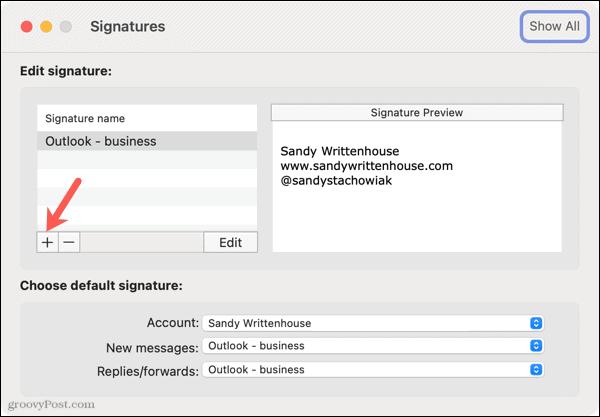
- In the signature window, click the plus sign on the left to add a signature.
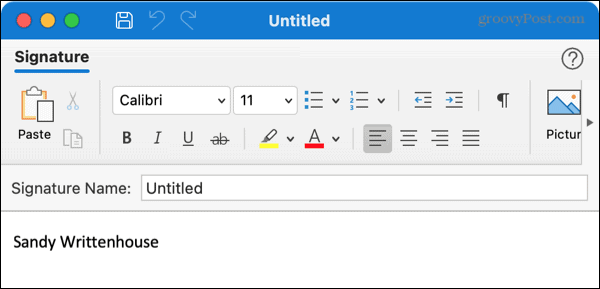
- When the next window opens, enter the signature you want to use. You have the option of using the formatting tools at the top to adjust the font size, style and color, insert an image, and choose an alignment.
- Add a signature name on top.
- When done, click the button Keep in the upper left and close the window.
You will see your new signature listed in the Signatures window. You can follow the same steps to configure other signatures if you wish. You can create different signatures for your other connected accounts or for certain situations.
Optionally, follow the next step to set the default signature for new emails, replies, and forwards.
Set a Default Signature
With the signature window open, go to the bottom labeled “Choose default signature.”
Bill: Select an account if you have more than one.
New posts and Responses / Forwards: Choose the signature you want to use for each of these types of email for the Account you have chosen. You can use the same for each one or different ones according to your preference.
You can then choose another Account and select the default signatures for it as well.
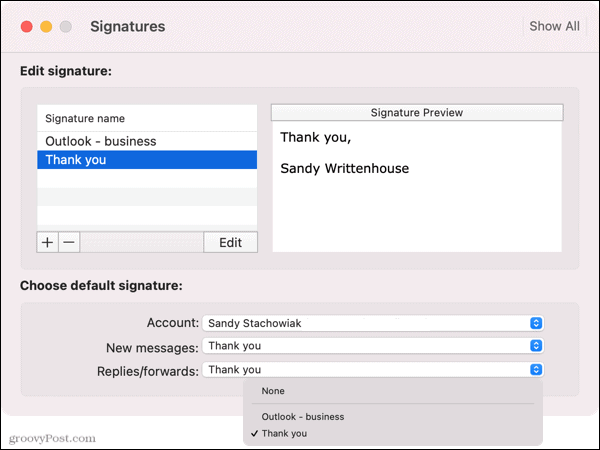
If you decide not to use a default signature, select None for the New Messages and the Responses / Forwards. You can then insert any signature you want when composing, replying to, or forwarding an email.
Edit a Signature in Outlook on Mac
If you need to make changes to a signature you’ve created, it’s super easy.
- Review the section on Firms on Outlook> Preferences.
- Select the signature and click Edit.
- Make your changes and click Keep.
- Close the window, and you should see your updated signature in the Signatures window.

Manually Insert a Signature in Outlook
If you decide not to use the default signature that appears automatically in your email, you can insert one manually. And you can do it using the toolbar / ribbon or the menu bar.
Insert a signature with the toolbar / ribbon
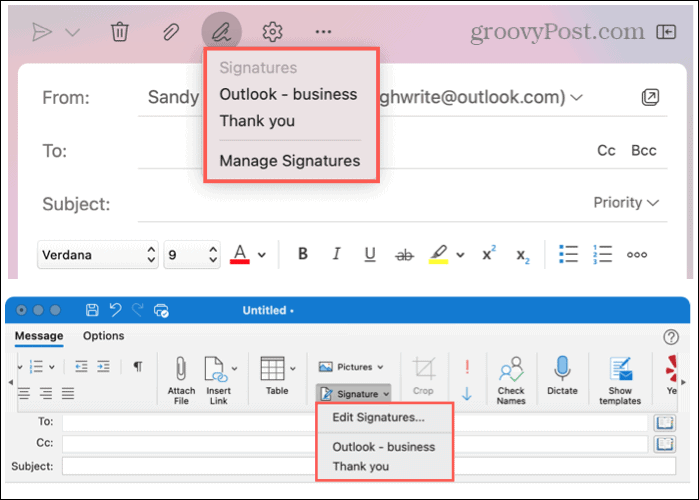
In both the new Outlook for Mac and the original desktop version, you have a Signature option at the top of the email window. You have this option whether you are composing a new email or replying or forwarding.
In the new Outlook, click the icon of the firm on the toolbar. In the original version of Outlook, click Firms on the ribbon. Then select a signature to insert.
Insert a signature using the menu bar
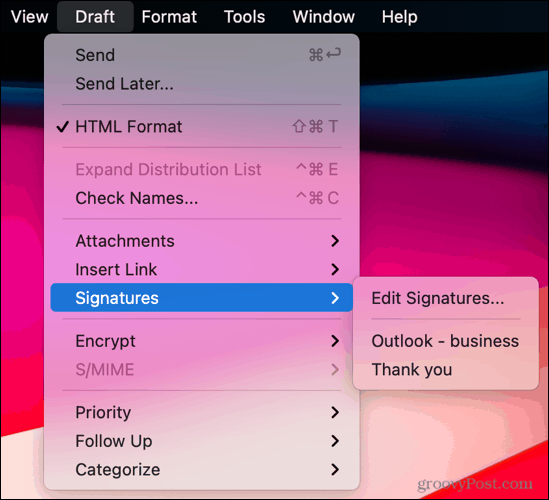
In both versions of Outlook, you can use the Mac menu bar to insert a signature. You will see that Message change to Draft when you are composing, replying to or forwarding an email.
Click on Draft, move the cursor to Firms and choose one from the pop-up menu.
Save a step with signatures in Outlook on Mac
By creating an email signature in Outlook on Mac, you can always be sure to close your emails properly. And you can skip the step of typing one at a time.


