
More and more users are switching to Windows 10. Somewhere, Microsoft representatives are forced to do so. In other situations, the user himself deliberately takes such a step because Windows 7 has lost support, and the following Windows 8 is in many ways inferior to the top ten.
But the fact that the popularity of Windows 10 is growing does not indicate the absence of problems and questions to developers.
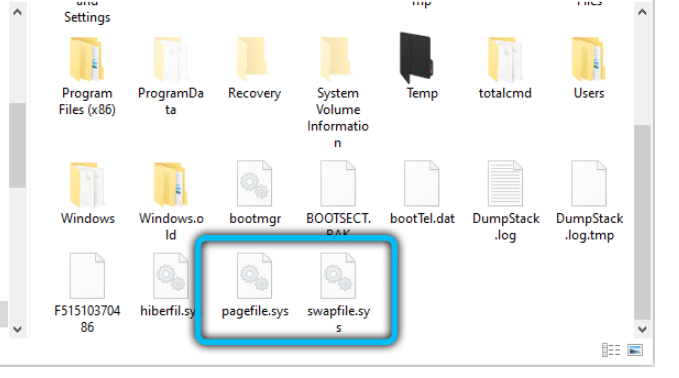
Sometimes users are faced with some processes and files, which can not be understood, which can not be seen without help and advice.
Users often ask questions about the purpose of the swapfile file.sys and its possible deletion. It would be best if you didn’t rush to erase this file from your PC or laptop. First, you need to find answers to a few critical questions.
Why you need it?
To begin with, it would be logical to ask what swapfile is.sys and why this file is needed on a Windows 10 computer at all.
It’s one of two swap files. There is the main file, and there is a secondary. In the case of swapfile.sys we are talking about a swap support file.
Serves to load files and data from running programs, games, and apps. This happens when there is not enough RAM available to accommodate them.
But then it’s natural to ask why Windows uses two swap files at once. The question is logical. Microsoft representatives gave a specific answer to it.
It’s all about modern applications and gaming computer development. They are based on a slightly different algorithm of functioning with memory. In the case of a regular main swap file called Pagefile.sys it looks like this. The program or game starts, and there is a download in RAM. All that was not enough space in operation loaded into this swap file.
But in the case of the swapfile file.sys things are different. It works differently. For example, the user turns on the game on the computer. Of course, other programs and applications work in parallel. These are antiviruses, browsers, messengers, background services of the system, and so on. Some files related to the running game do not fit in the memory of RAM. Then the system doesn’t start downloading residual files into the swap file. Instead, it uploads background files that the user is not currently working with. In this way, the RAM frees up space. And then, it is enough to download the game files in operation entirely.
This scheme of work ensures speed in games with increased iron requirements. After all, now they do not use a swap file. And there is a process of vacating a place in the RAM.
Delete or not?
Also, users are interested in whether this secondary, let’s call it so, swap file to remove from the computer. In general, in theory, it is possible to remove it. It’s not that hard.
But it is not recommended to do so. And many are categorical to such an idea and strongly advise not to get rid of the file.
There’s a logical explanation for that. To start with the fact that the file itself weighs about 250 megabytes, no more. That is, removal will not have any significant effect. But cleaning will significantly reduce the efficiency and performance of the computer. Removal will do more harm than good. After all, there is a direct link between the two swap files. By removing one of them, PC performance will change immediately and for the worse.
Shut down
With built-in tools and operating system tools, you can disable the file only if the main swap file is turned off. Since this is not recommended in the vast majority of cases, you need to be careful.
If your computer’s performance falls or the system starts to function unstable, the right solution is to turn on the pumping.
If you want or need to turn it off, here’s what you need to do:
- Click the Win and X key combination on the keyboard, and open the Control Panel.
- Then move into the Advanced System Settings category.

- Select the Performance tab
- Then click on Settings in Performance.
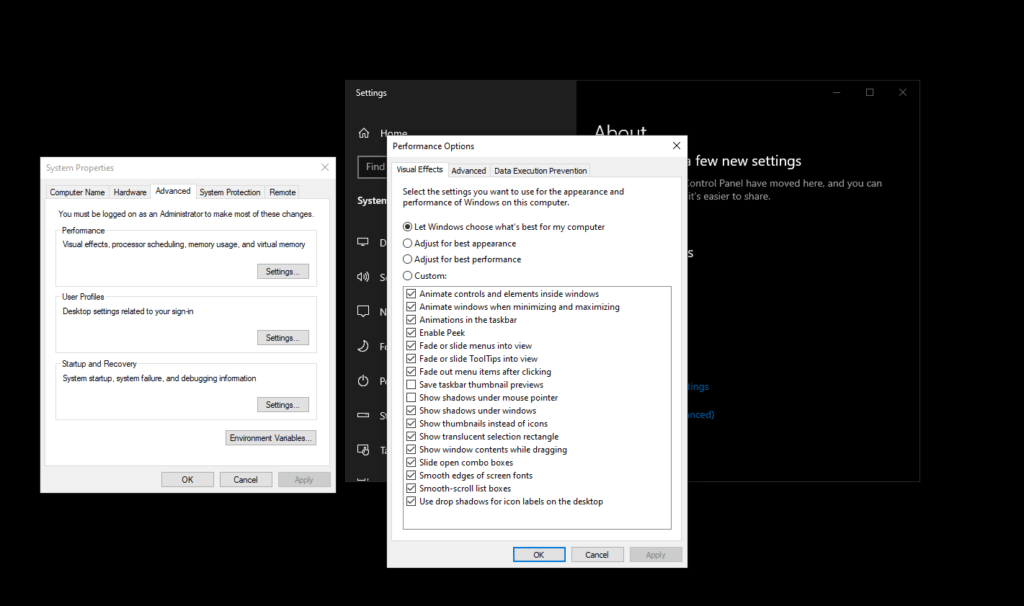
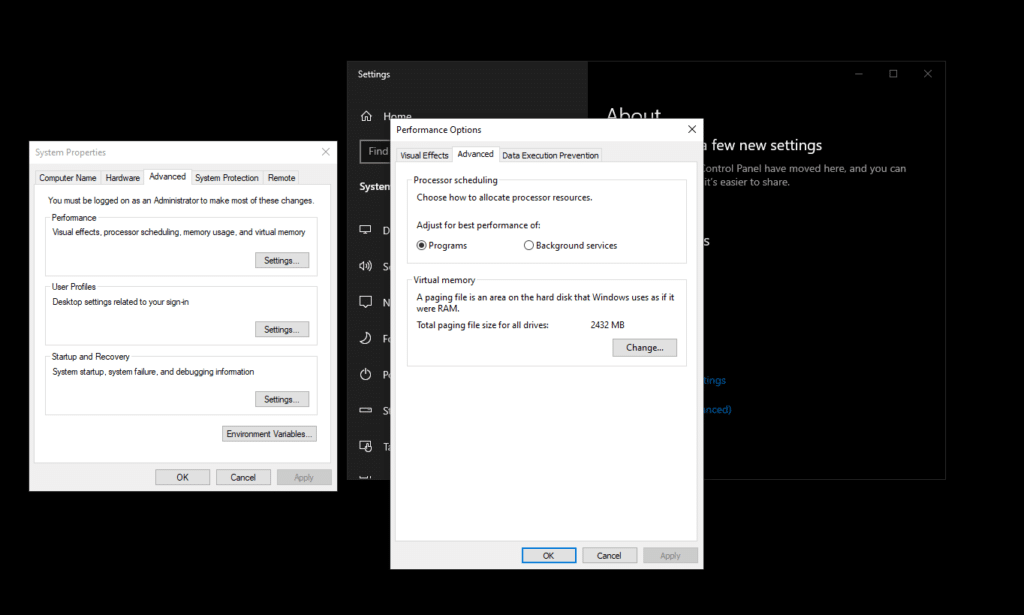
- In the new window, choose Advanced again and click on “Change” in the Virtual Memory section.
- Remove the tick from automatically changing the file size.
- Select the disk where you want to disable the swap file.
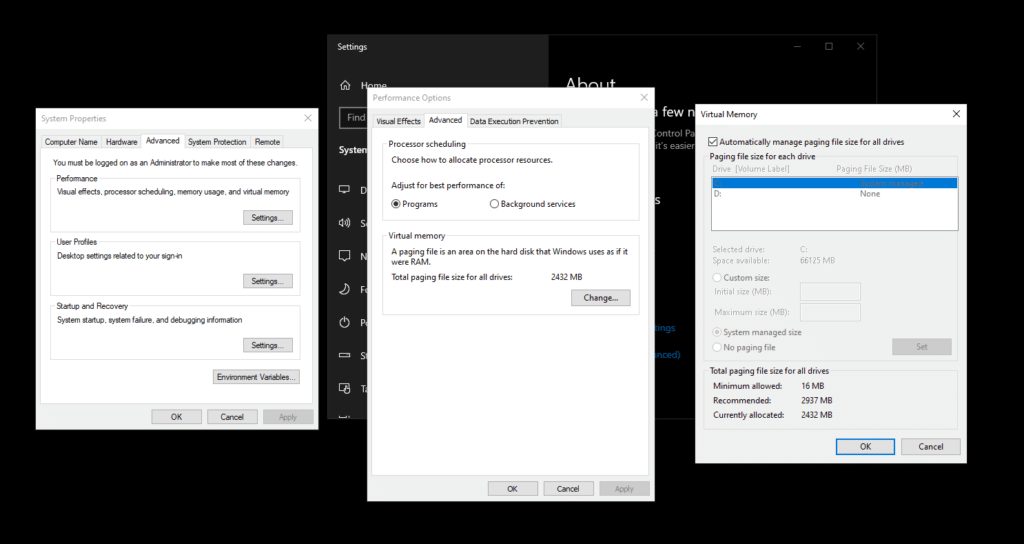
- Tick the “No paging file.”
- Then click Set.
- And twice click on OK to make the changes take effect.
All you have to do is reboot your computer.
By doing this, both swap files will no longer appear at the root of the system disk.
You can’t delete the entire file. But swapfile.sys can be temporarily turned off on Windows 10. Then re-activate, or transfer to another hard drive.
Now to the question of how to remove swapfile.sys (disable) if you are a Windows 10 user.
In addition to the method presented, there is an alternative option to disable swapfile.sys on a computer or laptop with Windows 10 onboard.
To do this, the user will need to do the following:
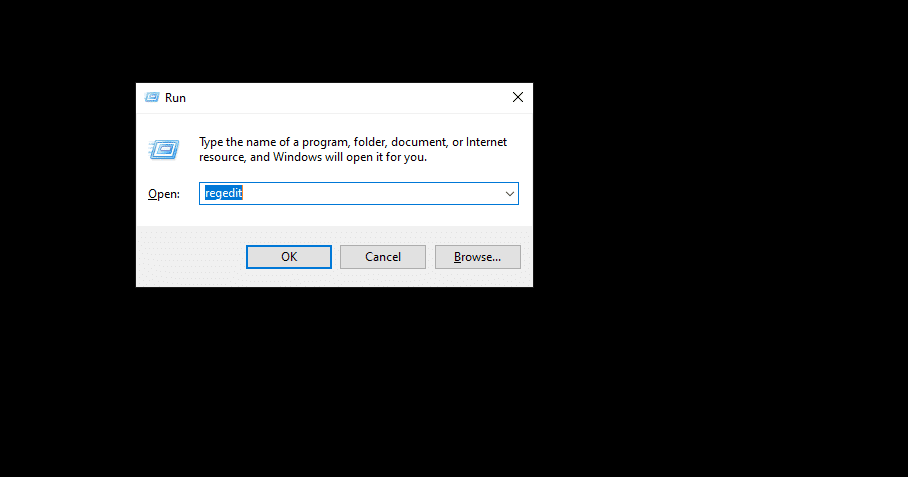
- Run registry editor, i.e., Regedit.exe;
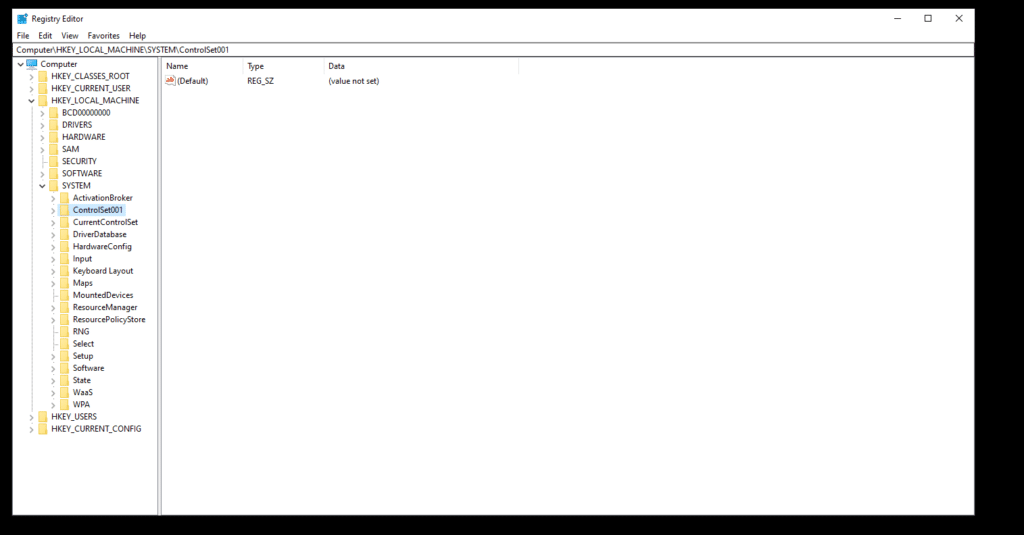
- Open the registry section of the HKEY_LOCAL_MACHINE\SYSTEM\CurrentControlSet;
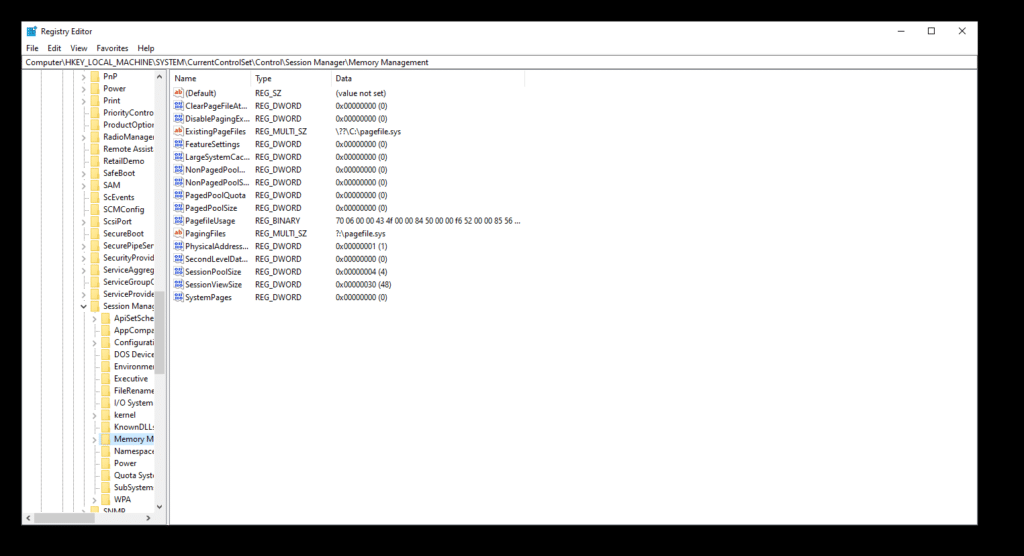
- Go to Control, from there to Session Manager, and eventually open the Memory Management catalog.
- Create a new DWORD 32 bit here.
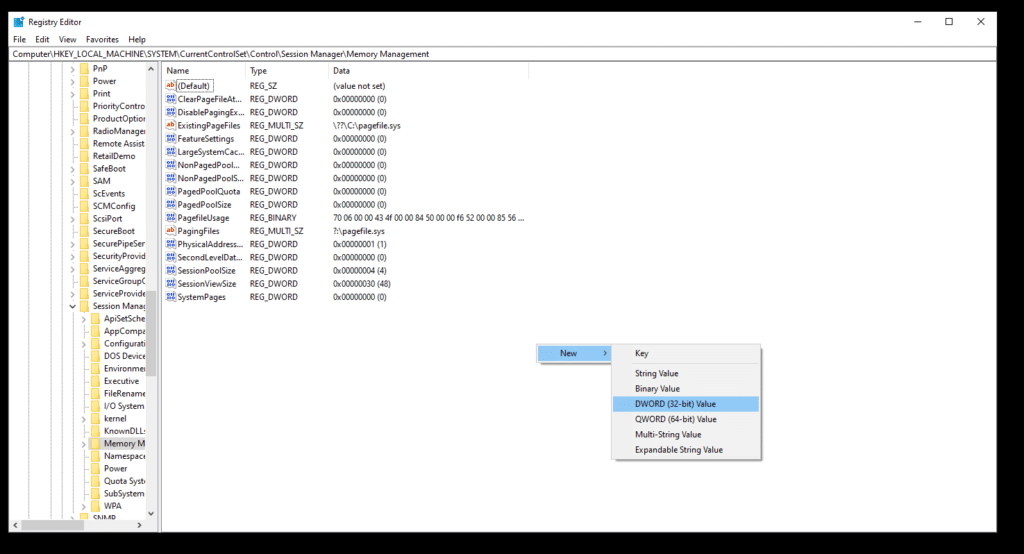
- give him the name SwapfileControl;
- Set 0.
- It remains to reboot the operating system and check whether it has been possible to make changes.
At the same time, the swap file should disappear, and the page file should remain in the system.
The advantage of the alternative disconnection method is that it is more convenient and allows you not to influence the main swap file.
Transfer the file
Some users need to move this file, called swapfile.sys, using another disk to store.
And to transfer swapfile.sys to some other disk users usually want for the following reasons:
- The computer has a faster section than where the system file is now.
- There is a desire or need to free up space on the system drive.
- The user wants to create centralized storage of all the garbage files, highlighting the appropriate section.
To move the file yourself, you should follow the instructions.
The process looks like this:
- To begin with, the swap file is turned off. And it is necessary to do this for all sections of the operating system, Windows 10. Detailed instructions for disconnection are discussed above.
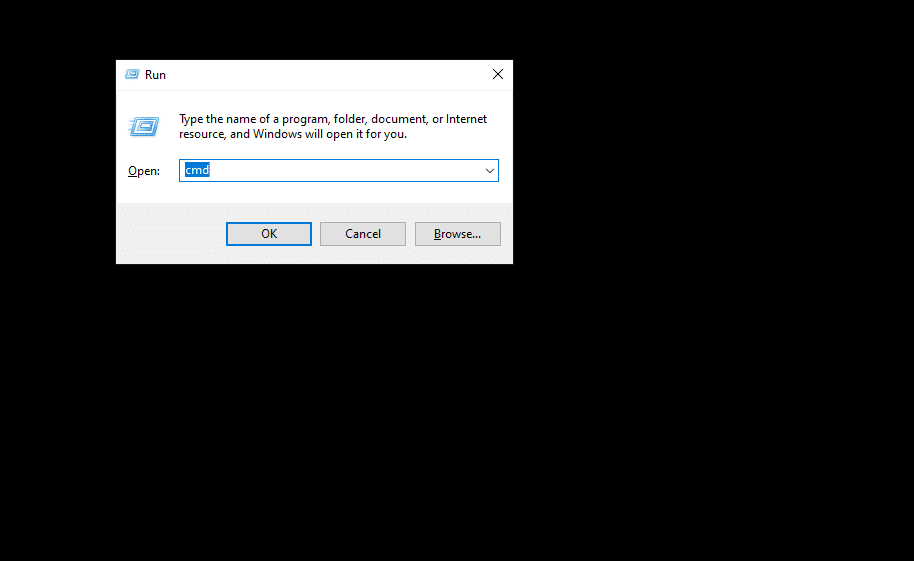
- Now start the command line. Be sure with admin rights. Otherwise, it won’t work.

- Write down the mklink c command: ‘swapfile.sys x:’swapfile.sys, where instead of x, write down the disk letter where you want to transfer. Apply this command and wait for the process to be completed.
- Now turn on the file responsible for the pumping again. Only it will be transferred to another disk.
Check the result of the work done.
It is safe to say that swapfile.sys is a practical and even necessary file.
Removing it to free up a few hundred megabytes of space on a hard drive is pointless. There’s not much space available. But at the same time, the performance and efficiency of the PC are falling. This is especially true when you launch influential modern games and apps.
Have you ever deleted a swapfile file.sys? What was the reason for such a necessity? What method of installation used? What led to such actions?
Waiting for your answers.
Subscribe, ask questions, leave feedback and tell your friends about the project!


